
I was sitting in my living room last Tuesday, trying to focus on a client proposal, when I felt that familiar, annoying draft hit my ankles. It’s a subtle thing, but it’s enough to break your concentration every single time. Most people think they need to overhaul their entire HVAC system or invest in expensive smart thermostats to fix a temperature imbalance, but the truth is much simpler. Often, you’re just throwing money away because you haven’t mastered the basics of weatherstripping a door.
In this guide, I’m going to skip the sales pitch for high-tech gadgets and get straight to the mechanical reality of the task. I’ll show you how to identify exactly where your seals are failing and walk you through the most durable ways to fix them. My goal isn’t just to help you seal a gap; it’s to help you optimize your environment so your home actually works for you, rather than fighting against the elements.
Table of Contents
Guide Overview
Tools & Supplies
- Tape measure for measuring gaps and door perimeter
- Utility knife or scissors for trimming materials
- Vacuum or cloth for cleaning the door frame
- Weatherstripping roll or strips (adhesive or tension type)
- Door sweep (if replacing the bottom seal)
- Rubbing alcohol for cleaning the surface
Step-by-Step Instructions
- 1. First, grab a flashlight and a piece of paper. On a windy day, hold the paper near the edges of the door; if you feel a draft or see the paper flutter, you’ve found your leak point. I like to do a full perimeter check, looking specifically at the jambs and the threshold, because you can’t fix what you haven’t actually located.
- 2. Once you know where the air is getting in, you need to clear the path. Take a damp cloth and some mild cleaner to wipe down the door frame and the door itself. If you try to stick new weatherstripping onto a layer of built-up dust or old grime, it’s going to fail within a month, and you’ll be right back where you started.
- 3. Now, choose your hardware. Don’t just grab the cheapest foam rolls at the big-box store; they compress too easily and lose their shape. I prefer self-adhesive EPDM rubber or silicone strips. They have a better memory, meaning they’ll spring back to their original shape even after the door has been slammed a few times.
- 4. Measure twice, cut once—it’s a cliché for a reason. Measure the height of your door frame and the width of the jambs, then cut your stripping to size using a sharp utility knife or heavy-duty shears. You want a snug fit, so don’t be afraid to trim a fraction of an inch off if it feels too bulky.
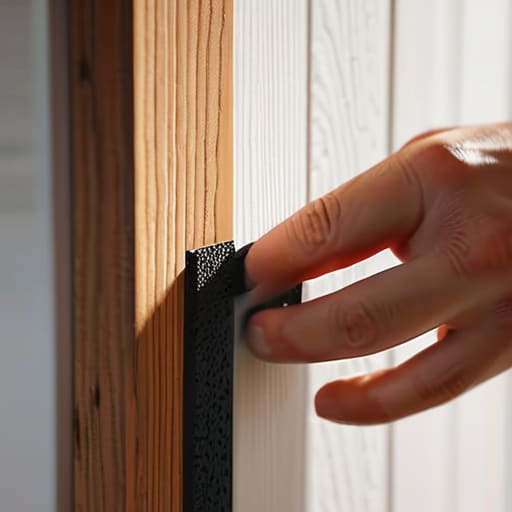
- 5. Start applying the strip from the top of the door frame and work your way down. Peel back just enough of the adhesive backing to get a grip, then press the strip firmly into the corner where the jamb meets the stop. Use your thumb to apply consistent pressure along the entire length to ensure the adhesive actually bonds with the surface.
- 6. Don’t forget the bottom of the door. If there’s a significant gap between the door and the floor, a standard strip won’t cut it; you’ll need a door sweep. Screw or adhesive-mount a sweep that sits just millimeters above your threshold. It needs to create a seal without making the door so heavy that you’re fighting it every time you want to walk through.
- 7. Finally, perform a “functionality test.” Close the door and feel for any remaining air movement. If you feel resistance when closing the door, your strips might be too thick, so you may need to re-calibrate by trimming a bit of the material. The goal is a tight seal that still allows the door to latch without a struggle.
Choosing the Right Materials for Lasting Energy Efficient Door Solutions
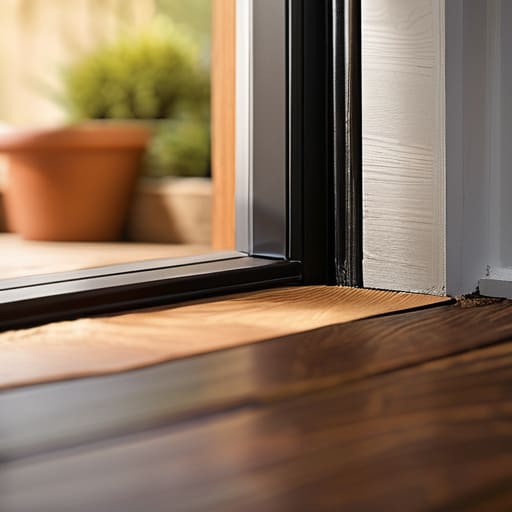
Don’t just grab the first roll of foam you see at the hardware store. If you want to stop fighting the same drafts every winter, you need to understand the different types of door weatherstripping materials available. For most standard doors, I prefer high-quality silicone or EPDM rubber. They hold their shape much better than the cheap, open-cell foam strips that tend to compress and fail after a single season. Silicone is particularly resilient against temperature swings, making it a solid investment for improving home insulation without having to redo the work in twelve months.
You also need to look at the bottom of the door. This is usually where the most significant thermal loss happens. While a simple strip might work for some, I often recommend a more robust door bottom seal installation if you’re dealing with uneven floors or heavy traffic. A solid sweep or a heavy-duty drip cap acts as a physical barrier that actually stays in place. Think of it as part of a larger system; if you don’t address the gap at the floor, all the work you do around the frame is essentially wasted.
A Frictionless Door Bottom Seal Installation for Real Results
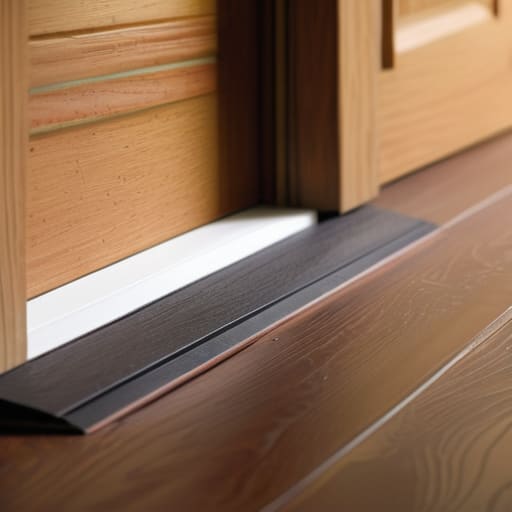
When you’re getting into the actual door bottom seal installation, don’t just aim for “close enough.” Most people make the mistake of leaving a tiny gap at the very edges of the sweep, which defeats the whole purpose. I always tell my clients to check the seal by running a thin piece of paper along the bottom of the door while it’s closed; if you can pull that paper out without resistance, you haven’t achieved a true seal. You want that material to meet the threshold with just enough pressure to stop the draft, but not so much that you’re fighting the door every time you walk through.
If you find yourself struggling with an uneven floor—which happens more often than you’d think in older homes—don’t get frustrated. Instead of forcing a rigid sweep to conform to a wonky threshold, consider a flexible silicone gasket. This is one of those small adjustments in improving home insulation that makes a massive difference in how the room actually feels. It’s about removing that physical friction so the system works for you, rather than you working to manage the door.
Three Ways to Keep Your System from Failing
- Don’t skip the prep work. If you try to stick new seals onto a layer of old grime and dust, they’re going to fail within a month. Clean the surface with a bit of isopropyl alcohol first; it’s a small step that ensures the system actually holds.
- Test the seal with a flashlight. On a dark night, have someone stand outside the door with a bright light while you stay inside. If you see light peeking through the edges, you haven’t closed the gap. It’s the simplest way to find the friction points you might have missed.
- Aim for compression, not just contact. A good weatherstrip shouldn’t just touch the door; it should be slightly compressed when the door latches. If there’s no squeeze, there’s no seal, and you’re just wasting your time and money.
The Bottom Line on a Draft-Free Entrance
Don’t overcomplicate the process; focus on a tight, continuous seal rather than chasing perfection with expensive gadgets.
Treat your weatherstripping as part of a larger system—if you fix the gaps but ignore the door’s alignment, you’re just fighting a losing battle against friction.
The Philosophy of the Seal
“A drafty door isn’t just a nuisance; it’s a system failure. When you seal those gaps, you aren’t just saving a few dollars on your heating bill—you’re reclaiming the quiet and the comfort your home was actually designed to provide.”
Gregory Scott Miller
Getting the System Right
At the end of the day, weatherstripping isn’t about chasing some perfect, high-tech home automation dream. It’s about the fundamentals: choosing the right materials, cleaning those surfaces properly, and ensuring your seals are tight enough to actually stop the draft. By addressing both the sides of the frame and that critical door bottom, you’ve effectively closed the loop on one of the most common energy leaks in your house. You’ve replaced a constant, subtle friction—the cold air and the rising utility bills—with a functional, reliable barrier that finally does its job.
Don’t let these small maintenance tasks sit on your to-do list indefinitely. We often overlook the tiny details, but those are exactly what dictate how much mental energy we spend managing our environment. Once this is done, you won’t have to think about your front door again for a long time, and that is the ultimate goal. Take the time to do it right today so you can reclaim your comfort and focus your attention on the things that actually matter.