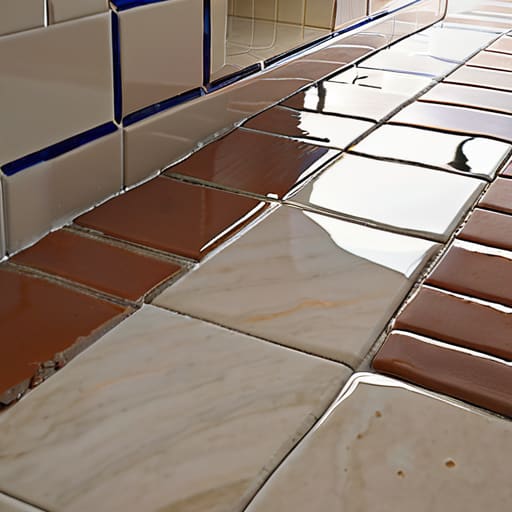

I was kneeling on my kitchen floor last Saturday, staring at a stubborn, dark line of grime between the tiles, wondering why I’d spent forty dollars on a “specialized” foaming cleaner that did absolutely nothing. Most people think you need a chemistry degree or an arsenal of expensive, branded liquids to get your floors looking decent, but that’s a lie. When it comes to how to clean grout, the secret isn’t in the complexity of the product; it’s in the efficiency of your system.
I’m not here to sell you on a ten-step ritual or a cabinet full of niche chemicals. I want to show you how to strip away the friction and get the job done with tools you likely already own. In this guide, I’m going to walk you through a streamlined approach to scrubbing, rinsing, and—most importantly—preventing future buildup so you can spend less time on your knees and more time enjoying your home.
Table of Contents
- Step-by-Step Instructions
- Finding the Best Grout Cleaner for Tile Without the Complexity
- Scrubbing Grout Lines Using Only Natural Grout Cleaning Solutions
- Three Ways to Keep the Friction Out of Grout Maintenance
- The Bottom Line on Keeping It Clean
- The Philosophy of Maintenance
- Maintaining the Momentum
Guide Overview
Tools & Supplies
- Grout brush or stiff toothbrush for scrubbing
- Scrub sponge or microfiber cloth for rinsing
- Baking soda 1 cup
- White vinegar 1/2 cup
- Warm water 2 cups
Step-by-Step Instructions
- 1. First, clear the deck. I can’t stand working around clutter, and neither should you. Move the bath mats, clear the floor of any loose items, and give the area a quick sweep or vacuum. You want to remove the surface debris before you even think about getting things wet, otherwise, you’re just pushing dirt into the grout lines.
- 2. Mix your solution. Don’t go out and buy some overpriced, neon-colored chemical cocktail that promises miracles. For most jobs, a simple mixture of warm water and a bit of mild dish soap works wonders. If you’re dealing with heavy buildup, a splash of white vinegar can help, but don’t overdo it—too much acid can eventually wear down certain types of stone or sealer.
- 3. Apply and let it sit. Pour or spray your solution onto the grout lines and let it sit for about five to ten minutes. This isn’t about scrubbing harder; it’s about letting the chemistry do the heavy lifting. You want the liquid to break down the grime so that your physical effort is kept to an absolute minimum.
- 4. Grab the right tool. Forget those flimsy, cheap little brushes. I prefer a dedicated grout brush or even an old, stiff-bristled toothbrush that has seen better days. Get in there and use short, firm strokes along the lines. The goal is to agitate the dirt out of the pores without being so aggressive that you damage the integrity of the grout itself.
- 5. Wipe it clean. Once you’ve finished scrubbing, don’t just let the dirty sludge sit on your tiles. Take a clean microfiber cloth or a large sponge and wipe the area down with fresh water. I find it’s best to work in small sections so you aren’t constantly running back and forth to the sink. You want to remove the residue completely to prevent a cloudy film from forming as it dries.
- 6. Dry the area thoroughly. This is the step most people skip, but it’s vital for a long-lasting result. Use a dry towel to soak up any remaining moisture. Leaving grout damp for too long can actually invite more mold or mildew to settle in, which defeats the whole purpose of the cleanup. A dry, clean surface is the hallmark of a job well done.
Finding the Best Grout Cleaner for Tile Without the Complexity
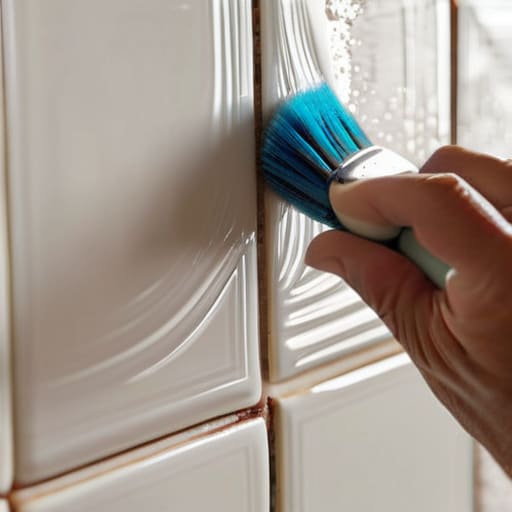
Look, you don’t need a chemistry degree or a shelf full of specialized, overpriced bottles to get the job done. When people ask me what the best grout cleaner for tile is, my answer is usually the simplest one: whatever gets the dirt out without stripping the finish. If you’re dealing with standard kitchen grime, a basic pH-neutral cleaner works fine. However, if you’re trying to remove mold from grout in a damp bathroom, you might need something with a bit more bite, like a diluted hydrogen peroxide solution.
I’m a big believer in keeping things streamlined, so I usually lean toward natural grout cleaning solutions like baking soda and vinegar. They’re effective, they aren’t toxic, and they don’t leave your house smelling like a laboratory. Just remember that once you’ve finished scrubbing and the lines are clean, don’t skip the grout sealer application. It’s a small, one-time step that acts as a preventative system, stopping the grime from sinking in deep in the first place.
Scrubbing Grout Lines Using Only Natural Grout Cleaning Solutions
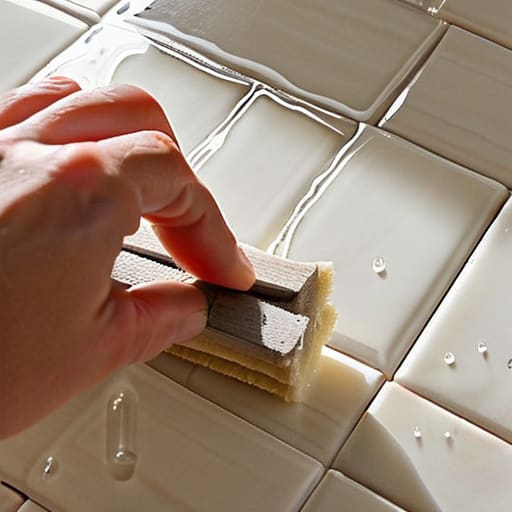
If you’re looking to avoid the harsh chemical smell that lingers in your house for hours, you don’t need to reach for the heavy-duty stuff. I’ve found that natural grout cleaning solutions—specifically a simple mixture of baking soda and water or a splash of white vinegar—work surprisingly well for routine maintenance. The trick isn’t the complexity of the ingredients; it’s the consistency of the application. I usually make a thick paste with the baking soda, spread it over the lines, and let it sit for ten minutes. This gives the solution time to break down the surface tension of the grime without you having to do all the heavy lifting.
When it comes to scrubbing grout lines, the tool you choose matters more than the chemical you use. Forget those flimsy, cheap brushes that lose their bristles after two uses. I prefer a stiff-bristled nylon brush or even an old toothbrush that has some real structural integrity left. You want to apply firm, steady pressure in a linear motion—don’t just scrub in circles, or you’ll just move the dirt around. If you’re specifically trying to remove mold from grout in a high-moisture area like a shower, a bit of hydrogen peroxide can act as a gentle but effective natural disinfectant. It’s about working smarter, not harder.
Three Ways to Keep the Friction Out of Grout Maintenance
- Don’t wait for the grime to set in. I’ve learned through years of managing logistics that preventative maintenance is always cheaper and faster than a full-scale recovery operation. Once a week, give your high-traffic areas a quick wipe down with warm water; it stops the buildup before it becomes a weekend-long headache.
- Invest in a decent tool, not a fancy chemical. You don’t need a specialized “grout power-scrubber” that takes up space in your cabinet. A high-quality, stiff-bristled nylon brush is all you really need. It gives you the tactile feedback to know you’re actually getting into the pores of the grout without destroying the tile.
- Seal it once and forget it. If you’re tired of scrubbing, the most logical move is to apply a high-quality grout sealer after a deep clean. It creates a barrier that prevents liquids and dirt from sinking in, essentially turning a high-maintenance surface into a low-maintenance one. It’s a small upfront investment of time that pays massive dividends in mental space later.
The Bottom Line on Keeping It Clean
Don’t let the process overwhelm you; you don’t need a cabinet full of specialized chemicals to get the job done, just the right tool for the friction you’re facing.
Consistency beats intensity every time—a quick, scheduled maintenance routine is much more effective than a massive, exhausting deep-clean once a year.
The Philosophy of Maintenance
“Cleaning grout shouldn’t be a weekend-long battle against your floors. It’s not about finding some miracle chemical; it’s about establishing a simple, repeatable system that keeps the grime from ever gaining momentum in the first place.”
Gregory Scott Miller
Maintaining the Momentum
At the end of the day, cleaning grout doesn’t have to be a massive, weekend-ruining ordeal. We’ve covered the essentials: choosing the right cleaner without falling for marketing gimmicks, utilizing simple natural solutions, and applying the right amount of elbow grease to get the job done. The goal isn’t perfection, but rather establishing a repeatable process that prevents buildup from becoming a permanent fixture in your home. Once you have these basic systems in place, maintenance becomes a quick task rather than a daunting project.
Remember, your home is meant to be lived in, not just curated for show. Don’t let a few dirty lines cause you unnecessary stress or mental clutter. By stripping away the complexity and focusing on these functional habits, you reclaim your time and your peace of mind. Keep your tools ready, keep your methods simple, and let your environment work for you. You’ve got this.