
I spent most of my Saturday morning staring at a pile of rotting cedar and a handful of rusted screws, wondering why I’d ever thought I could “wing” this project. Most gardening guides make you feel like you need a degree in landscape architecture or a warehouse full of expensive irrigation gadgets just to get started. But here’s the truth: if you’re looking for how to build a raised garden bed, you don’t need a complex master plan or a massive budget. You just need a sturdy frame, decent soil, and a system that doesn’t add more work to your weekend than it saves.
In this guide, I’m stripping away the fluff to show you a no-nonsense approach to building something that actually lasts. I’ll walk you through selecting the right materials, minimizing the friction of assembly, and setting up a layout that serves your garden rather than complicating your life. We aren’t building a monument here; we’re building a functional tool for your backyard that lets you focus on the dirt, not the logistics.
Table of Contents
Guide Overview
Tools & Supplies
- Drill/Driver (to assemble the wood)
- Measuring Tape (to mark cuts and placement)
- Level (to ensure the bed is even)
- Saw (if lumber is not pre-cut)
- Untreated Cedar or Redwood boards (approx. 4-6 pieces)
- Galvanized Screws (1 box of 2.5 inch)
- Garden Soil/Compost mix (enough to fill volume)
- Hardware Cloth/Mesh (to prevent pests)
Step-by-Step Instructions
- 1. First, don’t go overboard with the shopping list. You need untreated cedar or redwood if you want this to last without leaching chemicals into your soil, or high-quality heat-treated pine if you’re on a tighter budget. Grab your lumber, some 3-inch exterior-grade deck screws, and a level. I’ve learned the hard way that cheap hardware is a waste of time because it’ll rust and snap within two seasons.
- 2. Once you have your materials, it’s time to map out the footprint. I prefer a width of no more than four feet; that way, you can reach the center from either side without stepping into the bed and compacting your soil. Use your tape measure to mark the perimeter, and if you’re working on a slope, this is where you’ll need to decide whether to level the ground or build a tiered system to manage the grade.
- 3. Start assembling the frame on a flat surface, like your driveway or a garage floor, rather than trying to build it upright in the dirt. Screw your corner posts into the side planks to create a sturdy box. I always use pre-drilled pilot holes to prevent the wood from splitting, especially when working near the edges. It’s a small extra step that saves you a massive headache later.
- 4. Move your frame to its final destination and check it with your level. If one side is sitting higher than the rest, dig out a little earth underneath it until the frame sits perfectly true. A crooked bed isn’t just an eyesore; it causes uneven water distribution, which means you’ll be fighting your plants more than you should be.
- 5. Before you add the good stuff, line the bottom with a layer of thick, corrugated cardboard. This is a “no-dig” method that smothers the grass and weeds underneath while eventually decomposing into organic matter. It’s a simple way to skip the heavy labor of excavating the entire area, allowing you to focus your energy on the planting itself.
- 6. Now, fill the bed with a high-quality soil mix. Don’t just grab the cheapest bag of topsoil from the big-box store; it’s usually too dense and lacks the nutrients your plants need to thrive. I typically use a blend of one-third compost, one-third peat moss or coconut coir, and one-third vermiculite. This creates a loose, aerated environment that lets roots move freely.
- 7. Finally, give the soil a good soak to settle it in, and you’re done. Don’t feel the need to add fancy irrigation timers or automated sensors right out of the gate. Just get the structure built, get the soil right, and start planting. You can always optimize the watering system once you see how the bed performs in your specific microclimate.
Choosing the Best Wood for Raised Beds Without the Headache
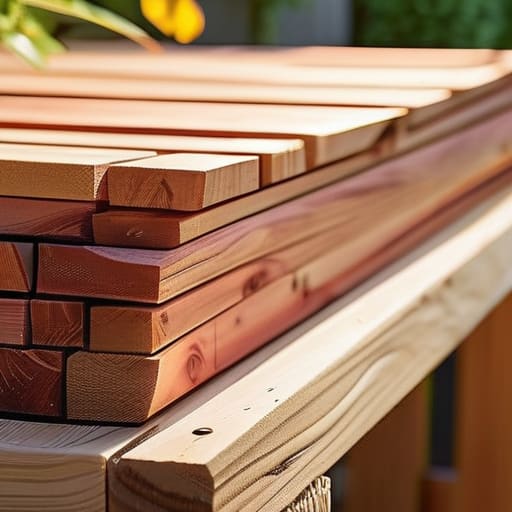
When you’re standing in the lumber aisle, it’s easy to get paralyzed by the options. I’ve seen too many people overthink this and end up with a setup that rots out in two seasons. If you want to do it right the first time, the debate usually comes down to cedar vs pressure treated lumber. Cedar is my personal preference; it’s naturally rot-resistant and looks great in a garden setting, but you’ll pay a premium for it. Pressure-treated wood is much more budget-friendly and will certainly last, but if you’re growing edibles, I’d suggest checking the latest treatment standards to ensure there’s no chemical leaching into your food.
Whatever you choose, don’t let the cost of premium timber stop you from getting started. If you’re on a tight budget, you can always opt for a more economical wood and use raised bed liner options—like a heavy-duty landscape fabric—to create a barrier between the wood and the damp soil. This adds a layer of protection that can significantly extend the life of your structure. The goal isn’t to build a monument; it’s to build a functional system that lets you grow food without constant maintenance.
Optimizing Garden Bed Dimensions for Vegetables and Zero Friction
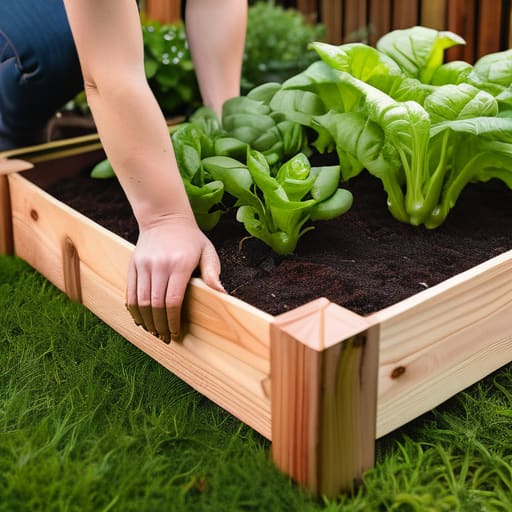
Here is where most people trip up: they build something that looks great on paper but becomes a physical chore to maintain. When determining your garden bed dimensions for vegetables, the golden rule is reach. If your bed is wider than four feet, you’re going to end up stepping into the frame to reach the middle, which compacts your soil and ruins the very system you just built. I always recommend a width of no more than three feet if you have access from both sides, or two feet if it’s against a fence. Keep it narrow enough that you can manage everything from the perimeter without breaking a sweat or losing your posture.
Once you have the footprint set, think about the depth in relation to your long-term workflow. While you don’t need a massive pit to grow a tomato, a depth of at least 12 inches ensures you have enough room for a high-quality raised garden bed soil mix to thrive without hitting hardpan too quickly. If you’re working with sloped terrain, consider adding a bit of extra height or using raised bed liner options to help with stability. The goal isn’t just to grow plants; it’s to create a self-sustaining zone that requires minimal intervention once the season kicks into gear.
Three Small Tweaks to Save Your Back and Your Sanity
- Don’t skip the liner. Even if you’re using rot-resistant cedar, I always line the inside walls with heavy-duty landscape fabric. It keeps the nutrient-rich soil from leaching out through the cracks and prevents the wood from breaking down prematurely. It’s a five-minute task that adds years to the system.
- Level your ground before you commit. It’s tempting to just drop the frame on the grass and call it a day, but an unlevel bed creates uneven drainage and makes the whole thing look sloppy. Spend ten minutes with a spirit level and a shovel to ensure your base is flat; it makes the actual planting process much more predictable.
- Build for reach, not just for looks. I’ve seen too many people build massive, deep beds that look great in photos but end up being a nightmare to maintain because you can’t reach the center without stepping into the soil. Keep your width to four feet maximum. You want to be able to tend to your plants from either side without ever breaking your stride or compacting your soil.
The Bottom Line
Don’t let perfectionism stall your progress; pick a sturdy, rot-resistant wood, build to a scale that fits your reach, and get it in the ground so you can actually start growing.
Focus on reducing friction by designing a system that works with your physical limits and your available space, rather than fighting against them.
## The Philosophy of the Build
“A garden bed shouldn’t be another project on your to-do list that feels like a chore; it should be a well-engineered system that invites you back into the dirt, not one that makes you dread the maintenance.”
Gregory Scott Miller
Getting Your Hands Dirty
At the end of the day, building a raised bed isn’t about achieving architectural perfection; it’s about creating a functional system that works for you. We’ve covered the essentials: picking a rot-resistant wood that won’t fail you in two seasons, sizing your beds so you can actually reach the center without straining your back, and keeping the construction process as lean as possible. By following these steps, you’ve stripped away the unnecessary complexity and built a solid foundation for your garden. You now have a controlled environment that minimizes weeds and maximizes your growing potential, all while maintaining a low-friction setup that won’t demand more time than you actually have to give.
Now that the tools are put away and the structure is set, it’s time to move past the planning phase and into the real work. Don’t let the fear of a little dirt or a minor mistake stop you from starting. The goal isn’t to build a masterpiece; it’s to build a space where you can connect with something tangible. Once that first seed hits the soil, you’ll realize that the real reward isn’t the garden itself, but the peace of mind that comes from knowing you built a system that truly serves you.