
I was staring at a pile of crooked brackets and a handful of mismatched screws last Saturday, wondering why a task that should have taken twenty minutes was turning into a weekend-long battle against my own drywall. Most people think that learning how to install a shelf is all about having the right drill, but they’re missing the point; it’s actually about understanding the physics of your wall before you even pick up a tool. If you treat your home like a series of random obstacles rather than a structured system, you’re going to end up with nothing but wasted effort and holes that lead nowhere.
I’m not here to give you a lecture or a list of expensive, specialized gadgets you’ll never use again. Instead, I’m going to show you a streamlined, repeatable process for how to install a shelf that stays level and holds exactly what you need it to. We’re going to strip away the guesswork and focus on the essential mechanics—from finding the studs to choosing the right anchors—so you can get your space organized and get back to your actual life.
Table of Contents
- Step-by-Step Instructions
- The Precision Approach Measuring for Wall Shelving and Choosing Hardware
- Drilling Into Drywall vs Studs a System for Real World Strength
- Three Ways to Avoid the "Sagging Shelf" Syndrome
- The Bottom Line: Systems Over Shortcuts
- The Philosophy of the Load-Bearing Surface
- Done and Dusted
Guide Overview
Tools & Supplies
- Drill/Driver for making holes
- Level to ensure evenness
- Pencil for marking spots
- Measuring tape for spacing
- Hammer for wall anchors
- Shelf unit (1)
- Wall anchors and screws (1 set)
- Shelf brackets (1 set)
Step-by-Step Instructions
- 1. Before you even pick up a drill, you need to locate your studs. I’ve seen too many people rely on cheap plastic anchors that eventually pull right out of the drywall, leaving a mess of dust and a ruined wall. Use a stud finder to mark the edges of the vertical wood supports behind your drywall; if you can hit a stud, you’ve already won half the battle.
- 2. Once you know where the structural support is, grab your level and a pencil to map out your layout. Don’t just eyeball it—eyeballing leads to crooked shelves, and nothing ruins the “calm and steady” vibe of a room faster than a slanted surface. Mark your holes clearly, and if you absolutely have to install a bracket where there isn’t a stud, make sure you’re using high-quality toggle bolts rather than those flimsy ribbed anchors.
- 3. Now, it’s time to pre-drill your pilot holes. I always keep a small set of drill bits in my kit specifically for this; you want a bit that is slightly smaller than the diameter of your screw. This prevents the wood from splitting and ensures the screw goes in straight and true without fighting the material.
- 4. Position your first bracket and drive the primary screws into your pilot holes. If you’re hitting a stud, you can go straight in with a heavy-duty wood screw. If you’re using an anchor, follow the manufacturer’s instructions to the letter—don’t skip the part where you gently tap the anchor flush against the wall.
- 5. Before you tighten everything down, double-check your level one last time. Place your level across the bracket or the shelf itself to ensure the line is perfectly horizontal. I prefer to leave the screws just a hair loose during this stage so I have a little bit of wiggle room to make fine adjustments.
- 6. Once you’re certain the alignment is perfect, tighten the hardware firmly but with restraint. You want the shelf to feel rock-solid when you give it a test tug, but don’t go overboard and strip the threads or crack the drywall. It’s all about finding that sweet spot where the bracket is immobile and the system is secure.
- 7. Finally, set your shelf in place and perform a load test. Start with something light, like a single book or a small plant, to ensure the mounting is stable. Once you’re confident, you can start adding your gear, knowing that the system is built to last and won’t require constant maintenance or fixing.
The Precision Approach Measuring for Wall Shelving and Choosing Hardware
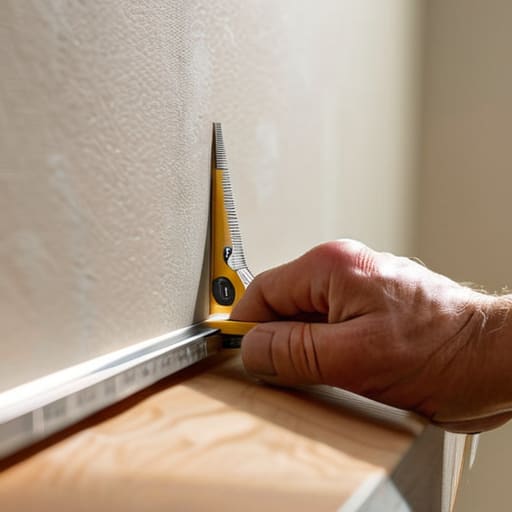
Before you even pick up a drill, you need to get your math right. I’ve seen too many people rush this part, only to end up with a lopsided mess or a shelf that sags after a week. When you’re measuring for wall shelving, don’t just eyeball the distance from the corner; use a tape measure to mark your points at eye level and double-check those marks twice. If you’re planning on storing anything heavier than a single succulent, your priority isn’t just placement—it’s stability. This means you need to know exactly where those wooden supports are hidden behind your plaster or drywall.
This is where most DIY projects hit a snag. You have to make a strategic decision regarding drilling into drywall vs studs. If you can hit a stud, do it—every single time. I always keep a reliable tool in my kit to verify this, as relying on plastic anchors alone is a recipe for a midnight cleanup of broken ceramics. Once you know your anchor points, match your hardware to your intent. If you’re going for a clean, modern look, look into different shelf bracket types that can handle the load without looking like industrial scaffolding. Get the hardware right the first time, and the rest of the job becomes easy.
Drilling Into Drywall vs Studs a System for Real World Strength
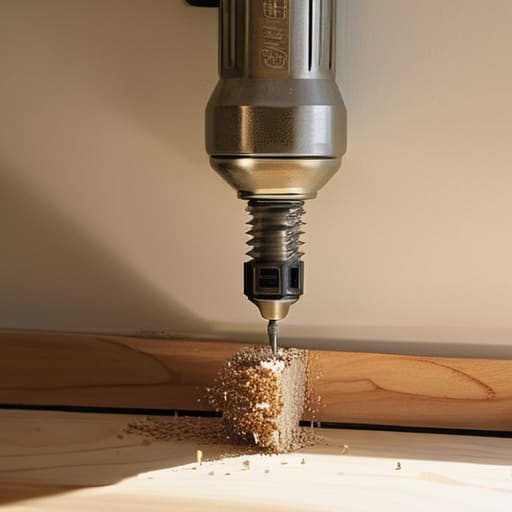
Here is the reality of the situation: if you’re planning on putting anything heavier than a single photograph on that shelf, you need to stop thinking about the drywall and start looking for the wood behind it. I’ve seen too many people rely on cheap plastic anchors only to have their entire project come crashing down a week later. When you’re deciding between drilling into drywall vs studs, the choice is simple: studs provide the structural integrity you need, while drywall is just the decorative skin of your home.
If your layout doesn’t align perfectly with your framing, don’t panic and don’t settle for a flimsy setup. This is where you invest in heavy duty shelf mounting hardware specifically designed for hollow walls, like toggle bolts. They distribute the load more effectively than a standard screw-in anchor. My rule of thumb is to always aim for a stud first; if you can’t, make sure your hardware is up to the task of carrying the weight. It’s better to spend an extra ten minutes planning the load distribution now than spending an hour cleaning up broken plaster later.
Three Ways to Avoid the "Sagging Shelf" Syndrome
- Level it twice, drill once. I’ve seen too many people trust their eyes or a cheap plastic bubble level. Use a decent spirit level and double-check your marks after you’ve set the hardware. If it’s off by even a fraction of a degree, it’ll look crooked the second you put a book on it.
- Account for the “Real World” load. Just because a box of anchors says they can hold 20 pounds doesn’t mean your shelf will feel stable with 20 pounds of heavy cookbooks. I always build in a safety margin; if you think you’re putting 10 pounds on it, treat it like it’s carrying 20.
- Mind the clearance. Before you drive that first screw, stand where you’ll actually be standing in the room. Make sure you aren’t installing a shelf at eye level that’s going to hit your forehead every time you walk past, or one that’s so low it makes the whole room feel cramped.
The Bottom Line: Systems Over Shortcuts
Don’t compromise on the foundation; if you aren’t hitting a stud, use high-quality anchors. A shelf that sags or pulls out of the wall isn’t a tool—it’s just more clutter and friction in your space.
Measure twice, but more importantly, plan for the load. Before you even pick up the drill, know exactly what that shelf is going to carry so your system remains stable and reliable long after the project is done.
The Philosophy of the Load-Bearing Surface
A shelf isn’t just a piece of wood on a wall; it’s a commitment to your environment. If you don’t build it with a system that accounts for gravity and real-world use, you aren’t creating space—you’re just creating a future mess to clean up.
Gregory Scott Miller
Done and Dusted
At the end of the day, installing a shelf isn’t about mastering complex carpentry; it’s about executing a solid plan. We’ve covered the essentials: measuring twice to avoid the headache of crooked lines, selecting hardware that won’t fail under pressure, and knowing exactly when to hunt for a stud versus relying on drywall anchors. If you followed these steps, you haven’t just hung a piece of wood on a wall; you’ve implemented a reliable system that eliminates the guesswork. By focusing on the structural integrity of your setup now, you prevent the frustration of sagging shelves or fallen items later.
Now that the dust has settled and your tools are back in their place, take a second to look at what you’ve accomplished. It’s easy to feel overwhelmed by home projects, but every small win like this builds your confidence and your environment. Don’t let a single shelf be the end of the road; let it be the first step in reclaiming your space. When your surroundings are organized and functional, you stop managing clutter and start focusing on what actually matters.