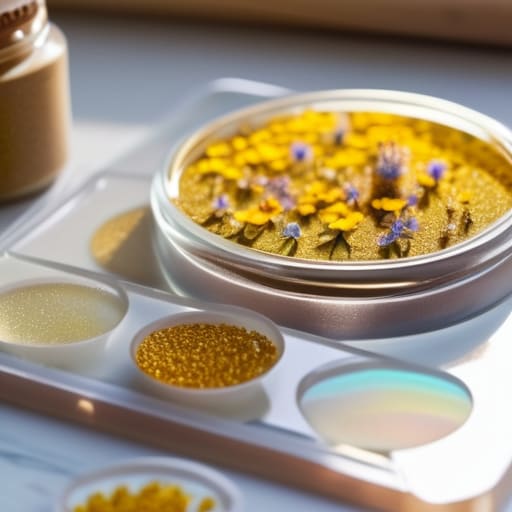

I remember staring at a workbench covered in half-dried globs, expensive silicone molds, and a mountain of specialized tools I didn’t actually need, wondering why my first attempt at resin crafts for beginners looked more like a science experiment gone wrong than a piece of art. Most people will tell you that you need a professional studio or a dozen high-tech gadgets to get started, but that’s just unnecessary friction. In my experience, the more gear you pile onto your desk, the more ways you find to mess up the chemistry.
I’m not here to sell you on a lifestyle or a complex kit; I want to help you build a system that actually works. In this guide, I’m stripping away the fluff to show you the essential tools and the exact, no-nonsense process you need to get clean, professional results. We’re going to focus on mastering the basics so you can stop fighting your materials and start enjoying the process.
Table of Contents
- Step-by-Step Instructions
- Mastering Essential Resin Art Supplies Without the Clutter
- Simple Resin Mixing Ratios for Beginners Who Value Results
- Three Ways to Cut the Friction in Your First Resin Project
- Final Thoughts: Keep It Simple and Functional
- ## The Philosophy of the Process
- Final Thoughts on Your Resin Journey
Guide Overview
Tools & Supplies
- Mixing cups (silicone or plastic for easy cleanup)
- Stirring sticks (wooden or silicone to prevent bubbles)
- Heat gun or torch (to pop surface bubbles)
- Measuring scale (for precise resin-to-hardener ratios)
- Epoxy resin kit (2-part clear resin and hardener)
- Silicone molds (various shapes for casting)
- Pigments or dyes (liquid or powder for coloring)
- Safety gear (nitrile gloves and a respirator mask)
Step-by-Step Instructions
- 1. First, clear a dedicated workspace and set up your ventilation. Resin isn’t something you want to breathe in, so don’t just set it up in a cramped corner of your kitchen. Find a flat, stable surface—ideally near an open window—and lay down a silicone mat or some heavy-duty plastic sheeting. You want a setup that allows for a quick cleanup so you aren’t fighting the mess later.
- 2. Gather only the essentials to avoid “analysis paralysis.” You’ll need a high-quality two-part epoxy resin, a set of graduated mixing cups, and some wooden stir sticks. I’ve learned the hard way that using cheap, flimsy tools leads to uneven mixing, which is a total waste of time and material. Stick to the basics and get them right the first time.
- 3. Precision is everything when it comes to the ratio. Read the instructions on your specific resin brand twice before you even open the bottles; some are 1:1 and others are 2:1. Use your mixing cups to measure out the exact amounts, and if you want to be truly efficient, use a digital scale for accuracy. If your ratios are off, nothing you make will ever truly cure.
- 4. Mix the components slowly and deliberately. This is where most beginners fail by stirring too aggressively and introducing air bubbles into the mixture. Stir in a steady, circular motion, making sure to scrape the sides and the bottom of the cup. You’re looking for a completely clear, consistent liquid with no streaks of unmixed resin visible.
- 5. Prepare your molds and add your elements. Whether you’re using silicone molds for coasters or jewelry, make sure they are bone-dry and free of dust. If you’re adding dried flowers, glitter, or pigments, add them sparingly. My rule of thumb is to keep it simple; overstuffing a mold makes it harder for the resin to flow into the fine details.
- 6. Pour the resin and manage the bubbles. Once you’ve poured your mixture into the mold, you’ll likely see tiny bubbles rising to the surface. Don’t panic. Take a small butane torch or a heat gun and pass it lightly over the surface. The heat will pop the bubbles almost instantly, leaving you with a smooth, professional finish.
- 7. Step away and let the system work. Once the pour is done, cover the piece with a cardboard box to prevent dust from settling on it while it cures. This is the hardest part for people who want instant gratification, but you have to resist the urge to touch it. Let it sit undisturbed for the full duration specified on the packaging—usually 24 hours—before you even think about demolding.
Mastering Essential Resin Art Supplies Without the Clutter
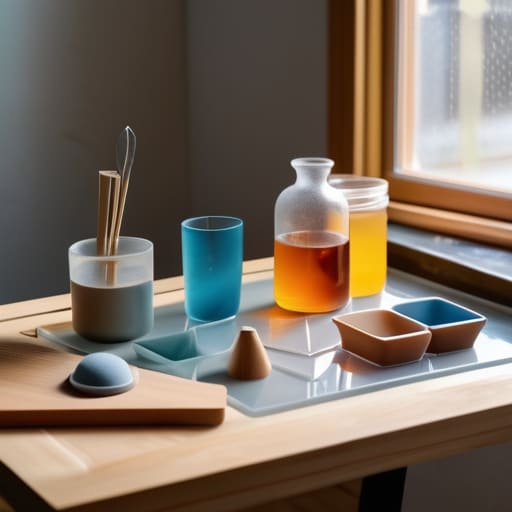
Look, I’ve seen too many people walk into a craft store and come home with a mountain of specialized gear they’ll never touch again. You don’t need a professional studio to get started; you just need the right foundation. Focus on your essential resin art supplies first—specifically a high-quality epoxy, a few basic silicone molds, and a reliable set of measuring cups. I always tell my clients that complexity is the enemy of progress. If you have too much gear cluttering your workspace, you’ll spend more time cleaning than actually creating.
Once you have your kit, the real work is in the details. Most beginners run into trouble because they rush the process. Pay close attention to your resin mixing ratios for beginners; even a slight deviation can leave your project tacky and ruined. I also suggest investing in a decent heat gun or a butane torch. It’s a small addition to your setup, but it’s the most effective way to deal with preventing bubbles in resin without having to overhaul your entire environment. Keep it simple, keep it precise, and let the materials do the heavy lifting.
Simple Resin Mixing Ratios for Beginners Who Value Results

Here’s where most people trip up: they treat resin like paint, guessing until it “looks right.” In my experience, that’s a fast track to a sticky, half-cured mess that ruins your project and wastes your money. Whether you are using a 1:1 or a 2:1 ratio, you have to follow the manufacturer’s instructions to the letter. I always recommend using a digital scale rather than volume measurements; it’s a small shift in your process that significantly increases your accuracy and eliminates the guesswork that leads to failed pours.
Once you have your measurements dialed in, focus on your technique to ensure a clean finish. When you’re combining your resin with resin molds and pigments, stir slowly and steadily. Aggressive mixing is the primary culprit behind trapped air, so if you want to succeed at preventing bubbles in resin, treat the process with a bit of patience. It’s not about moving fast; it’s about moving with intention so the chemistry does the work for you.
Three Ways to Cut the Friction in Your First Resin Project
- Set up a dedicated “wet zone” before you even touch the resin. Don’t hunt for drop cloths or scrap cardboard halfway through a mix; have your workspace prepped, leveled, and protected so you aren’t fighting a losing battle against a sticky mess once the clock starts ticking.
- Stop chasing every trendy pigment on the market. Start with two or three reliable colorants—maybe a single mica powder and a basic alcohol ink—and master how they react with the resin first. You don’t need a massive palette to make something professional-looking.
- Prioritize airflow over aesthetics. A beautiful studio doesn’t matter if you’re breathing in fumes. Keep a window open or a fan running in the background; it’s a simple system that keeps the process safe and your headspace clear.
Final Thoughts: Keep It Simple and Functional
Don’t let the pursuit of the perfect setup stall your progress; start with a few high-quality essentials and refine your system as you go.
Focus on the process rather than the complexity, ensuring your workspace remains organized so that creativity doesn’t turn into a cleanup headache.
## The Philosophy of the Process
“Don’t let the sheer volume of specialized kits and fancy additives intimidate you; resin isn’t about the complexity of your setup, it’s about mastering the basic chemistry so you can stop fighting your materials and start actually creating.”
Gregory Scott Miller
Final Thoughts on Your Resin Journey
At the end of the day, resin work isn’t about having a studio filled with every pigment and mold on the market. It’s about mastering the basics: getting your ratios right, keeping your workspace organized, and using a curated set of tools that actually serve your vision. Once you strip away the unnecessary complexity and focus on the core mechanics of the medium, you stop fighting the material and start working with it. Remember, a clean, efficient setup is the best way to ensure your projects turn out consistent every single time you sit down to work.
Don’t let the fear of a messy mistake keep you from starting. In my experience, the most profound lessons come from the projects that didn’t go quite as planned. Treat every failed pour as a bit of system testing rather than a setback. The goal isn’t perfection; it’s the steady progress of refining your process and reclaiming your creative headspace. Grab your gear, clear a small space on your workbench, and just get started. The best system is the one that actually gets you making things.