
I was sitting in my workshop last Tuesday, trying to focus on a delicate plane blade restoration, when I heard it: that faint, rhythmic hiss coming from the hallway. It’s a small sound, but in a quiet house, it’s a constant drain on your mental bandwidth. Most people think a constant trickle means you need to call a plumber or replace the entire unit, but that’s just unnecessary friction. Usually, learning how to fix a running toilet is less about heavy labor and more about identifying the one tiny component that’s failing your system.
I’m not here to sell you a complex kit or a twenty-step routine that wastes your afternoon. My goal is to help you strip away the noise and get your home back to a state of functional silence. In this guide, I’ll show you exactly how to diagnose the leak, which parts actually matter, and how to swap them out with zero guesswork. We’re going to fix this properly so you can stop worrying about your water bill and get back to what actually matters.
Table of Contents
- Step-by-Step Instructions
- Silent Toilet Leak Detection Finding the Friction in Your System
- Toilet Tank Components Explained Knowing Your Tools Before You Start
- Three Ways to Stop the Friction Before It Starts
- The Bottom Line: Systems Over Symptoms
- ## The Philosophy of the Fix
- Restoring Order to Your Bathroom
Guide Overview
Tools & Supplies
- Adjustable wrench to loosen water supply line
- Screwdriver to tighten or loosen tank bolts/flapper screws
- Hands for manual manipulation of parts
- Replacement flapper (1 unit)
- Replacement fill valve (1 unit)
- Replacement tank lid gasket (1 unit)
Step-by-Step Instructions
- 1. Before you grab a single tool, you need to stop the flow. Reach behind the toilet base and turn the silver shut-off valve clockwise until it stops. If it’s stuck due to age or mineral buildup, don’t force it—you don’t want to snap a pipe. Once the water is off, flush the toilet and hold the handle down to drain as much water as possible from the tank. This clears the workspace and ensures you aren’t dealing with a flood while trying to work.
- 2. Take a quick look inside the tank to identify the culprit. Most of the time, a running toilet is just a faulty flapper—that rubber plug at the bottom that seals the tank from the bowl. Check if the chain is too tight, causing the flapper to stay propped open, or if it’s too long and getting caught underneath the seal. It’s a simple mechanical friction issue that usually requires nothing more than a quick adjustment to the chain length.
- 3. If the flapper looks worn, cracked, or feels slimy to the touch, it’s time to replace it. Reach into the tank and unhook the chain from the handle lever. Then, unclip the flapper from the overflow tube pegs. I always recommend taking the old part with you to the hardware store; don’t guess on the size, because even a millimeter of difference can mean a failed seal and a wasted trip back to the store.
- 4. Install the new flapper by clipping it onto the pegs of the overflow tube and reconnecting the chain. When you attach the chain, leave just enough slight slack so that the flapper sits flush against the seat when the handle is at rest. If the chain is too taut, the flapper won’t seal; if it’s too loose, it might get tangled in the mechanism. It’s all about finding that sweet spot of functionality.
- 5. If the flapper seems fine, your next suspect is the fill valve—the tall assembly that brings water into the tank. Check the float; if it’s set too high, water will constantly spill into the overflow tube. You can usually adjust this by turning a screw on top of the valve or sliding the float clip up or down. The goal is to have the water level stop about an inch below the top of the overflow tube.
- 6. Once you’ve made your adjustments, it’s time to test the system. Turn the water supply valve back on slowly and watch the tank fill. Listen closely for any trickling or hissing. Once the tank is full, wait a few minutes and observe the water level. If the water remains steady and the sound of running water has vanished, you’ve successfully restored order to your bathroom.
- 7. Do a final check by flushing the toilet a couple of times. Ensure the chain moves freely and the flapper drops back into place every single time. If everything is quiet and the tank refills efficiently, you’re done. You’ve just eliminated a source of waste and noise, allowing your home to work for you again without the constant distraction.
Silent Toilet Leak Detection Finding the Friction in Your System

Sometimes, the most frustrating problems are the ones you can’t actually hear. A toilet doesn’t always roar; often, it just slowly bleeds water, wasting gallons without making a sound. To perform a proper silent toilet leak detection, I always reach for my notebook and a few drops of food coloring. Drop some coloring into the tank—not the bowl—and wait fifteen minutes without flushing. If that color starts creeping into the bowl, you’ve found your friction. It’s a simple, low-tech diagnostic that saves you from guessing which part is failing.
Usually, this tells me I’m looking at a failed seal or a need for a toilet flapper replacement. If the color stays put, the leak might be more subtle, potentially involving the overflow tube or a misaligned float. I’ve learned that most issues stem from a lack of calibration rather than a total mechanical failure. Before you go out and buy a whole new assembly, try a quick toilet fill valve adjustment to ensure the water level isn’t constantly spilling over the top. It’s about tuning the system rather than just replacing parts.
Toilet Tank Components Explained Knowing Your Tools Before You Start
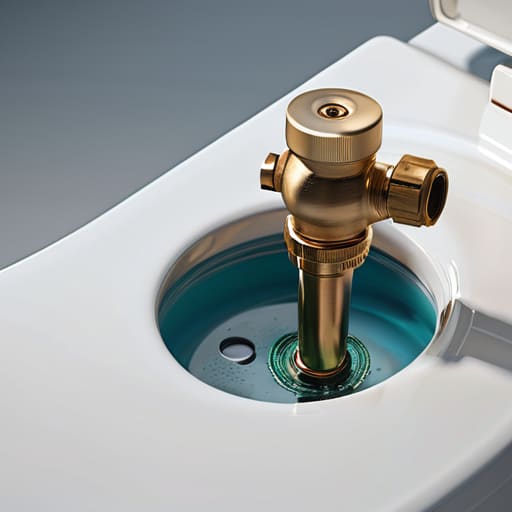
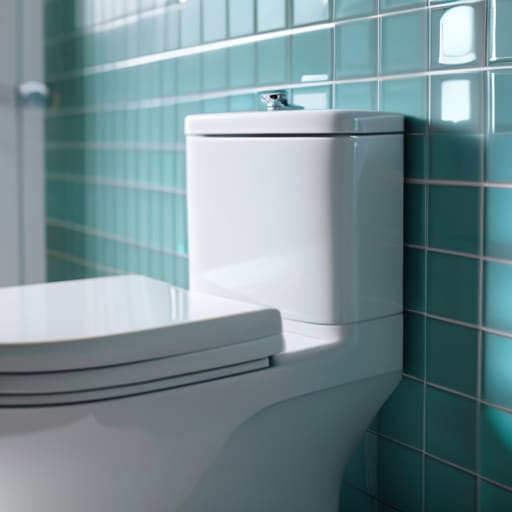
Before you dive in with a wrench, you need to understand the mechanics of what’s actually happening inside that tank. Think of it like a small-scale hydraulic system; every part has a specific job to do to maintain equilibrium. You’ve got the fill valve, which brings the water in, and the flush valve, which manages the exit. When these systems fall out of sync, you end up with wasted water and a constant, nagging sound. Most issues boil down to a simple breakdown in the chain of command between these components.
In my experience, most “mysterious” leaks are actually just simple mechanical failures. A worn-out rubber seal is the most common culprit, often requiring a straightforward toilet flapper replacement to restore the seal. If the water level is consistently too high, you’re likely looking at a toilet fill valve adjustment rather than a broken part. Take a moment to look inside and identify these pieces. Once you know which component is causing the friction, you can stop guessing and start fixing.
Three Ways to Stop the Friction Before It Starts
- Don’t just swap parts; inspect the seat. If your flapper isn’t seating perfectly because of mineral buildup or a warped rim, a brand-new rubber seal won’t solve your problem. Wipe the rim clean with a sponge to ensure a flush, airtight connection.
- Check your water level, not just your hardware. If the water level in the tank is hitting the overflow tube, no amount of tinkering with the flapper will stop the cycle. Adjust your float so the water stops about an inch below that tube to keep the system in balance.
- Avoid the “over-tightening” trap. When you’re replacing bolts or adjusting the fill valve, remember that more force doesn’t mean more stability. Over-tightening can crack the porcelain or strip the threads, turning a simple fix into a much more expensive headache.
The Bottom Line: Systems Over Symptoms
Don’t just patch the leak; identify the component that failed so you can prevent the friction from returning next month.
Treat your home like a system—when one part isn’t working, it’s an opportunity to optimize the whole setup for better efficiency and less waste.
## The Philosophy of the Fix
“A running toilet isn’t just a waste of water; it’s a constant, low-level friction in your environment that drains your focus and your resources. Fixing it isn’t about complex plumbing—it’s about restoring the quiet efficiency your home deserves.”
Gregory Scott Miller
Restoring Order to Your Bathroom
Fixing a running toilet doesn’t require a degree in plumbing or a massive toolkit; it just requires a bit of patience and a systematic approach. We’ve walked through identifying the culprit, whether it’s a worn-out flapper, a misaligned float, or a faulty fill valve, and we’ve looked at how to swap those parts out without making a mess. By addressing these small mechanical failures, you’ve effectively eliminated a constant source of waste and stopped that mindless, rhythmic trickling that disrupts your home’s quiet. You didn’t just fix a leak; you reclaimed control over a piece of your environment that was working against you.
At the end of the day, my goal isn’t just to help you save a few dollars on your water bill. It’s about the satisfaction of knowing that the systems in your home are actually doing their jobs. When we take the time to maintain our surroundings, we strip away the small, nagging frictions that drain our mental energy. Don’t let a minor repair become a source of ongoing frustration. Fix the problem, clear the mental clutter, and get back to focusing on the things that truly matter.