
I was standing in my garage last Saturday, staring at a scarred, mid-century sideboard I’d picked up at a local estate sale, feeling that familiar itch of frustration. Most people will tell you that you need a workshop full of expensive sanders and a dozen different chemical strippers to get the job done, but that’s just more clutter in a life that’s already too busy. The truth is, learning how to refinish furniture isn’t about buying every gadget on the shelf; it’s about understanding the material in front of you and stripping away the unnecessary steps that lead to burnout.
I’m not here to sell you on a complicated, multi-week ordeal that leaves your house smelling like a chemical plant. Instead, I want to show you a streamlined, logical system to breathe new life into your old pieces without the headache. We’re going to focus on the essential tools, the right sequence of operations, and the few high-impact moves that actually matter. By the end of this, you’ll have a repeatable process that turns a piece of junk into a functional part of your home.
Table of Contents
Guide Overview
Tools & Supplies
- Sandpaper (various grits for smoothing)
- Screwdriver (to remove hardware)
- Paintbrush or foam roller (for application)
- Tack cloth (to remove dust)
- Wood filler (small container for cracks)
- Primer (1 quart for base coat)
- Paint or stain (1 quart for finish)
- Degreaser or soap (small amount for cleaning)
Step-by-Step Instructions
- 1. First, clear your workspace and strip the piece down to its bare essentials. Remove all hardware—knobs, hinges, and pulls—and set them aside in a labeled container so you aren’t hunting for them later. If the piece has any structural issues, like a loose joint or a wobbly leg, fix those now before you worry about the aesthetics. A beautiful finish on a broken chair is just a distraction from the real job.
- 2. Get your stripping agent or sandpaper ready to tackle the old finish. If you’re dealing with a heavy, thick varnish, a chemical stripper is often the most efficient way to break it down without spending hours sanding. My rule is to work with the grain, never against it, to avoid leaving deep scratches that will haunt you once the new coat goes on. If you’re sanding, start with a lower grit and gradually work your way up to a finer finish.
- 3. Once the old finish is gone, the real work of cleaning begins. Use a tack cloth or a slightly damp microfiber cloth to remove every single speck of dust. I’ve seen too many people rush this step, only to find their new finish looks like it has sand trapped under the surface. You want the wood to be completely pristine before you move to the next phase.
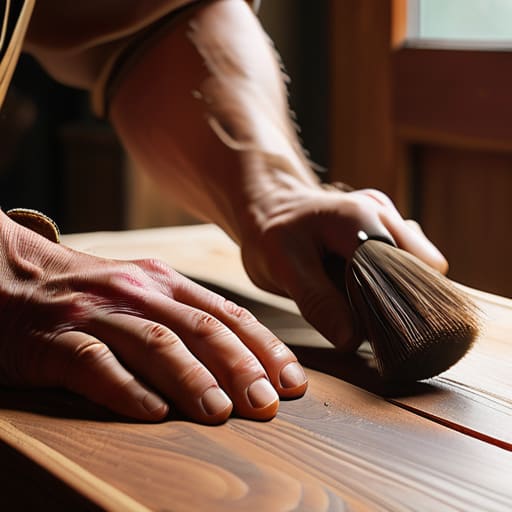
- 4. Now, it’s time to apply your stain or oil. Instead of using a brush that might leave streaks, I prefer using a clean, lint-free rag to rub the product into the wood. Apply it in thin, even layers, following the natural direction of the grain. If you want a darker look, don’t just keep piling it on; instead, build the color slowly with multiple light coats. This prevents the finish from looking muddy or uneven.
- 5. After the stain has settled, apply your protective topcoat. Whether you choose a matte polyurethane or a simple wax, the goal is to create a barrier that serves the piece. Apply the coating in long, continuous strokes to minimize visible lines. Remember, the goal isn’t to add a thick, plastic-looking shell, but to protect the wood while letting its natural character show through.
- 6. Let the piece cure in a dust-free environment. This is usually where people fail—they get impatient and try to use the furniture too soon. A finish might feel dry to the touch in a few hours, but it hasn’t actually hardened. Give it the time it needs to settle properly so the system you’ve built—the piece itself—is durable and functional for years to come.
Mastering Wood Stripping Techniques Without the Mess
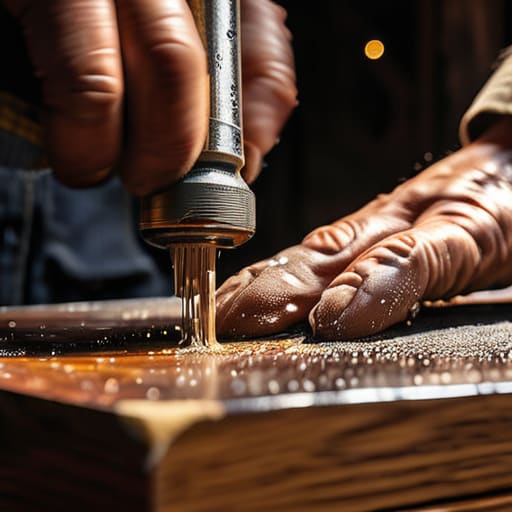
The biggest mistake I see people make is treating stripping like a brute-force battle. If you try to hack through layers of old finish with sheer willpower, you’ll end up gouging the wood and creating more work for yourself. Instead, think of it as a chemical process. When you’re removing old varnish, patience is your best tool. Apply your stripper, let it do the heavy lifting, and wait. If you rush it, you’ll just end up with a gummy, inconsistent mess that makes the next steps a nightmare.
Once the finish is off, the real work begins with wood grain preparation. This is where most people fail by jumping straight to sanding. I always recommend a thorough cleaning with mineral spirits first to ensure no residue is trapped in the pores. This ensures that when you eventually move on to applying wood stain tips, the color goes on evenly rather than splotching. Keep your workspace organized and your tools clean; a little bit of discipline here saves you hours of frustration later.
The Essential Furniture Sanding Grits Guide for Real Results
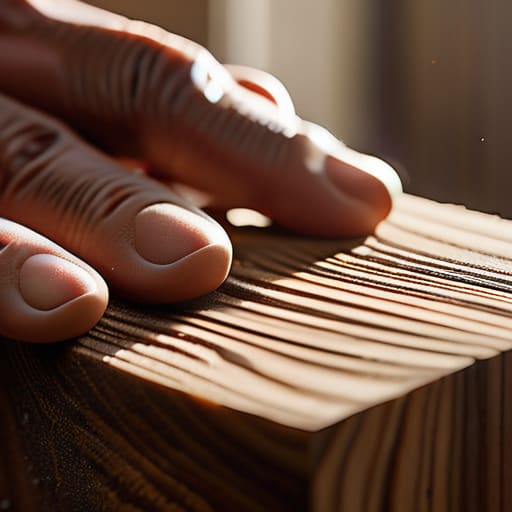
Once you’ve finished removing old varnish, the real work begins. I’ve seen too many people rush this stage, thinking a quick pass with a high-grit paper will do the trick. It won’t. If you don’t follow a logical progression, you’ll end up with swirl marks that show up even more prominently once you start applying wood stain tips later on. Think of sanding as a way to level the playing field; you’re not just smoothing the surface, you’re performing critical wood grain preparation.
Start with a coarse grit—around 80 or 100—to knock down any remaining imperfections or deep scratches left from the stripping process. From there, move to 150, and finish with 220. The secret is to never skip more than one grit level at a time. If you jump from 80 straight to 220, you’re just polishing the scratches instead of removing them. Treat this like any other system: consistency is more important than speed. Do the work right now so you aren’t fighting the finish later.
Three Ways to Stop Friction and Start Finishing
- Control your environment before you touch the wood. If you’re working in a garage or a spare room, set up a dedicated “clean zone” with heavy-duty drop cloths and a high-quality shop vac nearby. Nothing kills your momentum faster than having to stop every five minutes to clean up a mess that’s spreading into your living space.
- Don’t overcomplicate your finish selection. I’ve seen people get paralyzed trying to choose between twenty different stains and waxes, but the goal is a functional, durable surface. Pick one high-quality oil or a simple polyurethane that matches your lifestyle—if you have kids or pets, go for something with a bit more protection and call it a day.
- Listen to the wood, not just the tools. When you’re applying a finish, it’s easy to get caught up in the mechanical process, but you need to watch how the liquid reacts to the grain. If it’s pooling or drying unevenly, don’t just keep pushing; step back, reassess, and adjust your technique. A little patience saves you from hours of unnecessary corrective sanding later.
Cutting Through the Noise: My Final Thoughts
Don’t get paralyzed by perfection; the goal isn’t a showroom finish, it’s a functional, beautiful piece that fits your life without costing you a month of your time.
Focus on the prep work—stripping and sanding are where the real systems are built—because a smooth surface is the only way to ensure the final finish actually lasts.
The Philosophy of Restoration
Refinishing isn’t about chasing a factory-perfect finish; it’s about stripping away the layers of neglect to reveal the quality that was already there. When you stop trying to mask imperfections and start respecting the material, you stop fighting the wood and start working with it.
Gregory Scott Miller
The Finish Line
At the end of the day, refinishing furniture isn’t about chasing some unattainable perfection; it’s about following a reliable process. We’ve covered how to strip away the old layers without creating a chaotic mess, how to select the right sanding grits to smooth out the imperfections, and how to prep the surface for a lasting finish. If you stick to these fundamentals—focusing on consistent movement and the right sequence—you won’t find yourself fighting the wood. You’ll simply be applying a system that turns a tired piece of history into something functional and beautiful again.
Don’t let the fear of making a mistake keep you from starting. Most of these “imperfections” are just opportunities to refine your technique. When you finish that last coat and step back to look at what you’ve done, you aren’t just looking at a piece of furniture; you’re looking at reclaimed time and space. You’ve taken something that was clutter and turned it into an asset. Now, go grab your tools and get to work.