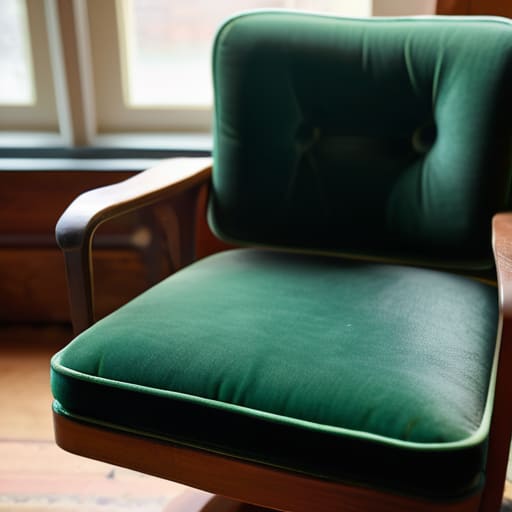

I was staring at that mid-century armchair in my living room last Tuesday, watching a loose thread from the faded upholstery dangle like a taunt. Most people look at a piece like that and see a landfill candidate or a daunting, expensive professional project, but they’re wrong. Learning how to reupholster a chair isn’t about mastering high-end couture sewing; it’s about understanding the mechanical tension of the fabric and having the right basic tools to do the job right.
I’m not here to sell you on a complex, twenty-step artisanal process that requires a dedicated studio. Instead, I’m going to show you a streamlined system to strip the old junk away and secure new fabric so it actually stays put. We’re going to focus on the essential movements and the few tools that actually matter, stripping away the friction so you can transform your space without wasting an entire weekend on trial and error.
Table of Contents
Guide Overview
Tools & Supplies
- Staple gun and staples for securing fabric
- Pliers for pulling old staples and tacking fabric
- Scissors for trimming excess material
- Upholstery needle and heavy-duty thread for sewing cushions
- Measuring tape for calculating fabric dimensions
- Upholstery fabric (2-3 yards depending on chair size)
- High-density foam or batting for padding
- Spray adhesive for securing foam
- Fabric trim or welt cord for decorative edges
Step-by-Step Instructions
- 1. Before you touch a single tool, you need to strip the chair down to its bones. Flip it over, remove the dust cover on the bottom, and carefully pull out the old fabric. I always tell my clients that you can’t optimize a system if you don’t understand the underlying structure. Keep the old fabric, even if it’s shredded; you’ll need it as a template to ensure your new material fits perfectly without wasting a single inch of expensive cloth.
- 2. Inspect the foundation. Once the old fabric is gone, look at the padding and the webbing. If the foam is crumbling into orange dust, don’t try to save it—replace it. I prefer using high-density foam that actually holds its shape over time. If the springs feel loose, tighten them now. There is no point in putting beautiful new fabric over a broken foundation.
- 3. Lay out your new fabric and map it against your old pieces. Lay the old fabric scraps on top of the new material to mark your cutting lines. Always leave an extra inch or two of “wiggle room” around the edges. It’s much easier to trim away excess than it is to realize you’ve cut the piece too short halfway through the job.
- 4. Start stapling from the center and work your way out. This is where most people mess up by rushing. Start with one staple in the center of the front, then one in the center of the back, then the sides. You want to create even tension across the entire surface. If you pull too hard on one side, the fabric will bunch up or wrinkle, and you’ll be fighting that ghost for the rest of the afternoon.
- 5. Manage your corners with precision. Corners are the most common failure point in DIY upholstery. Instead of just bunching the fabric into a lump, fold it like you’re wrapping a gift—neat, tight, and intentional. A clean corner is the difference between a chair that looks like a professional made it and one that looks like a high school art project.
- 6. Finish the underside with a clean dust cover. Once the top is tight and the corners are tucked, pull a piece of black cambric or heavy landscape fabric over the bottom of the chair. Staple it securely to the wooden frame. This isn’t just for aesthetics; it keeps the dust out and hides all your messy staples, giving the whole project a polished, professional finish.
Eliminate the Friction Essential Upholstery Tools and Supplies
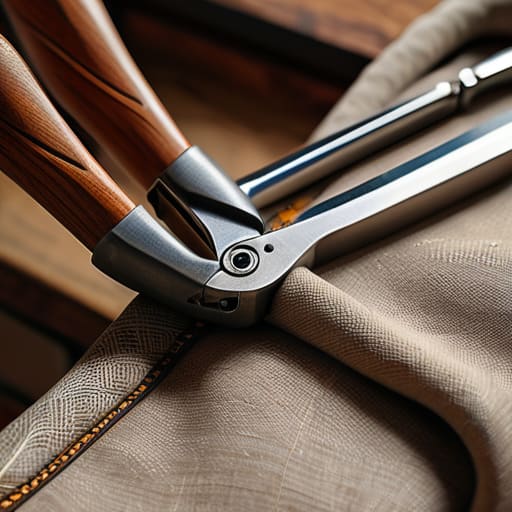
Look, you don’t need a professional workshop to get this done, but you also shouldn’t try to wing it with kitchen scissors and a cheap office stapler. If you want the result to actually last, you need to invest in a few decent upholstery tools and supplies before you even touch the chair. I always tell my clients: friction comes from being unprepared. Grab a heavy-duty manual staple gun—one that actually feels solid in your hand—and a pair of sharp fabric shears. If you’re working with something more complex, a pair of pliers will save you a massive headache when you’re pulling out those stubborn, old staples.
When it comes to the guts of the piece, don’t skip the step of replacing chair foam and padding. It’s easy to just slap new fabric over the old, sunken foam, but that’s a recipe for a chair that feels like sitting on a piece of plywood in six months. While you’re at it, do a quick check on your fabric selection for upholstery; make sure it has enough weight to handle the tension without stretching out of shape. It’s better to spend an extra twenty minutes prepping the foundation now than to have to strip the whole thing down and start over next year.
Mastering the Foundation Replacing Chair Foam and Padding
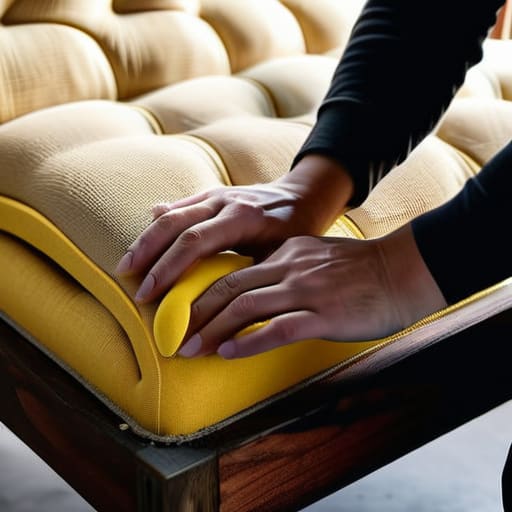
Most people focus so much on the new fabric that they completely ignore what’s happening underneath. If you’re pulling off the old layers, don’t just slap new cloth over a sagging seat. Replacing chair foam and padding is where you actually determine if the chair will be comfortable for the next decade or if it’ll be a pain in the neck by next month. I always recommend stripping it down to the frame to inspect the springs first. If the bones are solid, go ahead and swap out that compressed, crumbly old foam for something high-density.
When you’re layering the new materials, remember that order matters. I like to start with a layer of polyester batting over the foam; it smooths out the edges and prevents the fabric from bunching or showing the harsh lines of the foam underneath. It’s a small step, but it’s the difference between a DIY project that looks “homemade” and one that looks professionally finished. Take your time here—you can’t fix a bad foundation once the fabric is stapled down.
Three Pro-Tips to Save Your Sanity (and Your Fabric)
- Take photos of everything before you pull a single staple. I can’t tell you how many times I’ve seen someone strip a chair down to the frame and then realize they have no idea how the original tension or pattern alignment worked. Document the “before” state from three different angles; it’s your blueprint for when things get complicated.
- Don’t skimp on the pattern matching. If you’re using a fabric with a directional print or a repeat, lay it out on the floor and mark your center points with chalk before you even touch the stapler. It’s much easier to adjust a piece of fabric on the floor than it is to try and fix a crooked pattern once it’s already pinned to the frame.
- Work in small, controlled increments. The biggest mistake I see is people trying to pull the fabric tight across the whole width at once, which inevitably leads to unsightly wrinkles or puckering. Instead, staple the center of each side first to create a “cross” of tension, then work your way toward the corners. It keeps the tension even and prevents the fabric from shifting under your hands.
The Bottom Line
Don’t overcomplicate the process with expensive, specialized machinery; focus on getting your tension right and your staples straight, and the chair will hold up for years.
Treat the structural prep—the foam, the webbing, and the padding—as the most important part of the system, because even the most beautiful fabric can’t hide a poor foundation.
The Philosophy of Restoration
“Reupholstering a chair isn’t about chasing perfection or buying the most expensive fabric on the shelf; it’s about reclaiming a piece of utility that was meant to last, and stripping away the wear and tear so your home actually feels like yours again.”
Gregory Scott Miller
The Finished Result
At the end of the day, reupholstering a chair isn’t about achieving perfection or following a professional tailor’s manual. It’s about the execution of a solid system: stripping it down, replacing the old, degraded foam, and securing your new fabric with consistent, purposeful tension. You’ve moved from a piece of broken furniture to a functional asset in your home by focusing on the foundation rather than just the surface. Once you’ve mastered the staples and the padding, you’ve effectively eliminated the friction that was making your living space feel cluttered or neglected.
Don’t let the fear of a few crooked staples stop you from starting. Most of the time, we overcomplicate these tasks in our heads, but the reality is much simpler: just grab your tools and get to work. When you finish that last corner and step back to look at the chair, you aren’t just seeing a piece of furniture; you’re seeing the tangible result of taking control of your environment. That’s how we reclaim our space, one practical project at a time.