

I was standing in my living room last Tuesday, staring at those flimsy, mass-produced panels I’d bought online, feeling like my entire space was being undermined by cheap fabric. They looked nothing like the high-end linen I wanted, and the cost of custom window treatments felt like a total racket. That’s when it hit me: we don’t need a massive budget or a degree in interior design to fix this; we just need a better system for diy curtains. Most people think you need a sewing machine and a week of free time to get this right, but that’s a total myth that keeps most people from actually taking control of their environment.
I’m not here to sell you on some complicated, multi-step craft project that leaves your house looking like a middle school art room. Instead, I’m going to show you how to strip away the friction and build functional, professional-looking window coverings using a few straightforward methods that actually work. We’re going to focus on high-quality materials, simple hardware, and a process that respects your time. Let’s get those windows covered so you can stop looking at the clutter and start enjoying your home.
Table of Contents
Guide Overview
Tools & Supplies
- Fabric scissors for clean cutting
- Sewing machine for stitching hems
- Measuring tape for accurate sizing
- Iron and ironing board for crisp edges
- Pins or clips to hold fabric in place
- Fabric (2-3 yards depending on window size)
- Thread (1 spool matching fabric color)
- Curtain tape or header tape (1 roll)
- Measuring tape (1 unit)
Step-by-Step Instructions
- 1. First, you need to stop guessing and actually measure. Grab that tape measure from your toolkit and measure the width of your window, then add at least six to twelve inches on each side. If you want the room to feel larger and more intentional, measure from the top of the window frame to the floor. You aren’t just covering glass; you are defining the vertical lines of the room.
- 2. Pick your fabric with a systems-thinking mindset. Don’t just go for what looks pretty on a swatch; consider the weight and the light filtration. For a bedroom where you need to reclaim sleep, go for a heavy linen or a blackout weave. For a living area, a lighter cotton works fine. Just make sure you buy more than you think you need to account for the hems and the folds.
- 3. Lay your fabric out on a flat, clean surface—ideally a large dining table or a cleared spot on the floor. Use a rotary cutter or sharp fabric shears to cut your panels to the length you calculated earlier. I always add an extra three or four inches to the total length to allow for the top header and the bottom hem. Precision at this stage prevents a lot of frustration once the sewing starts.
- 4. Now, let’s tackle the hems. Fold the raw edge of the fabric up by half an inch and press it flat with an iron. Do this twice for the side edges and the bottom to create a clean, professional-looking finish. Ironing isn’t just for your shirts; it is the secret to a straight seam that doesn’t look like a high school art project.
- 5. Time to stitch. If you have a sewing machine, use a straight stitch to secure those folded edges. If you’re working with a fabric that’s too stubborn or you simply don’t want to deal with the machine, a high-quality fusible web tape can work in a pinch. Just remember that the goal is durability, so don’t skimp on the structural integrity of the seam.
- 6. Decide on your hanging method before you finish the top edge. If you’re using a traditional rod, a simple rod pocket is easiest: fold the top edge over and sew a channel wide enough for your rod to slide through. If you want a more modern, minimalist look, consider sewing on small curtain rings instead. This choice will dictate how the fabric drapes and moves when you walk past it.
- 7. Finally, hang them up and let them settle. Don’t expect them to look perfect the second they hit the rod. Give them a quick steam or a light spray with water to help the wrinkles drop out. Once they are up, step back and look at the room as a whole. If the lines are clean and the light is controlled, the system is working.
Mastering Fabric Selection for Window Treatments Without the Friction
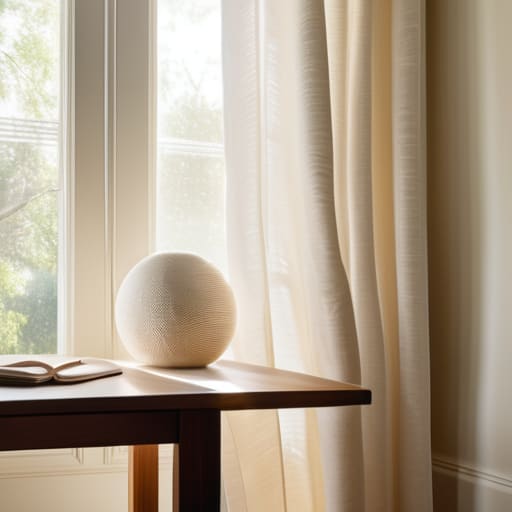
Look, the biggest mistake I see people make is getting caught up in the “look” of a fabric without considering how it actually performs in a room. You might find a stunning velvet that looks great in a showroom, but if you’re trying to manage light in a home office, it’s going to be a nightmare. When you’re diving into fabric selection for window treatments, you need to think about weight and opacity first. A heavy linen provides a structured, high-end feel that hides imperfections in your window frames, while a lighter cotton weave keeps things breezy and casual.
Don’t let the technical side intimidate you, either. If you aren’t looking to spend a fortune on professional sewing, keep your toolkit simple. I always recommend picking up some iron-on hem tape for fabric edges to avoid the frustration of a sewing machine. It’s a massive time-saver that yields clean, professional results without the steep learning curve. Focus on materials that are easy to clean and hold their shape; after all, a system only works if it’s low-maintenance.
Precision Measuring How to Measure Windows for Curtains Correctly
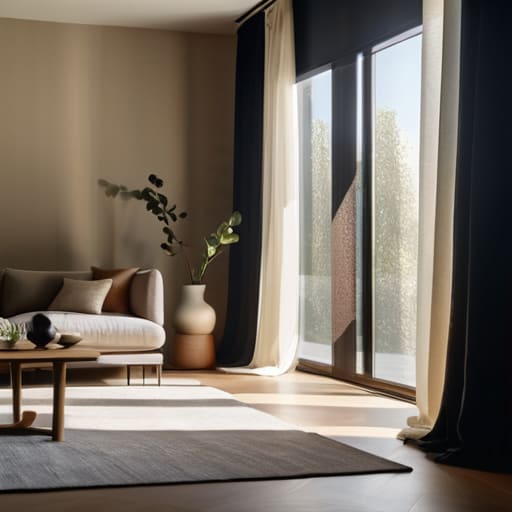
Look, I’ve seen too many people rush this part, only to realize halfway through that their beautiful new fabric looks like a cheap tablecloth because the proportions are off. If you want to master how to measure windows for curtains, you have to stop thinking about the glass and start thinking about the wall. Measure the width of your window frame, then add at least six to ten inches on each side. This creates that intentional, high-end look rather than a tight, skimpy fit that fails to block light or provide privacy.
Next, let’s talk about the vertical drop. Don’t just measure from the top of the window; measure from where you actually plan to mount the rod. I usually aim for about four to six inches above the frame to draw the eye upward and make the room feel larger. Once you have those numbers, double-check your math before you even touch your shears. It’s much easier to trim excess material later than it is to try and stretch a short curtain across a wide window.
Three Ways to Avoid the DIY Headache
- Don’t skimp on the hardware. You can have the most beautiful fabric in the world, but if you’re fighting a flimsy, bending curtain rod every single morning, the system has failed. Invest in a solid, weighted rod that matches the scale of your window.
- Account for “the sag.” Fabric isn’t rigid like wood; it stretches and settles. When you’re planning your length, always add an extra inch or two to your measurements to ensure your curtains don’t end up hovering awkwardly two inches above the floor like a failed science experiment.
- Think about light control, not just looks. If you’re doing this for a bedroom, a heavy linen might look great, but it won’t stop the sun from waking you up at 5:00 AM. If you need darkness, plan to layer a simple blackout liner behind your chosen fabric from the start.
The Bottom Line
Don’t get paralyzed by choice; pick a fabric that handles light the way you want it to and move on to the installation.
Accuracy in your measurements is the difference between a professional finish and a project that looks like a mistake—measure twice, cut once, and trust the system.
The Philosophy of a Functional Window
Don’t get distracted by the lace or the patterns; a good curtain is simply a tool to control light and privacy. If it doesn’t hang straight and function without a fight, it’s just more clutter in your way.
Gregory Scott Miller
Finishing the Job
At the end of the day, making your own curtains isn’t about achieving some unattainable Pinterest perfection; it’s about executing a solid plan. You’ve picked the right fabric, you’ve measured with precision, and you’ve stripped away the unnecessary complexity that usually makes home projects feel like a chore. By focusing on the functional fundamentals—getting the measurements right and choosing materials that actually suit your lifestyle—you’ve built a system that works. You didn’t need a massive budget or a professional installation crew to change the way your room feels. You just needed a reliable process and the willingness to pick up the tools.
Don’t let the fear of a slightly crooked stitch stop you from finishing this project. Your home is a living system, and it is constantly evolving based on the choices you make. Every time you tackle a small DIY task like this, you are reclaiming a bit of your environment and reducing the friction in your daily life. Stop waiting for the “perfect” moment to upgrade your space. Get those curtains up, clear the mental clutter, and start enjoying a home that finally serves you.