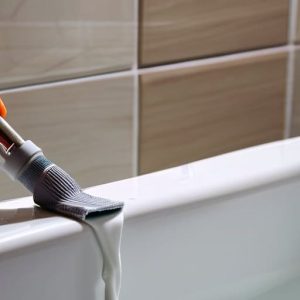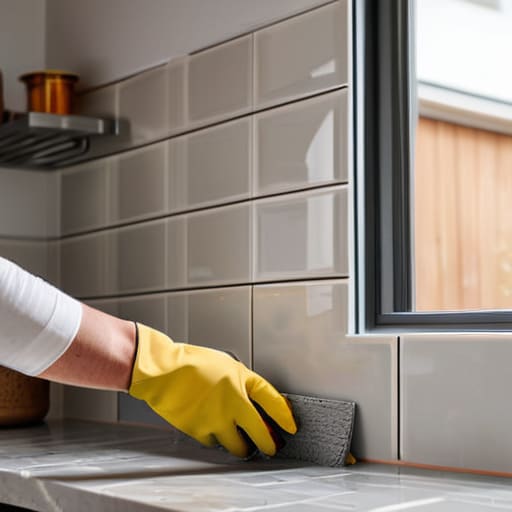

I was standing in my kitchen last summer, staring at a pile of expensive subway tiles and a half-empty bag of thin-set, feeling completely defeated by a YouTube tutorial that promised “effortless results.” The truth is, most guides make a simple project feel like a high-stakes engineering feat, leaving you more stressed than when you started. If you’re trying to figure out how to tile a backsplash, you don’t need a masterclass in masonry; you just need to stop overcomplicating the process.
In this guide, I’m going to strip away the fluff and give you a repeatable system that actually works in a real, messy kitchen. I’ll walk you through the essential tools, the layout logic that prevents those dreaded crooked lines, and the small tricks I use to keep things clean and efficient. We aren’t aiming for perfectionism here—we’re aiming for a functional, beautiful result that serves your home without draining your sanity.
Table of Contents
Guide Overview
Tools & Supplies
- Tile cutter or wet saw for shaping tiles
- Notched trowel for applying adhesive
- Rubber grout float for spreading grout
- Spacers to maintain even gaps
- Level to ensure straight rows
- Backsplash tiles (area + 10% extra)
- Tile adhesive or mastic (1-2 containers)
- Grout (1 bag based on area)
- Tile spacers (1 pack)
- Caulk (1 tube for corners/edges)
Step-by-Step Instructions
- 1. Before you even touch a bag of mortar, you need to prep your workspace. Clear everything off the counters and wipe down the wall with a degreaser. If you’re tiling over old paint, make sure it’s not peeling; if it is, scrape it off. I’ve learned the hard way that trying to build a new system on a flawed foundation is just asking for a headache later.
- 2. Next, get your layout planned out. Don’t just start sticking tiles in the corner and hope for the best. Find the center point of your backsplash and dry-lay your tiles on the counter first. This lets you see how the pattern flows and helps you avoid ending up with a tiny, awkward sliver of tile at the edges. It’s all about minimizing visual friction.
- 3. Now, it’s time to apply the thin-set mortar. Use a notched trowel to spread the mortar onto a small section of the wall at a time. You want to create even ridges with the trowel; if you glob it on too thick, the tiles will slide, and if it’s too thin, they won’t bond. Think of it like optimizing a workflow—consistency is your best friend here.
- 4. Press your tiles into the mortar with a firm, steady pressure. Once a tile is set, don’t touch it again. As you go, use spacers to keep your grout lines perfectly uniform. If you try to eyeball the spacing, you’ll end up with a crooked mess that will drive you crazy every time you cook a meal.
- 5. Once the tiles are set and the mortar has dried (usually about 24 hours), it’s time for grouting. Mix your grout to a peanut butter consistency and use a rubber grout float to push it into the gaps. Work in small sections and don’t let the grout dry too hard on the face of the tiles. Use a damp sponge to wipe away the excess, keeping the movement clean and efficient.
- 6. The final step is the cleanup and seal. After the grout has cured, wipe down the tiles with a clean, dry microfiber cloth to remove any residual haze. If you’re using natural stone or certain cementitious grouts, apply a sealer to protect the surface from kitchen grease and spills. A good sealer is a low-effort, high-reward investment for the long-term maintenance of your kitchen.
Smart Backsplash Material Selection and Layout Planning
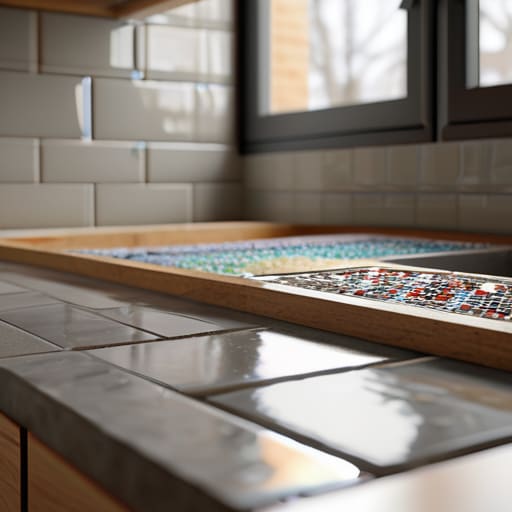
Before you even touch a trowel, you need to get your head in the game regarding backsplash material selection. I’ve seen too many people jump into a kitchen wall renovation only to realize halfway through that their chosen tile is a nightmare to work with. If you’re looking for something forgiving, go with a classic subway tile installation; the straight lines are predictable and easy to manage. If you’re opting for something more complex, like a mosaic or a heavy stone, just know that your margin for error shrinks significantly.
Once you’ve picked your material, don’t wing the geometry. Effective tiling layout planning is what separates a professional-looking finish from a DIY disaster. I always grab my notebook and map out the center point of the wall first, working outward to ensure you don’t end up with tiny, awkward slivers of tile in the corners. It’s about minimizing visual friction. Take the extra twenty minutes to dry-lay a few rows on your counter. It’ll save you hours of frustration once the adhesive is actually wet.
Mastering Subway Tile Installation and Adhesive Application
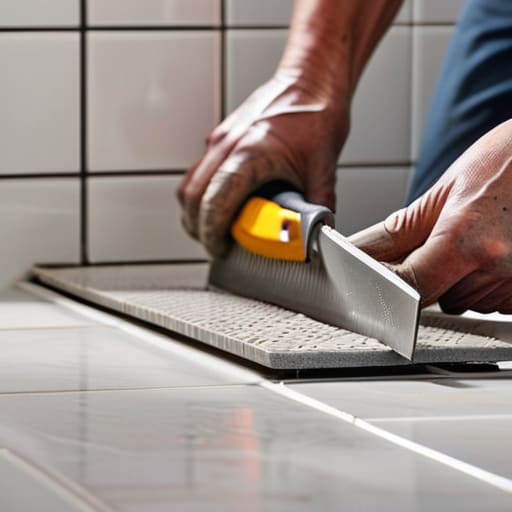
When it comes to subway tile installation, the secret isn’t in the tile itself, but in how you manage the surface underneath. I’ve seen too many people rush the tile adhesive application, spreading it too thin or letting it skin over before the tile is set. You want a consistent, notched layer that actually grips the wall. If you’re working on a kitchen wall renovation, remember that your substrate needs to be clean and flat; if it isn’t, you’re just fighting a losing battle against gravity and uneven lines.
Once the adhesive is down, don’t rely on guesswork to keep things straight. This is where you use your grout spacing tools—those little plastic spacers are your best friends for maintaining a uniform look. I always tell people to work in small sections to avoid the adhesive drying out prematurely. It’s much easier to maintain a steady rhythm when you aren’t racing against a clock. Focus on the consistency of your joints, and the rest of the project will practically take care of itself.
Three Ways to Cut the Friction in Your Tile Project
- Don’t skip the dry lay. Before you even touch the adhesive, lay your tiles out on the counter exactly how you want them. It’s much easier to realize a pattern looks wonky when it’s sitting loose than when it’s stuck to your wall with permanent mortar.
- Keep your tools within arm’s reach. I’ve learned the hard way that stopping a rhythm to hunt for a notched trowel or a spacer is how mistakes happen. Set up a dedicated “work zone” where everything is organized and ready to go before you start spreading.
- Prioritize the grout cleanup. A clean backsplash is 90% about how you handle the excess grout. Don’t let it sit too long and harden into a mess; wipe it down with a damp (not soaking) sponge in stages. It’s the difference between a professional finish and a headache you’ll regret every time you cook.
The Bottom Line
Don’t let the details paralyze you; focus on a consistent layout and a steady application of adhesive to keep the friction low and the results clean.
Remember that a good backsplash isn’t about the most expensive tile you can find, but about creating a system in your kitchen that’s easy to clean and serves your daily routine.
## The Philosophy of the Pattern
“A backsplash isn’t just a decorative layer; it’s a functional barrier between your kitchen and the mess of daily life. If your layout is sloppy, you’ll feel that friction every time you cook. Don’t aim for perfection—aim for a system of straight lines and clean joints that makes cleaning a breeze and keeps the room feeling organized.”
Gregory Scott Miller
Finishing the Job
At the end of the day, a successful backsplash isn’t about achieving some unattainable level of perfection; it’s about following a repeatable process. You’ve selected your materials, mapped out your layout to minimize waste, and applied your adhesive with intention. By focusing on the fundamentals—getting your lines straight and keeping your grout joints consistent—you’ve removed the guesswork that usually turns DIY projects into headaches. Remember, the goal was to create a functional, clean space that serves your kitchen, and by sticking to these systems, you’ve done exactly that.
Now that the dust has settled and the grout has cured, take a second to actually look at what you’ve built. There is a specific kind of satisfaction that comes from knowing you didn’t just buy a finished product, but you engineered a solution for your own home. Your environment is finally starting to work for you again. Don’t let the momentum stop here; use this win to tackle the next friction point in your life. You have the tools, you have the system, and now, you have the space.