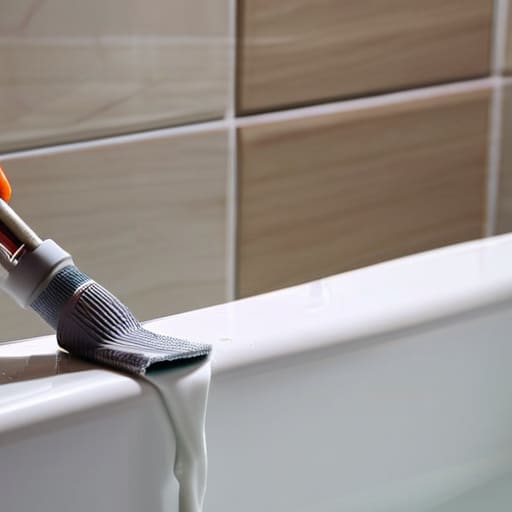

I was standing in my bathroom last Tuesday, staring at a jagged, moldy mess of old silicone that looked more like a failed art project than a seal, wondering why I hadn’t fixed it months ago. Most people think learning how to caulk requires some sort of innate artistic talent or a warehouse full of expensive specialized tools, but that’s a total myth. In reality, a messy bead isn’t a lack of talent; it’s usually just a failure of the system you used to prep the surface.
I’m not here to give you a lecture on chemical compositions or sell you on a fancy new gadget. Instead, I’m going to show you a streamlined, repeatable process to strip away the old junk and lay down a professional-grade seal that actually lasts. We’re going to focus on the mechanical steps that eliminate the guesswork, so you can stop fighting your fixtures and finally get back to your life.
Table of Contents
Guide Overview
Tools & Supplies
- Caulking gun to apply the sealant
- Putty knife or scraper to remove old caulk
- Caulk finishing tool or gloved finger to smooth the bead
- Caulk tube (silicone or acrylic) 1 tube
- Painter's tape to create clean lines
Step-by-Step Instructions
- 1. Before you even touch the caulk gun, you have to clear the deck. If there is old, crusty residue or peeling sealant in the gap, your new bead will never stick, and you’ll be back here doing this again in six months. Grab a utility knife or a specialized caulk removal tool and strip that old stuff out completely. Once the gap is empty, wipe it down with a bit of rubbing alcohol to ensure the surface is completely free of oils and dust.
- 2. Next, grab a roll of painter’s tape. If you aren’t confident in your steady hand, this is the system that saves you from a massive cleanup later. Apply two parallel lines of tape—one on each side of the gap—leaving just enough space for the sealant to sit. This creates a physical boundary that guarantees a clean, professional line without the guesswork.
- 3. Now, prep your tube. Cut the tip of the caulk nozzle at a 45-degree angle. Don’t go too wide with the first cut; you can always make it larger, but you can’t make it smaller. A smaller opening gives you much better control over the flow, which is essential when you’re trying to maintain a consistent bead without making a mess.
- 4. Load the gun and start the application. Position the nozzle at the start of the joint and apply steady, even pressure. Move the gun at a constant speed—don’t hesitate or stop mid-stream, or you’ll end up with a bulge in your line. Think of it like a continuous motion; you want to lay down a smooth, unbroken ribbon of material that fills the void entirely.
- 5. Once the bead is down, it’s time to tool it. This is where most people rush, but it’s actually the most important part of the process. Dip your finger in a bit of soapy water (or use a specialized smoothing tool) and run it along the bead with light, sweeping motions. You aren’t just flattening the caulk; you are pressing it into the corners to ensure a watertight seal.
- 6. Finally, peel away your painter’s tape while the caulk is still slightly wet. Do this carefully and steadily to avoid pulling the fresh sealant out of the joint. Once the tape is gone, you’ll have perfectly crisp edges. Now, just step back, let it cure according to the package instructions, and leave it alone. Don’t touch it, don’t test it with water, and don’t mess with the system until it’s set.
Mastering Caulk Gun Usage Without the Mess
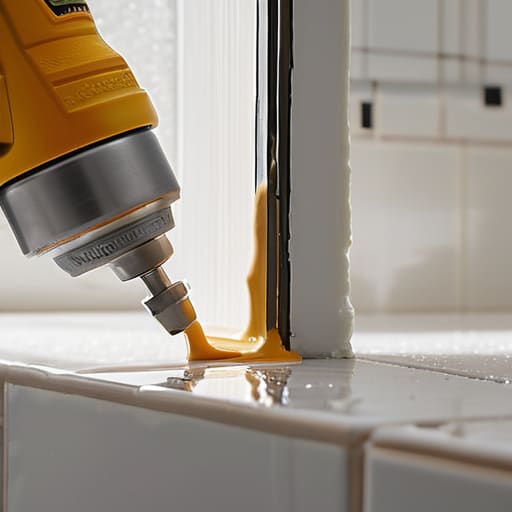
Most people treat the caulk gun like a blunt instrument, but if you want a clean line, you have to treat it like a precision tool. The biggest mistake I see is a lack of control over the trigger. You don’t want to be pumping it like you’re trying to prime a lawnmower; instead, use a steady, consistent pressure. Before you even start, make sure you’ve chosen the right material for the job. I always remind my clients that the choice between silicone vs acrylic caulk is the difference between a waterproof seal in a shower and a flexible, paintable bead in a kitchen corner.
Once the material is flowing, the secret to a professional finish isn’t in the gun—it’s in the cleanup. Don’t try to overwork the bead. After you’ve laid down a steady line, use a damp finger or a specialized smoothing tool for smoothing caulk bead quickly before it sets. If you hesitate, you’ll end up with a jagged, uneven mess that’s a nightmare to fix. Keep your movements deliberate and work in small sections to maintain total control over the flow.
Silicone vs Acrylic Caulk Choosing the Right Tool
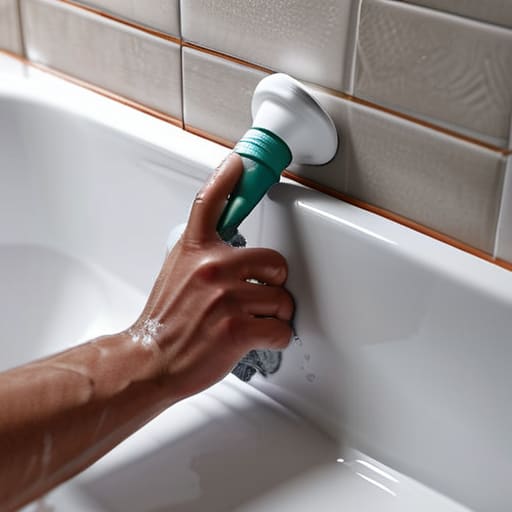
Before you even squeeze the trigger on that caulk gun, you need to pick the right material for the job. I see people make this mistake constantly: they grab a tube of whatever is cheapest at the hardware store, only to find it peeling or cracking a month later. If you’re caulking bathroom fixtures or anything near a shower or sink, you need silicone. It’s waterproof, flexible, and handles moisture like a pro. The trade-off is that it’s a bit messier to work with and much harder to clean up if you slip.
For anything else—think baseboards, crown molding, or window frames that don’t see direct water contact—acrylic (often called “painter’s caulk”) is your best bet. It’s much easier to manage when you’re smoothing caulk bead with a finger or a tool, and the best part is that you can actually paint over it once it dries. My rule of thumb is simple: use silicone where water lives, and use acrylic where color lives. Get the material right from the start, and you won’t be removing old caulk again anytime soon.
Three Small Tweaks for a Professional Finish
- Prep is 90% of the job; don’t just slap new caulk over old, crusty residue. Use a utility knife to strip the gap completely clean and hit it with a bit of rubbing alcohol to ensure the surface is dry and debris-free before you start.
- Use the “wet finger” method, but do it right. Instead of just dipping your finger in water, mix a tiny drop of dish soap into a small cup of water. It breaks the surface tension and lets you smooth the bead without the caulk sticking to your skin or pulling away from the edges.
- Don’t overwork the bead. I used to think more smoothing meant a better look, but I was just creating a mess. Apply a steady, continuous line, smooth it once with a single, confident motion, and then leave it alone to cure.
Cutting Through the Noise: Two Rules for a Better Seal
Stop overcomplicating the prep work; a clean, dry surface is 90% of the battle, so don’t rush the stripping process just to get to the application.
Choose your material based on the job, not the price tag—use silicone where water is the enemy and acrylic where you need to paint over it.
The Philosophy of the Seal
“Caulking isn’t just about filling a gap; it’s about eliminating the friction between your home and the elements. If you do it right the first time, you aren’t just fixing a fixture—you’re reclaiming the mental space that comes with knowing your environment is actually working for you.”
Gregory Scott Miller
Finishing the Job
At the end of the day, successful caulking isn’t about having a professional-grade setup; it’s about the preparation and the patience you put in. Remember to strip away that old, crusty residue, pick the right material for the job—whether that’s silicone for the wet zones or acrylic for the dry ones—and maintain a steady, controlled pressure on your caulk gun. If you focus on a clean surface and a consistent bead, you won’t have to spend your weekend cleaning up a smeared, messy disaster. Once you get the technique down, it becomes a predictable, repeatable process rather than a frustrating chore.
I’ve learned through years of tinkering in my own home that small, preventative wins like this are what keep a house running smoothly. Taking an hour now to seal those gaps is an investment in reducing future friction and protecting your home from unnecessary damage. Don’t let a little bit of messy sealant intimidate you. Grab your tools, clear your workspace, and get it done right the first time so you can get back to the things that actually matter.