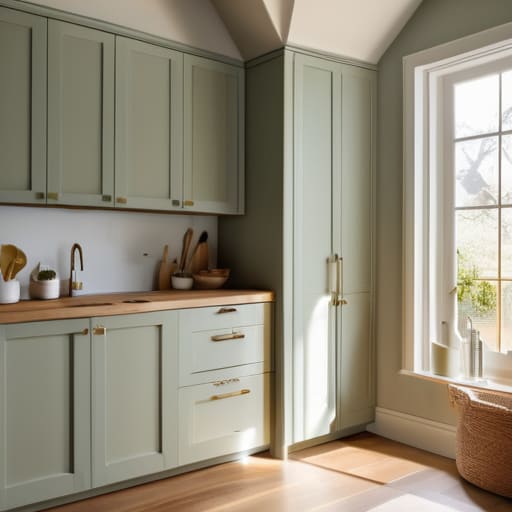

I was standing in my kitchen last Tuesday, staring at those dated, honey-oak cabinets, feeling that familiar itch of frustration. Most people think you need a professional crew and a massive budget to fix a kitchen that feels stuck in the nineties, but that’s a myth. The real hurdle isn’t the cost; it’s the chaos of a poorly managed project. I’ve learned that knowing how to paint kitchen cabinets isn’t about buying the most expensive sprayer on the market—it’s about setting up a workflow that prevents a week-long mess from taking over your entire life.
I’m not here to sell you on a complicated, twelve-step miracle routine that leaves your house looking like a construction zone. Instead, I’m going to show you a frictionless system for prepping, priming, and finishing your cabinets without the usual headache. We’re going to focus on the essential tools and the exact sequence of steps required to get a smooth, durable finish that actually lasts. Let’s strip away the fluff and get your kitchen working for you again.
Table of Contents
- Step-by-Step Instructions
- The Minimalist Cabinet Painting Supplies List You Actually Need
- Mastering How to Prep Cabinets for Painting Without the Chaos
- Three Ways to Prevent a Cabinet Project from Becoming a Disaster
- The Bottom Line for a Frictionless Finish
- ## The Philosophy of the Finish
- The Finish Line
Guide Overview
Tools & Supplies
- Screwdriver/Drill to remove hardware and doors
- Sandpaper (various grits) for surface preparation
- Paintbrush (synthetic bristles) for detail work
- Microfiber roller for smooth finish
- Cabinet paint (2-3 quarts depending on size)
- Primer (1-2 quarts)
- Degreaser/Cleaner (1 bottle)
- Painter's tape (1-2 rolls)
Step-by-Step Instructions
- 1. First, you need to clear the deck. Strip the cabinets of everything—hardware, hinges, handles, and doors. Don’t just pull the handles; remove the doors entirely and set them aside on a flat, stable surface. Trying to paint doors while they are still hanging is a recipe for drips and uneven coats, and we’re here to minimize friction, not create it.
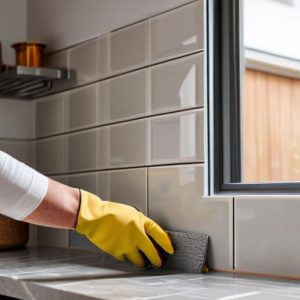
- 2. Cleanliness is the foundation of any good system. Grab a heavy-duty degreaser or a concentrated dish soap and scrub every inch of the wood. Kitchen cabinets are magnets for invisible grease and cooking oils that will prevent your paint from ever truly bonding. If you skip this, you’re essentially building your project on sand, and it will fail.
- 3. Once the surfaces are bone-dry, it’s time to sand. You don’t need a massive industrial sander; a simple orbital sander or even a high-quality sanding block will do. Your goal isn’t to strip the wood to the grain, but to scuff the existing finish so the new layer has something to grab onto. Aim for a smooth, matte texture and wipe away every speck of dust with a tack cloth before moving forward.
- 4. Apply a high-quality primer. This is where most people try to cut corners to save time, but I can tell you from experience that it’s a mistake. Use a primer specifically designed for cabinetry that blocks tannins and prevents bleed-through. Think of this as setting the baseline for the entire project; if the primer isn’t solid, the paint won’t be either.
- 5. Now, apply your topcoats. I highly recommend using a specialized cabinet paint or a high-quality enamel rather than standard wall paint. Use a small, high-density foam roller for the flat surfaces to avoid brush marks, and a high-quality synthetic brush for the corners and details. Apply thin, even layers rather than trying to cover everything in one thick, heavy coat.
- 6. The hardest part of this entire process is the waiting game: curing. Even if the paint feels dry to the touch after an hour, it isn’t ready for the heavy lifting. Let the doors sit in a dust-free area for at least 24 to 48 hours before reattaching them. If you rush the reinstallation, you’ll end up with tacky surfaces and permanent fingerprints that will completely undo your hard work.
The Minimalist Cabinet Painting Supplies List You Actually Need
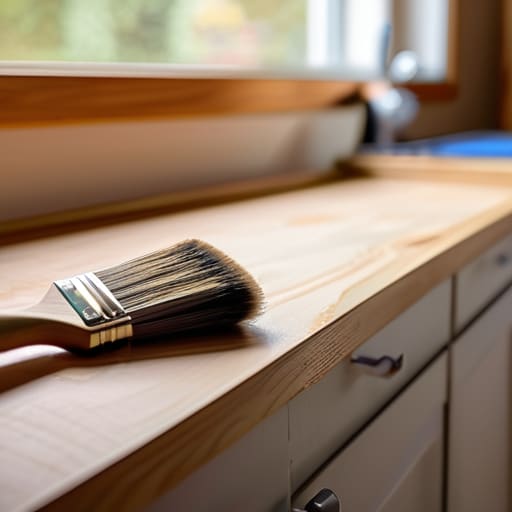
I’ve learned the hard way that more isn’t better; it’s just more clutter to manage. When you’re looking at a cabinet painting supplies list, the temptation is to buy every specialized gadget on the shelf. Resist that. You don’t need a workshop full of gear; you need a few high-quality tools that do the job right the first time. I always tell my clients to invest in a high-quality microfiber roller and a decent synthetic brush. If you skip the quality here, you’ll spend your entire weekend fighting with uneven textures instead of enjoying the results.
The real secret to a professional finish isn’t a magic tool, but the chemistry behind it. You need a reliable cabinet primer and topcoat system that is designed to bond with your specific surface. Don’t settle for standard wall paint; it won’t stand up to the daily friction of a busy kitchen. If you get the right products, you can significantly reduce the time spent preventing brush marks on cabinets, which is usually where DIY projects start to feel like a chore. Keep it simple, keep it high-quality, and keep moving.
Mastering How to Prep Cabinets for Painting Without the Chaos
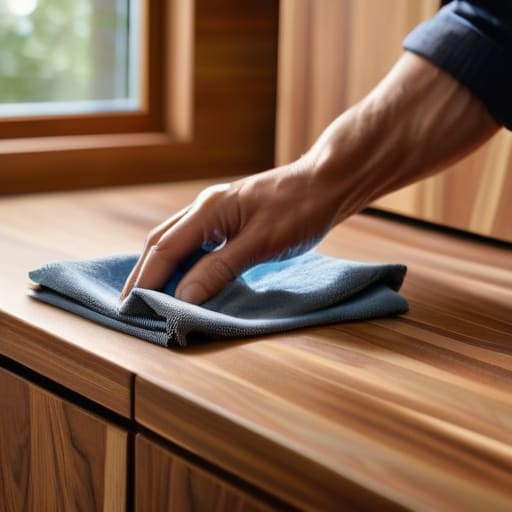
Most people fail at this project because they treat prep like an optional chore rather than the foundation of the entire system. If you skip the heavy lifting now, you’ll spend the next month staring at peeling edges and uneven textures. When learning how to prep cabinets for painting, I always tell my clients to think like a systems engineer: your goal is to eliminate every possible variable that could cause failure later. This means more than just a quick wipe-down; it requires a deep, methodical cleaning to strip away every trace of grease and old wax that will otherwise prevent your new finish from bonding.
Once the surfaces are surgically clean, your focus shifts to the physical integrity of the wood. I’ve spent many weekends in my workshop realizing that a little extra time spent sanding is much cheaper than buying a whole new set of tools to fix a botched job. Pay close attention to the joints and any existing scratches. If you want to avoid the nightmare of preventing brush marks on cabinets or uneven settling, you need to ensure the surface is perfectly level and smooth before a single drop of color touches the wood. It’s about doing the work right the first time so you can actually enjoy the result.
Three Ways to Prevent a Cabinet Project from Becoming a Disaster
- Control your environment before you touch a brush. Clear everything off the counters and move your small appliances to another room entirely. If you’re working around clutter, you’re going to end up with dust or debris stuck in your wet paint, and that’s a headache you don’t need.
- Don’t rush the drying clock. I’ve seen too many people try to rush the process to get their kitchen back in order, only to have the finish tack up or peel a week later. Respect the cure time specified on the can; a little extra patience now saves you from a full repaint later.
- Focus on thin, even coats rather than trying to get full coverage in one go. It’s tempting to go heavy to save time, but thick layers lead to drips and uneven textures. Think of it like a system: build the color in layers to ensure a professional, durable finish that actually lasts.
The Bottom Line for a Frictionless Finish
Don’t skimp on the prep work; a little extra time spent cleaning and sanding now saves you from a week of fixing drips and peeling edges later.
Focus on the system, not the perfection—stick to your workflow, keep your workspace organized, and the results will take care of themselves.
## The Philosophy of the Finish
“Painting your cabinets isn’t about chasing a showroom perfection that doesn’t exist; it’s about removing the visual friction of an outdated space so your kitchen finally feels like a place where you can actually breathe and cook.”
Gregory Scott Miller
The Finish Line
At the end of the day, painting your cabinets isn’t about chasing a Pinterest-perfect aesthetic; it’s about the execution of a solid process. We’ve covered the essential gear, the importance of a clean workspace, and how to handle the prep work so you aren’t fighting the surface halfway through the job. If you stick to the system—focusing on thorough cleaning and steady, even coats—you’ll avoid the common pitfalls that turn a weekend project into a month-long headache. Remember, the goal is to minimize the friction between your current kitchen and the one you actually want to live in.
Once the last brushstroke is dry and the tools are cleaned and put away, take a moment to actually look at the space. You didn’t just change a color; you reclaimed a room and optimized a vital part of your home. Don’t get caught up in the tiny imperfections that only you will ever notice. Instead, focus on how much better the environment feels now that it finally serves your needs. You did the work, you followed the system, and now you get to enjoy the results.