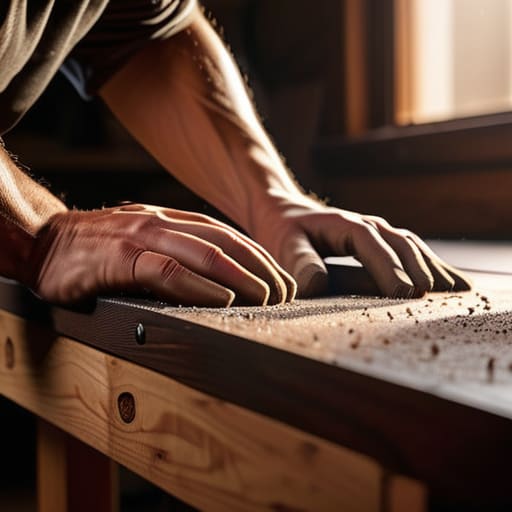

I was halfway through restoring an old oak workbench last weekend when I caught sight of a deep, jagged gouge that looked like it would ruin the whole project. My first instinct was to reach for a specialized, expensive filler kit I’d seen advertised online, but I stopped myself. Most people think you need a chemistry degree or a professional workshop to handle surface damage, but that’s a myth that just adds unnecessary friction to your weekend. When it comes to learning how to fix scratched wood, the secret isn’t in buying more gear; it’s in understanding the grain and using the simplest tool for the job.
I’m not here to sell you on a complicated, ten-step ritual that leaves your furniture looking worse than when you started. Instead, I’m going to show you a streamlined, systems-based approach to repairing damage without the headache. We’ll walk through a few practical methods—from the quick fix for light scuffs to the more deliberate work required for deeper marks—so you can restore your home to its best version with minimal wasted effort.
Table of Contents
Guide Overview
Tools & Supplies
- Sandpaper (various grits for smoothing)
- Microfiber cloth (for cleaning dust)
- Wood filler (small container for deep scratches)
- Wood stain marker (1-2 colors for color matching)
Step-by-Step Instructions
- 1. Start by cleaning the area. You can’t fix what you can’t see, and any lingering dust or furniture polish will just get in your way. Grab a soft, lint-free cloth and some mild soap to wipe down the scratched surface. Make sure it is completely dry before you move to the next step; moisture is the enemy of a clean finish.
- 2. Assess the damage to decide your approach. If you’re looking at a light surface scuff, you might get away with a simple buffing. But if the scratch has actually broken the grain or left a physical groove, you’re going to need to get a bit more hands-on with some sandpaper. Don’t try to skip this diagnostic phase—it saves you from wasting time on the wrong tools.
- 3. Grab your sandpaper and start with a medium grit. I usually keep a few different grades in my workshop, but for most household furniture, starting around 180 or 220 grit is the sweet spot. Sand with the direction of the grain, never across it. If you sand perpendicular to the wood, you’re just creating a new set of problems that will be even harder to hide later.
- 4. Once the scratch feels level, switch to a finer grit to smooth everything out. This is where most people get impatient and rush, but you want to transition to something like 320 or 400 grit to ensure the surface is silky smooth. You’re not trying to strip the wood down to nothing; you’re just refining the texture so the repair becomes invisible to the touch.
- 5. Now, you need to address the color. If the wood is light, a simple furniture wax or a matching stain marker can do the trick. If you’re using a stain, apply it sparingly with a small brush or a cloth. The goal is to blend the repair into the surrounding area so there isn’t a harsh line where the work began.
- 6. Seal the deal with a finish. Depending on the piece, you might want to apply a thin layer of clear wax, a wipe-on poly, or even a bit of linseed oil. I prefer a high-quality wax because it’s easy to control and doesn’t create that thick, plastic-looking buildup that ruins the natural feel of the wood. Apply it in thin, even layers to keep things looking professional.
- 7. Let it cure. This is the hardest part for anyone used to moving fast, but you need to step away and let the finish set. Check the piece in a few hours, but don’t go putting heavy objects back on that surface until it is fully hardened. Patience is a tool, just like any screwdriver or plane in your kit.
Mastering Wood Filler Application Techniques Without the Mess
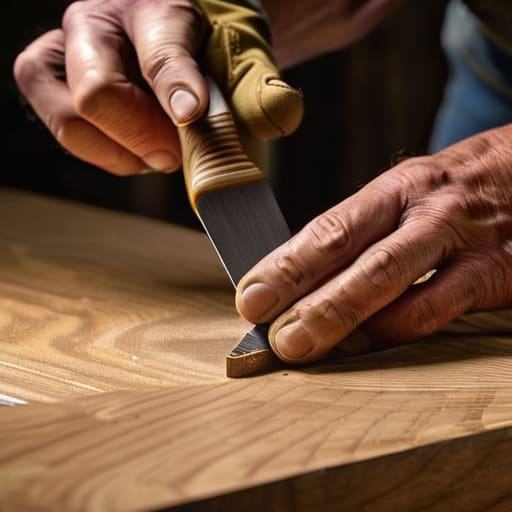
The biggest mistake I see people make is trying to be too precise with the filler. If you’re working with deep gouges, don’t try to get it perfectly flush on the first pass. Instead, aim to leave it slightly proud—meaning a tiny bit higher than the surrounding surface. Wood filler tends to shrink as it cures, and if you apply it too thin, you’ll end up with a dip that’s a nightmare to sand down later. Mastering these wood filler application techniques is really about managing that shrinkage before it becomes a problem.
Once the filler is dry, your focus shifts to the transition. This is where most DIYers lose the battle. I always keep a few high-grit sanding sponges in my kit because they contour to the edges much better than a flat block. You want to focus on buffing out wood imperfections so the repair feels seamless to the touch. If you can’t feel the edge of the patch with your fingernail, you’ve done the job right. It’s all about removing the friction between the repair and the original piece.
Simple Stain Matching for Wood Repairs That Actually Work
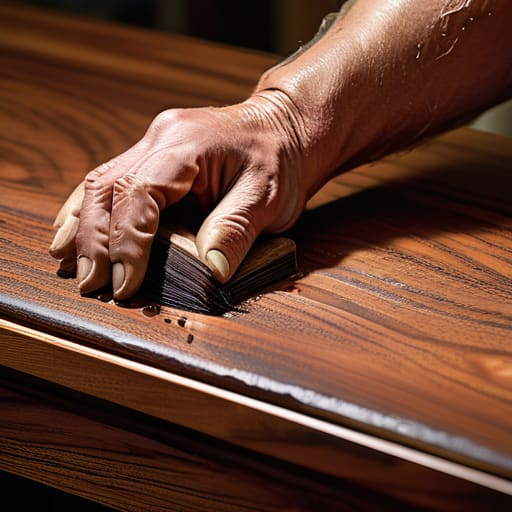
Once you’ve got the filler level and smooth, the real challenge begins: making that patch disappear. Most people make the mistake of grabbing a random can of stain from the hardware store and hoping for the best. That’s a recipe for a permanent eyesore. Instead, I like to use a “layering” approach. Start with a stain that is slightly lighter than your target color. It’s much easier to build up depth than it is to fix a patch that turned out too dark.
When you’re working on stain matching for wood repairs, remember that wood is organic and unpredictable. Don’t try to coat the whole area at once. Use a small artist’s brush or even a lint-free rag to dab the color in, working from the edges of the scratch toward the center. This helps blend the new pigment with the existing grain. If you’re still seeing a mismatch, don’t panic—just wait for it to dry completely before adding another thin layer. It’s all about incremental adjustments rather than one heavy-handed pass.
Three ways to keep the repair from looking like a patch job
- Stop while you’re ahead. It’s tempting to keep sanding or staining until you think it’s perfect, but that’s how you end up thinning the good wood or creating a visible “halo” around the repair. Sand lightly, check your progress, and step away for ten minutes. A fresh set of eyes will tell you more than a magnifying glass will.
- Match the sheen, not just the color. You can get the color almost perfect, but if your repair is high-gloss and the rest of the table is matte, the scratch will scream for attention. Always check your finish against the surrounding area under natural light to ensure the texture matches the original piece.
- Work in layers, not chunks. If you’re using filler or stain, don’t try to fix the whole gouge in one heavy pass. It’s much easier to build up a thin, translucent layer and let it dry than it is to sand down a thick, messy glob of wood putty that’s gone rogue. Small, incremental steps reduce the friction and the mess.
The bottom line on fixing your wood
Don’t aim for perfection—aim for seamlessness. The goal isn’t to make the repair invisible under a microscope, but to ensure the scratch no longer catches your eye or disrupts the flow of the room.
Focus on the system, not the struggle. Use the right tools for the job—whether that’s high-quality filler or a precise stain match—to minimize the mess and get back to enjoying your home instead of fighting with it.
The Philosophy of Repair
“Don’t view a scratch as a flaw that needs to be hidden; view it as a friction point in your environment that just needs a little bit of intentional maintenance to smooth out.”
Gregory Scott Miller
Bringing It All Together
At the end of the day, fixing scratched wood isn’t about achieving factory-level perfection; it’s about removing the visual noise that distracts you from your space. We’ve covered the essentials: cleaning the surface, applying filler without turning your living room into a construction zone, and matching the stain so the repair actually blends into the grain. By following these steps, you aren’t just patching a hole; you are implementing a functional repair system that respects the material and your time.
Don’t let a few surface imperfections convince you that a piece of furniture is beyond saving. Most of the time, a little bit of patience and the right approach is all it takes to restore the integrity of your home. My philosophy has always been that we should spend less time fighting our surroundings and more time enjoying them. Once you strip away the friction of these repairs, you’ll find that your environment starts to serve you again, leaving you with a home that feels settled, intentional, and truly yours.