
I spent three hours last Saturday scrubbing scorched soy wax off my kitchen counters, wondering why I’d even bothered trying to learn how to make candles in the first place. Most tutorials online make it look like a seamless, Pinterest-perfect hobby, but the reality is usually a chaotic mess of wasted fragrance and uneven burns. I realized then that I was approaching it like a consumer rather than an engineer; I was focused on the “craft” without actually building a functional workflow.
If you’re tired of the trial and error, I want to show you a better way. This isn’t about buying every expensive gadget on the market; it’s about setting up a streamlined system that works in a real kitchen. I’m going to walk you through the essential gear, the precise temperatures you actually need to care about, and a method to ensure your scents are consistent every single time. Let’s strip away the fluff and get you a result that actually serves your space.
Table of Contents
- Step-by-Step Instructions
- The Minimalist Kit Essential Soy Wax Candle Making Supplies
- Mastering the Pour a Simple Candle Pouring Temperature Guide
- Three Ways to Cut the Friction in Your Candle Workflow
- The Bottom Line: Systems Over Complexity
- ## The Philosophy of the Process
- Stripping Away the Complexity
Guide Overview
Tools & Supplies
- Double boiler or heat-proof bowl for melting wax
- Thermometer to monitor wax temperature
- Pouring pitcher for easy transferring
- Wick centering tool or clothespin to hold wicks
- Soy or paraffin wax (1-2 lbs)
- Candle wicks (set of 5-10)
- Fragrance oils (1 oz)
- Candle jars or tins (3-5 units)
- Wick stickers or glue dots
Step-by-Step Instructions
- 1. First, you need to set up a workspace that won’t become a disaster zone. Clear off a flat surface, ideally something non-porous like a stainless steel table or a silicone mat, and gather your supplies: soy wax flakes, wicks, fragrance oils, and heat-safe containers. I always keep a dedicated tray nearby to corral small parts like wick tabs and cutters, which prevents that annoying “where did I put that?” feeling halfway through the process.
- 2. Once your station is ready, it’s time to melt the wax using a double boiler method. Don’t just toss a pot of wax on the stove; you need a smaller container sitting inside a larger pot of simmering water to ensure even heat distribution. Use a thermometer to monitor the temperature closely, aiming for about 185°F (85°C). If you go too hot, you risk ruining the scent profile of your oils, and if you go too low, the wax won’t bind properly with the fragrance.
- 3. While the wax is heating, prepare your vessels. This is the part most people rush, but it’s where the friction usually starts. Take your wick, center it in the bottom of the jar using a wick sticker or a dab of hot glue, and use a centering tool—or even just a clothespin—to keep it upright. A crooked wick is a failed system, and a failed system leads to uneven burning and wasted wax.
- 4. Once your wax hits that 185°F sweet spot, remove it from the heat and stir in your fragrance oil. I recommend stirring slowly and steadily for at least two full minutes. It might feel excessive, but you’re essentially engineering a chemical bond between the oil and the wax. If you don’t integrate them properly at this stage, you’ll end up with “sweating” candles where the oil pools on top, which is a mess you definitely don’t want.
- 5. Now, let the wax cool slightly before pouring. You want it to drop to around 135°F to 140°F. Pouring too hot can cause the wax to shrink and pull away from the edges of the glass, creating unsightly holes. Pour with a steady, controlled hand to minimize air bubbles. Once poured, leave the candles exactly where they are; moving them while they’re setting is a quick way to ruin the surface tension.
- 6. Patience is your best tool here. Let the candles cure in a draft-free area for at least 24 hours, though for soy wax, I find that waiting a full week significantly improves the scent throw. After they are fully set, trim the wicks to about a quarter-inch. This simple step ensures a clean, predictable burn the first time you light them, keeping your workflow efficient and your results consistent.
The Minimalist Kit Essential Soy Wax Candle Making Supplies
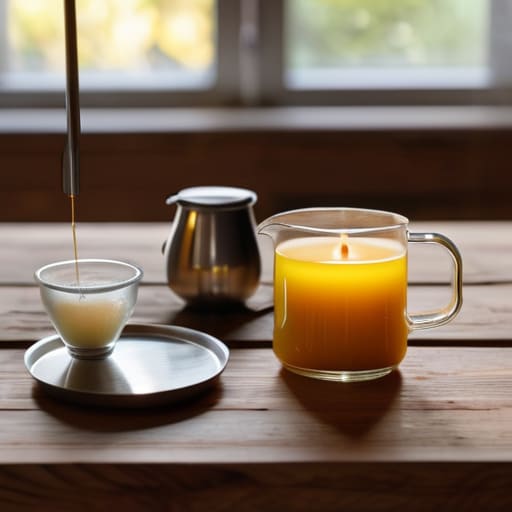
Look, you don’t need a dedicated laboratory or a warehouse full of specialized equipment to get started. When I first dove into this, I fell into the trap of buying every gadget on the market, only to realize most of them just added clutter to my workbench. For effective candle making for beginners, the goal is to keep your footprint small and your quality high. Stick to the fundamentals: a reliable thermometer, a pouring pitcher, and a steady heat source. If you have those, you have a system.
When it comes to sourcing your soy wax candle making supplies, prioritize consistency over quantity. I always suggest starting with a single, high-quality soy wax rather than juggling five different types. It simplifies your workflow and reduces the mental load of troubleshooting. Also, don’t skimp on your wicks. Finding the best wick types for candles based on your container diameter is the difference between a clean burn and a smoky mess. Keep your kit lean, keep it functional, and focus on mastering the basics first.
Mastering the Pour a Simple Candle Pouring Temperature Guide
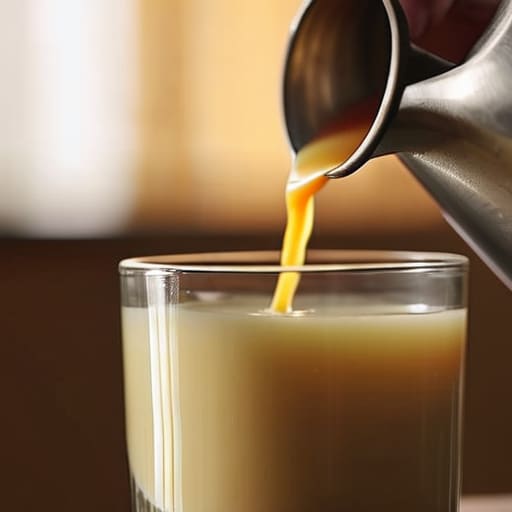
This is where most people trip up. You can have the best soy wax candle making supplies in the world, but if you pour while the wax is too hot, you’re going to end up with deep sinkholes or a surface that looks like a cracked desert floor. Conversely, if you wait too long and the wax starts to thicken, you’ll get those unsightly “frosting” patterns. I’ve learned through trial and error that the goal isn’t perfection—it’s consistency.
For most soy blends, I aim for a pour temperature between 135°F and 145°F. If you’re adding fragrance, this is your critical window; you want to stir those essential oils into the wax while it’s still warm enough to bond, but not so hot that the scent begins to flash off. Think of it like tempering steel or working with wood glue—timing is everything. Once you find that sweet spot for your specific setup, stick to it. It’s the easiest way to strip away the guesswork and ensure your finished product actually looks as good as it smells.
Three Ways to Cut the Friction in Your Candle Workflow
- Don’t chase perfection with scent ratios; start with a 6% fragrance load and stick to it. Most beginners overcomplicate the math and end up with a mess that smells more like a chemical spill than a relaxing room. Get a consistent ratio, write it in your notebook, and move on.
- Clean your workspace as you go, not after you’re finished. If you wait until the end to deal with spilled wax or sticky wicks, you’ve turned a relaxing hobby into a high-friction chore. Keep a roll of paper towels and some isopropyl alcohol within arm’s reach so you can reset your station in seconds.
- Stop buying specialized, single-use tools that take up half your workbench. A simple stainless steel pitcher and a basic thermometer are all you really need to get professional results. If a tool doesn’t serve more than one purpose in your shop, it’s just clutter you don’t need.
The Bottom Line: Systems Over Complexity
Don’t get distracted by fancy molds or expensive additives; focus on mastering your temperature control and wax ratios first.
Treat your candle making like a workflow—set up your space for easy cleanup so the process doesn’t become a chore you avoid.
## The Philosophy of the Process
“Don’t get lost in the pursuit of a perfect, complicated setup; candle making isn’t about the complexity of your gear, it’s about mastering a repeatable system that turns raw materials into a functional part of your home’s atmosphere.”
Gregory Scott Miller
Stripping Away the Complexity
Making your own candles doesn’t require a laboratory or a massive budget; it just requires a bit of discipline and a solid workflow. We’ve covered the essentials, from selecting high-quality soy wax to mastering that critical pouring temperature to ensure a smooth, professional finish. By keeping your kit minimal and your process organized, you avoid the mess and the frustration that usually kills the creative spark. Remember, the goal isn’t to build a factory, but to create a reliable system that delivers a great product every single time you light a wick.
At the end of the day, this isn’t just about scent or decor. It is about the quiet satisfaction of knowing that the objects in your home were crafted with intention and efficiency. When you stop fighting against the process and start working with it, you reclaim your time and your headspace. Don’t aim for perfection on your first try—just aim for a frictionless experience. Once you have the system down, you can finally stop worrying about the logistics and actually start enjoying the glow.