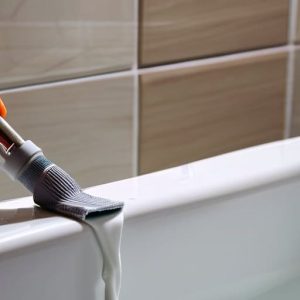

I was standing in my hallway last Tuesday, staring at a fresh dent from a moving dolly, and I realized how much that tiny imperfection was actually draining my mental energy. It’s a classic case of environmental friction; you see the flaw, it bugs you, and suddenly you can’t focus on anything else. Most people think learning how to patch a hole in the wall requires a professional contractor or a massive kit of specialized tools, but that’s just a myth that keeps people from fixing things. In reality, it’s a simple system of preparation and patience that anyone can master with a few basic supplies.
I’m not here to give you a lecture or a list of twenty different products you don’t need. Instead, I’m going to walk you through a straightforward, no-nonsense process to get that wall smooth again so you can stop staring at it. We’ll cover the exact steps to prep the surface, apply the compound, and sand it down until it’s virtually invisible. My goal is to help you resolve this distraction quickly and efficiently, getting your space—and your peace of mind—back to where they should be.
Table of Contents
Guide Overview
Tools & Supplies
- Putty knife for spreading compound
- Sandpaper (fine grit) for smoothing surfaces
- Utility knife for trimming edges
- Spackling compound (1 small tub)
- Adhesive wall patch or mesh tape (1 roll)
- Sanding sponge (1 piece)
Step-by-Step Instructions
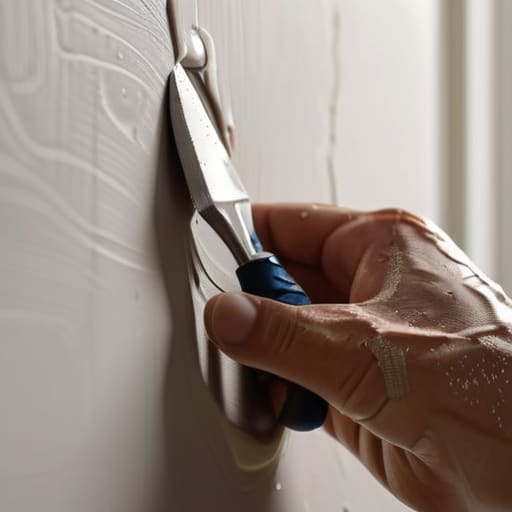
- 1. First, clear the area and assess the damage. If it’s just a small nail hole, you can skip the heavy lifting, but if it’s a larger dent, you need to remove any loose debris or crumbling drywall around the edges. Use a utility knife to carefully trim away any jagged bits of paper or plaster so you have a clean, flat surface to work with.
- 2. Grab your spackle and a putty knife. For smaller holes, a lightweight spackle is your best friend because it dries fast and shrinks less. Apply the material using a firm, sweeping motion with the putty knife, ensuring you press it into the hole rather than just smearing it over the top. You want the patch to be slightly higher than the wall surface, as it will settle as it dries.
- 3. Let it dry completely. I know it’s tempting to jump to the next step immediately, but patience is a system requirement here. Depending on the depth of the hole and the brand of spackle you’re using, this could take anywhere from thirty minutes to a few hours. Don’t rush this, or you’ll end up with a soft, gummy mess that won’t sand down properly.
- 4. Once the patch is hard, it’s time to sand. Take a fine-grit sanding sponge and lightly buff the area until it’s flush with the surrounding wall. You aren’t trying to grind the wall down; you’re just smoothing out the transition so your eyes don’t catch a bump when the light hits it later. Wipe away the dust with a damp cloth afterward—leaving grit behind is a quick way to ruin a paint job.
- 5. If the hole was significant, you might need a second coat. Sometimes a single layer just doesn’t quite fill the void, leaving a slight indentation. If that’s the case, repeat the application and sanding process. The goal is a seamless, level surface that feels like it was never broken in the first place.
- 6. Finally, prep the surface for paint. If you just slap paint directly onto the fresh spackle, the texture will look different from the rest of the wall. Apply a quick coat of primer first to seal the patch. Once that’s dry, dab on your matching paint using a small roller or a brush, blending the edges outward so the repair disappears into the background.
Selecting a Drywall Patch Kit for Small Holes
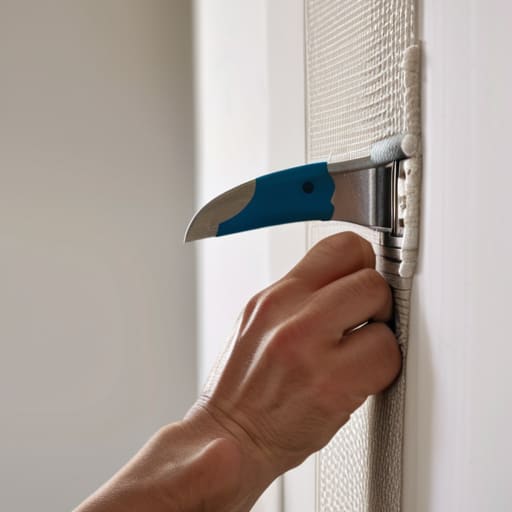
When you’re looking at a small dent or a puncture, your first instinct might be to grab whatever is in the junk drawer, but that’s where most people trip up. If you want to avoid a messy, uneven finish, I recommend picking up a dedicated drywall patch kit for small holes. These kits are designed to minimize the friction of the job; they usually come with a self-adhesive mesh patch and just enough compound to get the job done without turning your living room into a construction zone.
Don’t bother with the heavy-duty tools if you’re just fixing nail holes in drywall. For those minor imperfections, a simple putty knife and a small tub of lightweight spackle are all you really need to keep things streamlined. The goal here isn’t to reinvent the wheel—it’s to choose the right tool for the scale of the problem so you can finish the repair quickly and get back to your day.
Essential Wall Repair Tools and Materials for Real Results
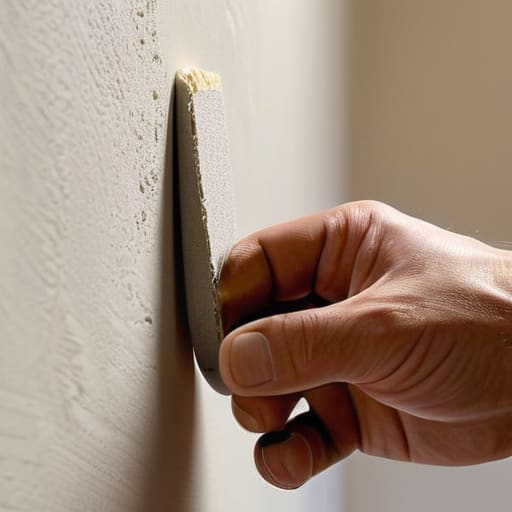
Look, you don’t need a garage full of specialized equipment to get this done, but you do need the right basics to avoid a headache later. If you’re dealing with something minor, like fixing nail holes in drywall, a simple putty knife and a small tub of lightweight spackle will do the trick. However, if the damage is a bit more substantial, I always suggest grabbing a decent sanding sponge rather than those cheap sandpaper sheets. A sponge gives you much better control, which is vital when you’re learning how to sand drywall smooth without gouging the surrounding surface.
I’ve learned the hard way that the quality of your compound matters as much as your technique. When you’re applying joint compound to walls, aim for thin, manageable layers. It’s much faster to apply two thin coats and let them dry than to try and fix a massive, wet glob that inevitably cracks as it shrinks. Keep your tools clean and your workspace organized; a little bit of preparation prevents a lot of unnecessary friction once you actually start the work.
Three ways to avoid the "amateur look"
- Sand lightly and often. The biggest mistake I see is people trying to sand everything down in one heavy pass. It’s much more efficient—and looks better—to do a light sand, apply another thin layer of spackle, and sand again. It’s about building a smooth surface, not fighting the wall.
- Don’t over-apply the spackle. You aren’t trying to build a mountain; you’re just trying to level the playing field. If you glob it on too thick, you’ll end up with a hump that’s a nightmare to sand out. Keep it thin, keep it controlled, and let the tool do the work.
- Match your texture before you paint. If your walls have a slight orange-peel texture, a perfectly smooth patch will stand out like a sore thumb. Once you’ve sanded your patch smooth, use a slightly damp sponge or a textured roller to mimic the surrounding area so the repair actually disappears into the room.
The bottom line on a seamless repair
Don’t rush the drying process; patience is the difference between a smooth finish and a visible bump that ruins the aesthetic of your room.
Focus on the system, not the gear—you don’t need a professional contractor’s toolkit, just the right basic tools and a steady hand to get the job done right.
The philosophy of the fix
“A hole in the wall isn’t just a cosmetic issue; it’s a piece of friction in your environment that pulls at your focus. Fix it properly the first time so you can stop seeing the damage and start enjoying the space again.”
Gregory Scott Miller
Final Thoughts on a Seamless Finish
At the end of the day, patching a hole isn’t about achieving architectural perfection; it’s about removing a visual distraction that’s been nagging at your brain. You’ve gathered the right spackle, selected the proper patch for the job, and applied the material with a steady hand. By following this systematic approach—focusing on clean edges and a smooth sanding process—you’ve turned a frustrating eyesore into a non-issue. Remember, the goal isn’t to spend hours obsessing over a single dent, but to execute the repair efficiently so you can stop staring at the damage and move on to something more productive.
I’ve spent a lot of my career looking for ways to optimize complex systems, but I’ve learned that the smallest fixes often yield the highest returns for our mental clarity. When your home is intact and your walls are smooth, you reclaim a little bit of that peace of mind we all crave. Don’t let a small dent in the drywall become a symbol of a mounting to-do list. Fix it, seal it, and reclaim your space so you can get back to living your life.