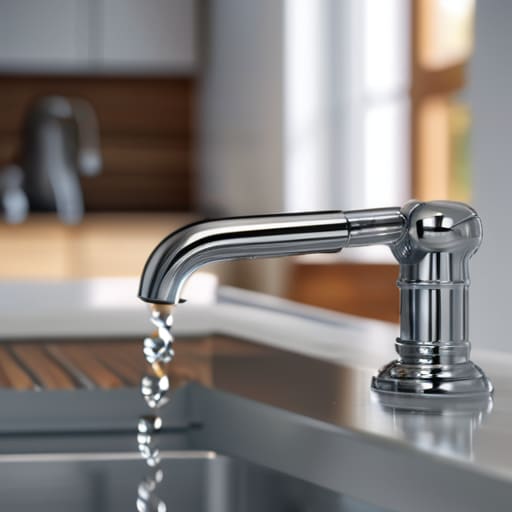

I was sitting in my workshop last Tuesday, trying to focus on a vintage hand plane, when that rhythmic drip… drip… drip… from the kitchen sink started grating on my nerves. It wasn’t just the sound; it was the mental friction of knowing a system in my house was failing. Most people think they need to call an expensive plumber or replace the entire fixture to stop the noise, but that’s a waste of both time and money. Learning how to fix a leaky faucet isn’t about mastering complex plumbing; it’s about identifying the single point of failure and addressing it with precision.
I’m not here to sell you a complicated toolkit or a ten-step ritual that eats up your entire Saturday. Instead, I’m going to show you how to strip the problem down to its core components and resolve it using a few basic tools and a bit of logic. We’re going to bypass the fluff and get straight to a reliable, permanent fix so you can stop hearing that leak and get back to what actually matters in your day.
Table of Contents
Guide Overview
Tools & Supplies
- Adjustable wrench for loosening nuts
- Screwdriver (Phillips or flathead) for removing handles
- Allen wrench for set screws
- Replacement washers or O-rings (set matching faucet model)
- Plumber's grease (small tube)
Step-by-Step Instructions
- 1. Before you even touch a wrench, you need to shut off the water supply. Look under the sink for the oval-shaped shut-off valves and turn them clockwise until they stop. If your house is older and doesn’t have those, you’ll need to head to the main water shut-off for the whole property. Don’t skip this step, or you’ll turn a simple repair into a localized flood.
- 2. Once the water is off, open the faucet handles to drain any remaining pressure and water left in the lines. While you’re down there, plug the drain with a rag or the sink stopper. There is nothing more frustrating than watching a tiny, essential screw disappear down the pipes because you weren’t thinking ahead.
- 3. Now, we need to get to the guts of the machine. Use a screwdriver to remove the decorative cap on the handle, then unscrew the handle itself to expose the stem or cartridge. If the parts feel stuck, don’t force them with brute strength; use a bit of controlled leverage and a quality tool to avoid stripping the hardware.
- 4. Most leaks are caused by a worn-out washer, O-ring, or a faulty cartridge. Pull the assembly out and inspect it closely. If you see a cracked rubber ring or a piece of mineral buildup, that’s your culprit. I always recommend taking the old part with you to the hardware store—don’t guess on the size, because even a millimeter of difference means the system won’t seal.
- 5. Clean out the valve seat while you have everything disassembled. Use a cloth to wipe away any grit or debris that might be preventing a tight seal. If the metal seat looks pitted or uneven, you might need a seat dresser tool, but for most modern fixtures, a thorough cleaning is usually enough to restore functionality.
- 6. Drop the new parts into place, ensuring everything is seated firmly but not over-tightened. Reassemble the handle and the decorative cap in the exact reverse order you took them out. When you’re putting it back together, remember that precision beats force every single time; if you crank it too hard, you’ll just break the new seal you just installed.
- 7. Slowly turn the water supply back on and test the system. Do it gradually to avoid a sudden surge of pressure hitting the new components. Watch the faucet for a few minutes to ensure the drip has stopped and there are no new leaks around the handle or the base. Once it’s dry and steady, your system is back online.
Identifying Common Causes of Faucet Leaks Without the Guesswork
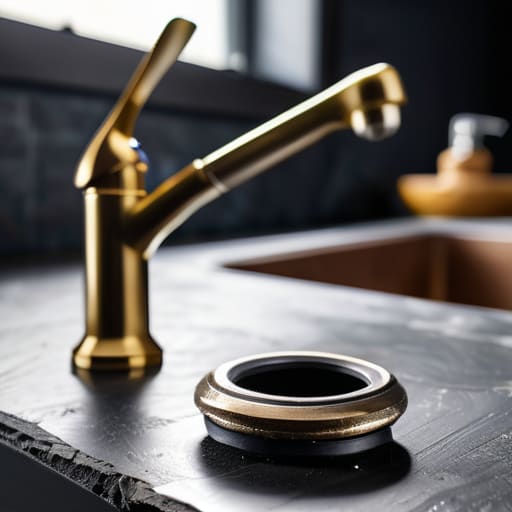
Before you start tearing things apart, you need to understand what you’re actually up against. Most people assume a leak means the whole fixture is shot, but that’s rarely the case. Usually, you’re looking at one of a few common causes of faucet leaks: a worn-out O-ring, a degraded washer, or a faulty cartridge. I’ve learned through years of tinkering that the type of leak tells you exactly where to look. If it’s dripping from the spout, it’s likely an internal seal issue; if it’s seeping from the base of the handle, you’ve probably got a loose packing nut or a bad O-ring.
Don’t waste time trial-and-erroring every part in the hardware store. Once you identify the leak’s origin, you can focus your energy on a specific fix, whether that means learning the proper cartridge replacement steps or simply knowing when to replace faucet washer components. Having a few basic plumbing tools for faucet repair on hand will save you from that frustrating mid-project run to the store. The goal isn’t to guess; it’s to diagnose the failure point and eliminate it.
Essential Plumbing Tools for Faucet Repair and Frictionless Fixing
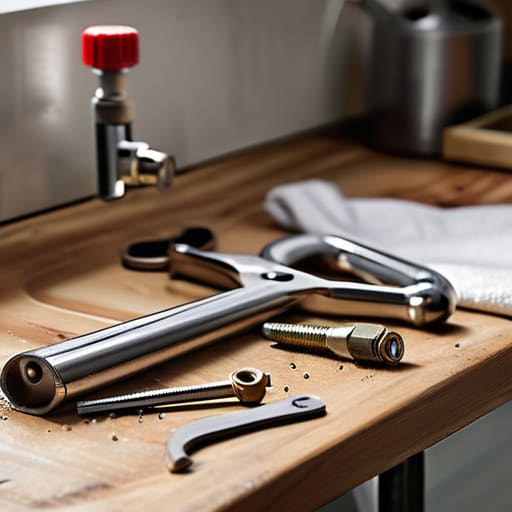
Before you tear into the hardware, you need the right kit. I’ve learned the hard way that half-hearted attempts with a dull screwdriver only lead to stripped screws and more frustration. To make this a frictionless process, you’ll need a solid adjustable wrench, a set of precision screwdrivers, and some needle-nose pliers. If you’re dealing with a more modern setup, having a specialized kit for cartridge replacement steps will save you from the headache of trial and error.
Don’t forget the consumables that actually do the heavy lifting. I always keep a small container of plumber’s grease and a variety of rubber washers on hand. Often, the simplest way to stop a faucet from leaking isn’t a complex overhaul, but simply having the exact right size part ready to go. Investing in quality plumbing tools for faucet repair isn’t about being fancy; it’s about having the right leverage to get the job done right the first time so you can get back to your life.
Three Pro-Tips to Keep the Friction Out of Your Repair
- Don’t skip the shut-off valve check. Before you start tearing things apart, make sure you’ve actually killed the water supply to that fixture. There is nothing that kills my momentum faster than a sudden geyser in the middle of a project because I assumed a valve was closed when it wasn’t.
- Document the teardown as you go. I keep my tactical pen and notebook handy for a reason; as you pull out washers, O-rings, or cartridges, lay them out in the exact order they came out. It takes ten seconds now, but it saves you thirty minutes of frustration when you’re trying to rebuild the system later.
- Clean the “gunk” before replacing parts. Sometimes the leak isn’t a failed seal, but just mineral buildup or grit preventing a tight fit. Before you toss the old parts, give the valve seat and the housing a quick wipe with a cloth to ensure the new components are seating against a clean, smooth surface.
The Bottom Line on Frictionless Repair
Don’t let a minor drip turn into a major mental drain; identify the specific component at fault early so you can apply a surgical fix rather than a guessing game.
Invest in the right tools once and do it right the first time—it’s much more efficient to use a quality wrench than to spend your weekend fighting subpar equipment.
## The Philosophy of the Fix
“A leaky faucet isn’t just a waste of water; it’s a constant, rhythmic reminder of a system out of alignment. Fixing it isn’t about the plumbing—it’s about reclaiming the quiet in your home and proving that even the smallest friction can be solved with the right approach.”
Gregory Scott Miller
Done and Dusted
At the end of the day, fixing that leak isn’t about mastering complex plumbing; it’s about following a logical sequence. We’ve identified the culprit, gathered the right tools, and stripped the hardware down to its core components to replace those worn-out seals. By focusing on the specific point of failure rather than just throwing more parts at the problem, you’ve successfully eliminated a constant source of waste. You didn’t just repair a fixture; you restored a small piece of order to your home’s ecosystem by applying a systematic approach to a common annoyance.
Don’t let these small, nagging repairs pile up until they feel like an insurmountable mountain of chores. Every time you fix something yourself, you reclaim a bit of your autonomy and reduce the mental friction that comes with a decaying environment. My advice? Keep your tools ready and your mindset focused. When you take control of these minor inefficiencies, you create the mental bandwidth necessary to focus on the things that actually move the needle in your life. Now, go enjoy the silence of a dry sink.