
I was halfway through a weekend project in my workshop, trying to notch a piece of walnut, when my chisel gave a pathetic, dull slide instead of a clean bite. I felt that familiar surge of frustration—the kind that makes you want to toss the whole kit into the garage corner and call it a day. Most people think you need a massive, expensive motorized grinder to fix this, but that’s a myth that only adds more noise and clutter to your life. Learning how to sharpen tools isn’t about buying more gear; it’s about mastering a simple, repeatable system that brings your equipment back to life.
I’m not here to sell you on complex, multi-step rituals that take all afternoon. I want to show you how to strip away the friction and get your blades back to a state where they actually work for you. We’re going to focus on the essential techniques that provide the most leverage for the least amount of effort. By the end of this, you’ll have a practical, no-nonsense method for maintaining your edge so you can stop fighting your gear and get back to the work that actually matters.
Table of Contents
Guide Overview
Tools & Supplies
- Sharpening stone/whetstone (various grits)
- Honing rod (for maintaining edges)
- Water or honing oil (1 bottle)
- Microfiber cloth (1 piece)
- Sandpaper (various grits)
Step-by-Step Instructions
- 1. First, clear your workspace. You can’t focus on precision if you’re fighting clutter or a shaky table. I always make sure my workbench is clear of everything except the tool in question and my sharpening kit. If your surface isn’t rock-solid, you’ll spend more time correcting your angle than actually removing metal.
- 2. Inspect the edge for damage. Before you even touch a stone, run your eyes along the bevel to look for nicks, chips, or heavy rust. If the edge is truly mangled, you aren’t just sharpening; you’re re-profiling. You’ll need to start with a coarser grit to reset that edge before you can even think about fine-tuning it.
- 3. Set up your sharpening medium. I prefer a high-quality whetstone, but whether you use water stones or oil stones, make sure they are properly prepared. If you’re using water stones, give them a soak until the bubbles stop. A prepped stone is the foundation of a consistent edge, and skipping this step is a shortcut to frustration.
- 4. Find your angle and hold it. This is where most people fail. Whether it’s a chisel or a plane iron, you need to maintain a consistent bevel throughout the entire stroke. I like to use a small jig if I’m feeling lazy, but once you develop the muscle memory, you’ll realize that consistency is everything. Don’t rush this; if your angle wanders, your edge will wander too.
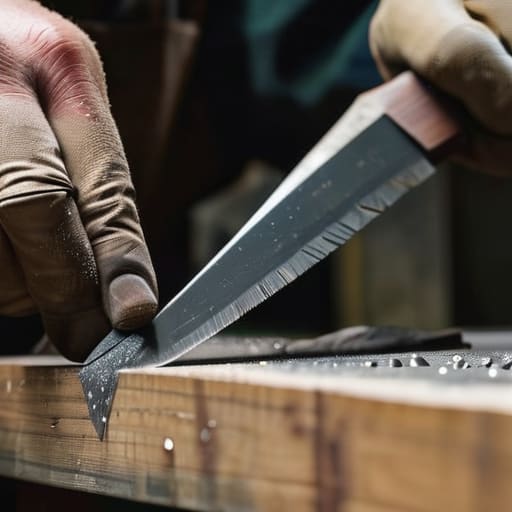
- 5. Start with the coarse grit. Use steady, even strokes, pushing the tool across the stone. You aren’t looking for a mirror finish yet; you’re looking for a “burr”—that tiny lip of metal that forms on the opposite side of the edge. Once you feel that slight roughness under your thumb, you know you’ve successfully reached the edge.
- 6. Transition to the fine grit. Now that the heavy lifting is done, switch to your finer stones to polish out the scratches from the coarse grit. This is where the magic happens. Use lighter pressure and smaller, more controlled strokes. You’re essentially refining the system you just built, smoothing out the microscopic imperfections until the metal feels like glass.
- 7. Test the edge properly. Don’t just hack at a piece of scrap wood. A classic test is the paper slice: if the tool glides through a sheet of paper without snagging or tearing, you’ve done it. If it drags, you likely have a microscopic burr that needs one last, very gentle pass on the finest stone to strip away the friction.
Mastering Whetstone Sharpening Techniques Without the Fluff
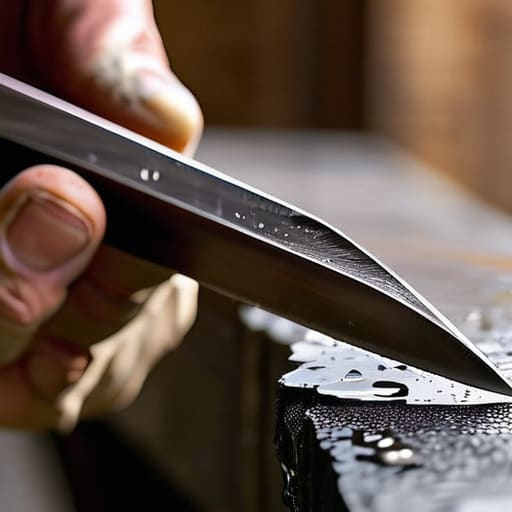
Once you’ve got the basics down, the real skill lies in consistency. Most people fail because they treat the stone like a chore rather than a precision instrument. When you’re diving into whetstone sharpening techniques, the secret isn’t about how hard you press; it’s about the stability of your stroke. I’ve found that using a small wooden jig or even just a steadying hand to maintain a consistent sharpening angle for different tools makes all the difference. If your angle wanders, you aren’t sharpening; you’re just reshaping the metal into something useless.
Don’t fall into the trap of thinking a honing steel is a magic wand. There is a massive difference between honing steel vs sharpening stone; the steel just realigns a bent edge, while the stone actually removes material to create a new one. To truly invest in maintaining blade edge longevity, you need to respect the grit progression. Start coarse to fix the profile, then move to fine to polish the edge. It takes a bit more patience, but a tool that stays sharp longer is a tool that saves you time in the long run.
Finding the Perfect Sharpening Angle for Different Tools
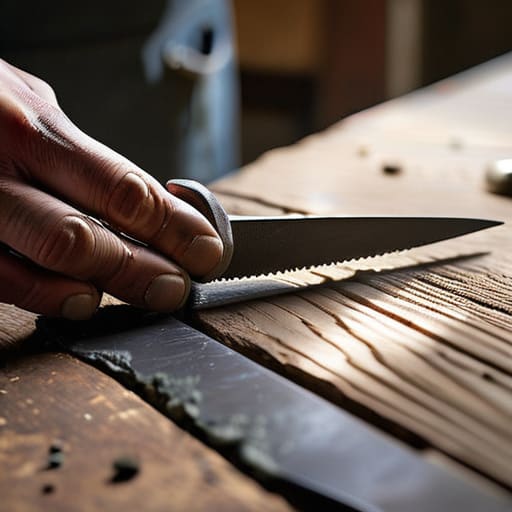
One mistake I see too often is treating every blade like it’s the same. If you try to sharpen a delicate paring knife with the same aggressive angle you use for a heavy-duty hatchet, you’re going to end up with a tool that’s either uselessly blunt or dangerously thin. For your kitchen knives, I usually stick to a 15 to 20-degree angle to ensure they stay slicing through vegetables with minimal effort. However, if you’re working on woodworking chisels or heavy garden shears, you need to bump that up to about 25 or 30 degrees. A steeper angle provides the structural integrity needed for heavy tasks, which is essential for maintaining blade edge longevity when the tool is under pressure.
I’ve learned the hard way that consistency is more important than perfection. You don’t need a complex jig to get this right; you just need to find a steady rhythm. I like to use a small wooden block or even a folded piece of cardboard as a physical guide to keep my hand steady while I work. Once you find that “sweet spot” for a specific tool, write it down in your notebook. It removes the guesswork next time and turns a chore into a repeatable system.
Three Rules to Keep Your Edge from Failing You
- Stop neglecting your stones. A grit-clogged whetstone is just a piece of useless rock; keep them clean and flat, or you’ll spend all your time fighting the surface instead of the steel.
- Consistency beats intensity every single time. It doesn’t matter how much pressure you apply if your angle is wobbling; focus on a steady, rhythmic motion to ensure the edge is uniform from heel to tip.
- Test with intention, not just guesswork. Don’t just eyeball the edge—use a piece of scrap paper or a light shaving of wood to verify the bite. If it doesn’t slice cleanly without hesitation, you aren’t done yet.
The Bottom Line: Systems Over Effort
Stop chasing perfection and start chasing consistency; a tool that is reliably sharp is always better than a tool that is occasionally razor-edged but difficult to maintain.
Respect the tool, but don’t let it own you—build a sharpening routine that fits into your actual life, not a hobby that demands your entire weekend.
## The Philosophy of the Edge
“A dull tool is just a source of friction, stealing your time and your focus. Sharpening isn’t a chore you add to your list; it’s the fundamental act of reclaiming the efficiency of your work.”
Gregory Scott Miller
Beyond the Grind
At the end of the day, sharpening isn’t just about a keen edge; it’s about the system you’ve built to maintain your gear. We’ve covered the mechanics of selecting the right stones, finding that critical angle, and mastering the steady hand required to pull a clean bevel. Remember, the goal isn’t to achieve perfection on the first pass, but to develop a consistent workflow that prevents the frustration of fighting blunt equipment. When you treat your tools with this level of intentionality, you aren’t just maintaining metal—you are eliminating the friction that slows down your actual work.
Don’t let these tools sit idle in a dusty corner just because you’re afraid of a little grit and water. Mastery comes from the repetition of these small, disciplined habits. Once you strip away the intimidation, you’ll realize that a well-maintained toolkit is one of the greatest gifts you can give your future self. Stop settling for gear that works against you and start building an environment that actually supports your craft. Get out there, get your hands dirty, and make your tools work for you.