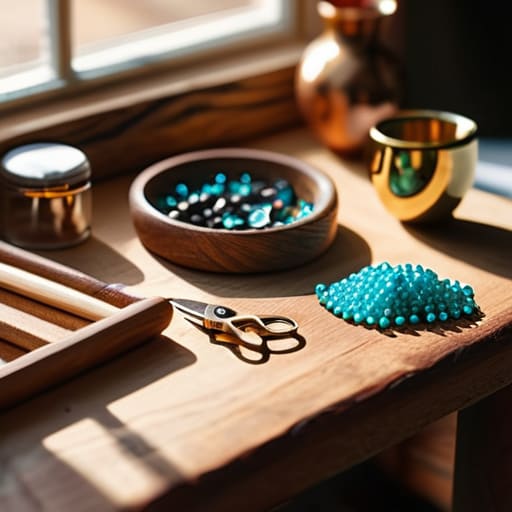

I was staring at my workbench last Tuesday, surrounded by a chaotic sea of tangled wire, loose beads, and three different pairs of pliers I couldn’t find, wondering why I had made this so difficult. Most people think you need a massive, expensive studio or a dozen specialized gadgets to get started with diy jewelry making, but that’s a lie that just creates more friction. In reality, the biggest barrier isn’t your skill level or your budget; it’s the lack of a functional system to manage your workspace and your materials.
I’m not here to sell you on a lifestyle of endless, expensive hobbies or complex, multi-step routines that take up more time than they save. Instead, I’m going to show you how to build a streamlined, high-efficiency setup that actually works. We’re going to focus on the essential tools you actually need and a simple organization method that lets you stop searching for parts and start actually creating something meaningful.
Table of Contents
- Step-by-Step Instructions
- Mastering Essential Bead Supplies Without the Clutter
- Choosing Jewelry Making Tools for Beginners That Actually Work
- Three Ways to Keep Your Creative Flow from Turning into a Mess
- The Bottom Line for a Frictionless Studio
- ## The Philosophy of the Process
- Streamlining Your Creative Flow
Guide Overview
Tools & Supplies
- Needle-nose pliers for gripping and bending wire
- Wire cutters for trimming metal and cord
- Beading mat to prevent rolling beads
- Assorted glass beads (1 set of various sizes)
- Jewelry wire or elastic cord (1 spool)
- Lobster clasps (5-10 pieces)
- Jump rings (1 pack)
Step-by-Step Instructions
- 1. First, clear your workspace completely. I’ve learned the hard way that trying to create amidst a pile of old mail and random household clutter is a recipe for frustration. You need a flat, stable surface—ideally a dedicated tray or a large cutting mat—to act as your primary staging area. This keeps your small components from rolling off the table and into the abyss.
- 2. Sort your materials by function, not just by color or type. Grab a few small, shallow containers—old pill organizers or even muffin tins work perfectly—and group your beads, findings, and charms into their own dedicated zones. When you can reach for a crimp bead without hunting through a tangled mess, you’ve already won half the battle.
- 3. Lay out your essential tool kit in a logical sequence. You don’t need a massive professional kit; you just need the basics: needle-nose pliers, round-nose pliers, wire cutters, and a bead mat. Arrange them in the order you’ll actually use them, moving from left to right, so you aren’t constantly breaking your flow to search for a tool that should have been right in front of you.
- 4. Start with a “dry run” of your design. Before you touch the wire or the pliers, lay out your beads and components on your mat to visualize the pattern. This is the optimization phase of the process; it’s much easier to move a bead two inches to the left now than it is to realize you’ve ruined a finished piece because the spacing felt off.
- 5. Execute the assembly with steady, deliberate movements. Once your design is set, begin cutting your wire and threading your components, making sure to check your tension as you go. I always recommend working in small increments—don’t try to finish the whole necklace in one frantic burst; focus on one connection at a time to ensure everything is secure.
- 6. Perform a final quality check on your closures. A piece of jewelry is only as good as its weakest link, so double-check every jump ring and crimp bead to ensure they are tightly closed and won’t fail under tension. Once you’re satisfied, clean your tools and return your materials to their specific containers immediately; maintaining the system is what allows you to pick up where you left off without the mental friction.
Mastering Essential Bead Supplies Without the Clutter
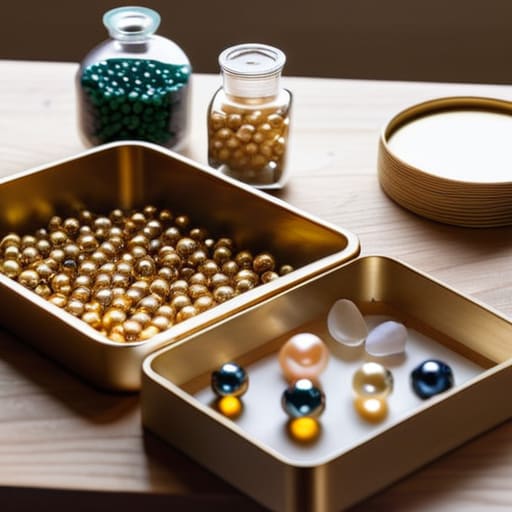
The biggest mistake I see when people start out is treating their supply stash like a junk drawer. You don’t need every color of glass bead under the sun to start; you just need a few high-quality basics and a way to keep them from becoming a chaotic mess. I recommend investing in clear, modular containers for your essential bead supplies. If you can’t see what you have at a glance, you’ll end up buying duplicates, which is just a waste of both money and mental energy.
Once you have the materials, focus on your toolkit. Instead of buying a cheap, twenty-piece kit that feels like a toy, stick to the basics: a pair of round-nose pliers, wire cutters, and chain-nose pliers. Learning how to use jewelry pliers correctly is the difference between a professional finish and a frustrated afternoon of bent wire. Once you master these few tools, you’ll find that creating custom necklaces and bracelets becomes a rhythmic, relaxing process rather than a battle against your own equipment.
Choosing Jewelry Making Tools for Beginners That Actually Work
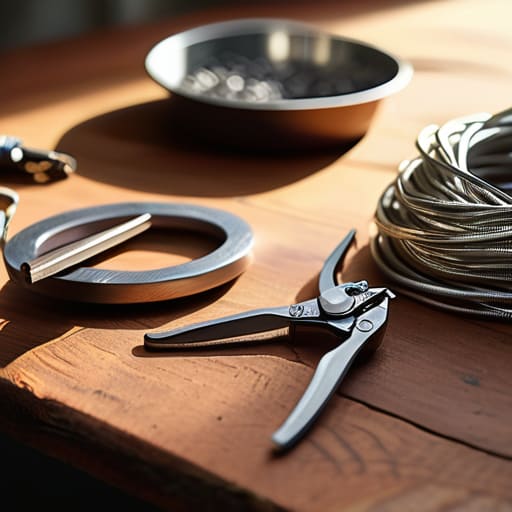
When you first start out, the temptation is to buy those massive, twenty-piece starter kits you see online. Don’t do it. Most of those kits are filled with low-grade metal that will bend or snap the moment you apply actual pressure, leaving you more frustrated than inspired. Instead, focus on quality over quantity. You really only need a few high-quality pieces of jewelry making tools for beginners to get moving: a pair of chain-nose pliers, round-nose pliers, and wire cutters. If they feel balanced in your hand and don’t fight you during a task, they’re worth the extra ten bucks.
I’ve learned through years of tinkering that the “feel” of a tool is just as important as its function. When you’re learning how to use jewelry pliers for the first time, cheap versions can actually cause hand fatigue, which is the fastest way to kill your momentum. Invest in a solid pair of cutters and a decent set of crimping tools. Once you have the fundamentals down, you can start experimenting with more complex jewelry design patterns without worrying that your equipment is going to fail you mid-project. Keep it simple, keep it sturdy, and let the tools work for you.
Three Ways to Keep Your Creative Flow from Turning into a Mess
- Stop buying “variety packs” of beads just because they’re cheap. You’ll end up with a drawer full of colors you never use, which just creates visual noise. Stick to a core palette of high-quality basics first; it’s easier to build a system when you aren’t managing a mountain of junk.
- Designate a single, dedicated “active” tray for every project. I’ve learned the hard way that letting loose beads migrate across the desk is a recipe for frustration and lost time. If it’s not on the tray, it doesn’t exist. This keeps your workspace clear and your focus sharp.
- Build your assembly station around your most-used tools, not where they “look best.” If you find yourself reaching for your needle-nose pliers every five minutes, they shouldn’t be tucked away in a drawer. Keep your high-frequency items within arm’s reach so you can maintain your momentum without breaking your flow.
The Bottom Line for a Frictionless Studio
Don’t let the pursuit of “more” stall your progress; focus on acquiring high-quality, versatile tools and organized bead supplies that serve your current skill level rather than your future aspirations.
A functional workspace isn’t about having every gadget on the market—it’s about creating a streamlined system where everything you need is within reach and nothing you don’t need is in your way.
## The Philosophy of the Process
“Don’t let a mountain of loose beads and unorganized pliers kill your momentum; jewelry making isn’t about the complexity of your kit, it’s about building a system where the tools get out of the way of your creativity.”
Gregory Scott Miller
Streamlining Your Creative Flow
At the end of the day, successful jewelry making isn’t about having the most expensive kit or a massive warehouse of beads. It’s about having a functional workspace where your tools are within reach and your supplies don’t feel like a chaotic mess. We’ve covered how to select tools that actually perform, how to manage your bead inventory without the clutter, and how to set up a station that supports your process rather than hindering it. By focusing on these core systems, you eliminate the friction that usually kills a creative spark before it even starts.
Don’t let the fear of a messy desk or a complicated setup stop you from starting. The goal isn’t perfection; it’s intentionality. Start with what you have, organize it with purpose, and let your creativity flow through a system that actually works for you. Once you strip away the unnecessary noise, you’ll find that the real joy isn’t in the tools themselves, but in the quiet, steady satisfaction of making something with your own two hands.