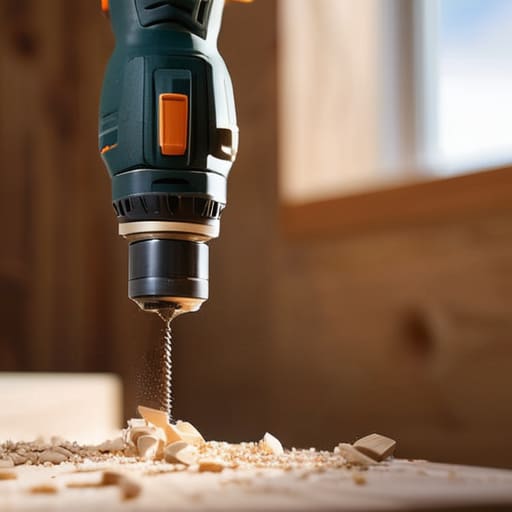

I was standing in my workshop last Tuesday, staring at a perfectly good piece of reclaimed oak and a crookedly driven screw, realizing I was fighting the tool instead of working with it. Most people think that learning how to use a drill is just about pulling a trigger and hoping for the best, but that’s exactly how you end up with stripped heads and ruined materials. The truth is, a drill isn’t just a power source; it’s a precision instrument that requires a systematic approach to avoid unnecessary friction.
I’m not here to give you a manual filled with technical jargon that you’ll never use. Instead, I’m going to show you the practical, real-world mechanics of controlling your speed, choosing the right bits, and maintaining a steady hand. My goal is to help you master the basics so you can stop second-guessing your hardware and start finishing your projects with confidence and ease.
Table of Contents
Guide Overview
Tools & Supplies
- Power Drill (cordless or corded handheld device)
- Drill Bits (set of various sizes for drilling and driving)
- Safety Glasses (1 pair)
- Workpiece (1 piece of wood or material to be drilled)
Step-by-Step Instructions
- 1. Before you even pull the trigger, you need to pick the right bit for the job. Using a wood bit on masonry is a fast way to ruin a perfectly good tool and waste your afternoon. Check the shank to make sure it fits your chuck, and if you’re working with something delicate, always double-check the size against your project requirements.
- 2. Once you have your bit, insert it into the chuck and tighten it down. If you’re using a manual chuck, twist it until it’s snug; if it’s a keyless chuck, just grip it firmly and twist. The goal here is to eliminate unnecessary wobble that can lead to crooked holes or snapped bits.
- 3. Now, set your direction. Most drills have a toggle near the trigger for clockwise or counter-clockwise rotation. You’ll almost always want clockwise for drilling, but if you’re driving a screw, make sure that switch is set correctly. There is nothing more frustrating than fighting the tool because you forgot to check the toggle.
- 4. Mark your spot with a small pilot hole or a nail to create a physical indentation. This acts as a guide so your bit doesn’t wander across the surface when you start. I’ve learned the hard way that trying to “eye it” is just a recipe for wasted material and a headache.
- 5. Position the drill perpendicular to the surface. This is where most people slip up; if you’re at an angle, the bit will bind and potentially kick back. Apply steady, even pressure—not so much that you’re straining, but enough to let the bit do the work. You want a smooth, controlled entry rather than a violent one.
- 6. Control your speed with the trigger. Start slow to get the bit seated, then increase the pace once you’re in the groove. If you feel the motor straining or hear a high-pitched screeching, back off. It’s about maintaining momentum without overwhelming the hardware.
- 7. Once you’ve reached the desired depth, pull the drill straight back out while it’s still spinning slowly. This helps clear out the debris from the hole, preventing the bit from getting stuck. Once the hole is clean, retract the bit and power down before moving to your next task.
Mastering the Essentials Drill Bit Types and Uses
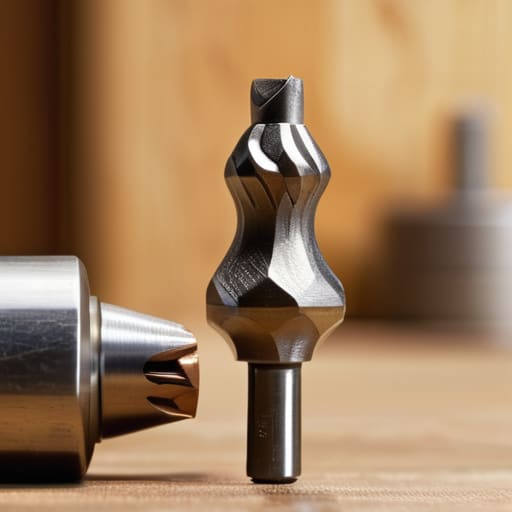
If you want to avoid the frustration of a ruined project, you need to stop treating every bit like it’s universal. Most people grab the first thing they see in the plastic case, but understanding drill bit types and uses is what separates a clean hole from a jagged mess. For instance, if you’re working on a furniture restoration, a standard twist bit is fine for most tasks, but you’ll want a brad-point bit if you need a clean, precise entry in timber. When you’re drilling into wood vs metal, the physics change entirely; metal requires slower speeds and more pressure, while wood wants a bit more speed to prevent splintering.
Don’t overlook the small adjustments that keep things running smoothly. I always tell my clients that precision is born from preparation. Before you even pull the trigger, make sure you’re adjusting drill torque settings to match the material; too much power on a delicate screw is a one-way ticket to stripped threads and wasted time. It’s about reducing that friction before it starts.
Eliminating Friction Through Proper Drill Grip Technique
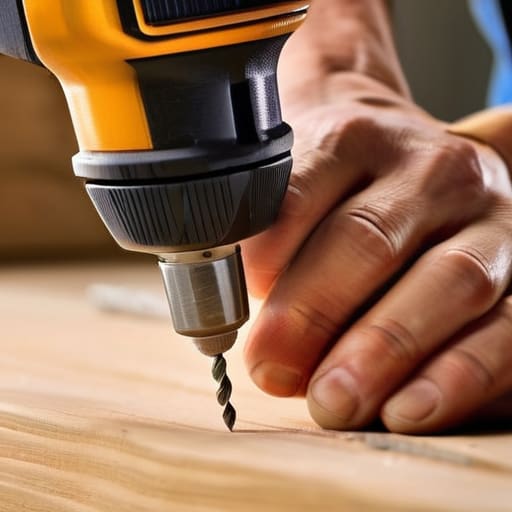
Most people treat a drill like a hammer, gripping it with a death grip and hoping for the best. That’s a mistake. If you’re fighting the tool, you’re already losing the battle for efficiency. To truly minimize friction, you need to implement a proper drill grip technique that relies on stability rather than brute force. Hold the handle firmly with your dominant hand, but use your other hand to support the back of the drill or the base. This creates a tripod effect, giving you much better control over the bit’s trajectory and preventing that annoying “kickback” when the bit catches.
It’s also worth noting that your grip should change depending on the task. When you’re drilling into wood vs metal, the resistance levels are worlds apart. For wood, you can afford a slightly more aggressive stance, but when working with metal, you want a lighter, more controlled touch to prevent the bit from wandering. Think of it as calibrating your body to the material. Once you stop fighting the torque and start working with it, you’ll find the whole process becomes much smoother and, frankly, a lot more predictable.
Three Ways to Stop Fighting the Hardware
- Mark your spot and commit. Don’t just eyeball where you want a hole; use a center punch or even a sharp nail to create a tiny indentation first. This stops the bit from wandering across your workpiece the second you pull the trigger, saving you from a ruined project and a lot of frustration.
- Let the tool do the heavy lifting. A common mistake I see is people leaning their entire body weight into the drill. That’s a recipe for broken bits and uneven holes. Apply steady, firm pressure, but let the motor and the cutting edge do the actual work. If you’re struggling, you’re likely fighting the physics of the tool rather than working with them.
- Listen to the machine. Your drill will tell you exactly what’s wrong if you pay attention. If the pitch of the motor changes or you feel a sudden vibration, stop. You’re either pushing too hard, using the wrong speed, or your bit is dulling out. Adjust your approach immediately rather than trying to power through the friction.
The Bottom Line
Stop treating your drill like a toy; match the right bit to the material and the right speed to the job to eliminate wasted effort and prevent damage.
Focus on your grip and your stance to turn a clumsy tool into an extension of your hand, making every project feel more controlled and less like a struggle.
## The Philosophy of the Tool
A drill shouldn’t be something you wrestle with; it should be an extension of your intent. When you stop fighting the hardware and start respecting the system—the right bit, the right speed, the right grip—the friction disappears, and you’re left with nothing but the work itself.
Gregory Scott Miller
Stop Fighting the Tool and Start Building
At the end of the day, mastering the drill isn’t about memorizing a manual; it’s about understanding how to work with your equipment rather than against it. We’ve covered the essentials: selecting the right bit for the material, maintaining a steady grip to prevent slip-ups, and choosing the correct speed to avoid unnecessary friction. When you stop treating the drill like a mysterious black box and start seeing it as a precision instrument, the entire job changes. It’s about having the right tool, the right technique, and the discipline to do it correctly the first time.
My goal isn’t to turn you into a master carpenter overnight, but to help you remove the technical hurdles that keep you from finishing your projects. A drill should be an extension of your intent, not a source of frustration. Once you strip away the hesitation and the guesswork, you’ll find that you aren’t just making holes in wood—you are reclaiming your time and your ability to shape the world around you. Now, put the notebook away, grab your gear, and go build something that lasts.