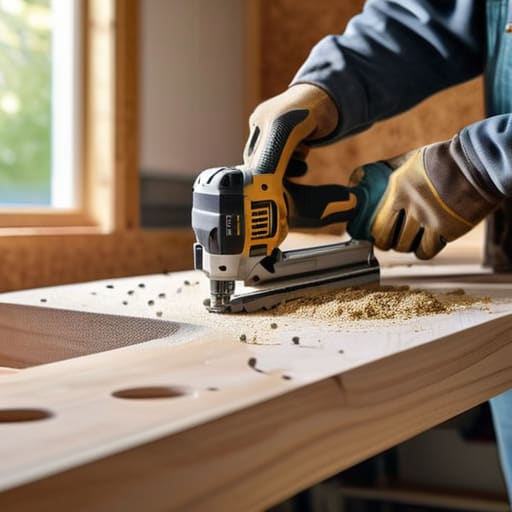

I was halfway through restoring a 1940s block plane last Tuesday when I realized I was leaning at a ridiculous angle just to get a clear line of sight. My current setup—a flimsy folding table I’d been using for years—wasn’t just inadequate; it was actively working against me. Most people think that learning how to build a workbench requires a massive workshop and a mountain of expensive, specialized machinery, but that’s a complete myth. In reality, a great bench isn’t about how much money you sink into it, but about how well it supports your movement and minimizes the friction between your idea and the finished product.
I’m not here to sell you on a complicated, over-engineered design that takes three months to complete. Instead, I’m going to show you how to construct a rock-solid, functional station using standard dimensional lumber and basic tools. We’re going to focus on stability, ergonomics, and smart systems that keep your tools within reach. By the time we’re done, you’ll have a workspace that actually serves you, allowing you to stop fighting your environment and start focusing on the craft.
Table of Contents
Guide Overview
Tools & Supplies
- Circular saw or miter saw for cutting wood to length
- Power drill for driving screws
- Tape measure for precise marking
- Speed square for ensuring straight lines
- Level to ensure a flat work surface
- 4×4 lumber (2 pieces) for legs
- 2×4 lumber (6 pieces) for frame and bracing
- 3/4 inch plywood (1 sheet) for tabletop
- 2.5 inch wood screws (1 box)
- Wood glue for extra stability
Step-by-Step Instructions
- 1. First, stop everything and map out your footprint. Before you buy a single 2×4, grab that notebook of yours and measure your workspace. A workbench that’s too big becomes a cluttered island you can’t navigate around, and one that’s too small will frustrate you the moment you try to clamp a board. Decide on your height based on your own body—usually, you want it at a height where you can work comfortably without hunching, but low enough to apply real leverage when you’re sawing or chiseling.
- 2. Next, source your materials with a systems-thinking mindset. I don’t care about fancy hardwoods for this; you want stability and mass. Head to the lumber yard and pick out straight, heavy construction-grade plywood for the top and thick dimensional lumber for the frame. Avoid the warped, bowed pieces that look like they’ve been through a war; if it isn’t dead straight, leave it on the pallet. You’re building a foundation, not a decorative piece of furniture.
- 3. Now, let’s build the base frame using a sturdy, rectangular design. I prefer a simple four-post structure reinforced with cross-braces. Cut your legs and stretchers to size, then join them using heavy-duty lag bolts or structural screws. Don’t bother with flimsy wood glue and tiny nails here; you need connections that can handle the vibration of a sander or the impact of a mallet without wobbling an inch.
- 4. Once the skeleton is solid, it’s time to install the work surface. I recommend a double layer of 3/4-inch plywood screwed together to create a thick, heavy slab. This added mass is what prevents your bench from “walking” across the floor when you’re working hard. Secure the top to your frame using countersunk screws so that the heads sit flush; you don’t want a protruding screw head catching your workpiece or your sleeve later on.
- 5. Don’t skip the step of adding functional integration. A workbench isn’t just a table; it’s a tool in itself. This is where you install your vise—place it at the corner where you’ll actually use it, not just where it looks symmetrical. If you have the space, add a simple shelf underneath for your heavy power tools. The goal is to keep your most-used items within a single arm’s reach so you aren’t constantly hunting through drawers.
- 6. Finally, perform a stress test before you start your first project. Load the bench with some weight, push against it, and see if it shifts. If you notice any rocking, tighten your fasteners or add a shim. Once it’s rock-solid, clean the surface and you’re ready to go. Remember, the bench is there to remove friction, so if something feels awkward, don’t be afraid to tweak the setup until it feels intuitive.
Selecting Heavy Duty Workbench Materials Without the Fluff
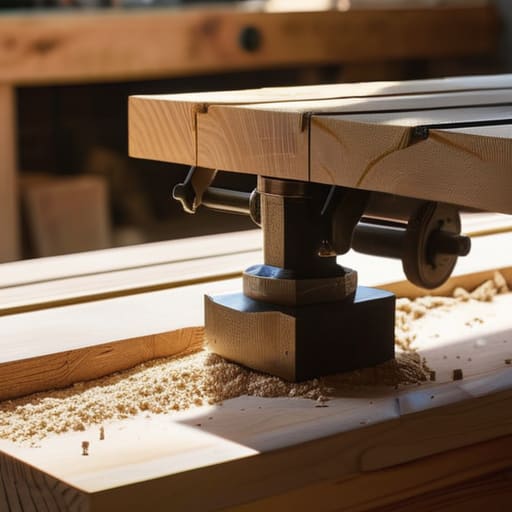
Don’t get distracted by the fancy, pre-cut kits you see online. Most of those “all-in-one” woodworking workbench plans are over-engineered and under-built. When I’m sourcing heavy duty workbench materials, I look for mass and stability above all else. For the frame, I lean toward construction-grade lumber—think 4x4s for the legs and 2x4s or 2x6s for the bracing. It’s not the prettiest wood in the world, but it’s dense, predictable, and won’t warp the moment you put a heavy vise on it.
For the actual work surface, skip the thin plywood. You want something that can take a beating. I usually go with a thick layer of MDF or a laminated butcher block style using scraps of hardwood. If you’re building a workbench for small spaces, you might be tempted to compromise on thickness, but don’t. A thin top will vibrate every time you use a hand plane or a hammer, which creates unnecessary friction in your workflow. Aim for a sturdy workbench design that feels like an anchor in your shop, not a flimsy table that dances when you work.
Mastering Sturdy Workbench Design for Real World Results
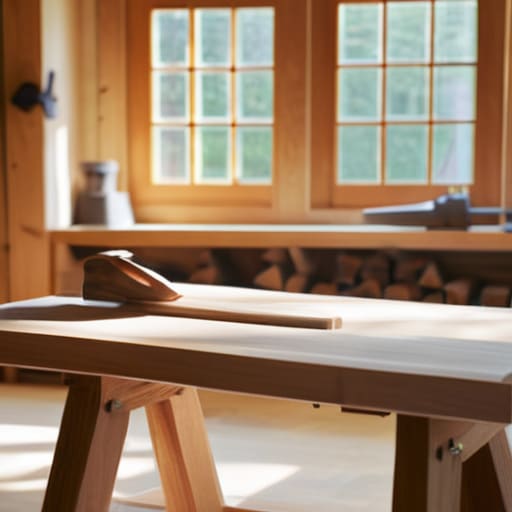
When you’re actually in the middle of a project, you realize that a workbench isn’t just a table; it’s a machine. If it wobbles when you’re hand-planing a board or shifts when you’re sawing, you’ve already lost the battle. A truly sturdy workbench design relies on mass and rigid joinery. I always tell people to prioritize a wide stance for the legs. If your base is too narrow, you’re fighting physics every time you apply pressure. You want that center of gravity low and heavy so the bench stays planted, no matter what you’re throwing at it.
Don’t get lost in overly complex woodworking workbench plans you find online that require specialized joinery you don’t have the tools for yet. Instead, focus on mechanical advantage and stability. If you’re working in a tighter shop, think about how you can integrate your workspace with your movement. This is where smart workbench tool storage ideas come into play—keeping your most-used tools within an arm’s reach prevents you from constantly breaking your flow to hunt through drawers. Keep it simple, keep it heavy, and keep it functional.
Three Rules for a Workbench That Won't Fail You
- Prioritize mass over complexity. A heavy, stable bench is worth ten fancy features; if it wobbles when you’re sawing or planing, you’ve already lost the battle.
- Design for your height, not the standard. Don’t just follow a blueprint; measure from the floor to your wrist to ensure you aren’t hunching over every single time you work.
- Leave room for the mess. A good workbench needs an integrated way to manage scraps and dust, or you’ll spend more time cleaning your workspace than actually using it.
The Bottom Line: Systems Over Style
Don’t overcomplicate the build; focus on mass, stability, and a flat surface that can handle the actual weight of your projects.
Build for how you actually work, not how you think a “perfect” shop should look—if it doesn’t reduce friction, it’s just clutter.
The Philosophy of the Build
A workbench isn’t just a slab of wood on four legs; it’s the foundation of your focus. If you build it to be pretty rather than practical, you’re just creating more friction for yourself later. Build it to stand up to the work, not just to look good in a photo.
Gregory Scott Miller
Get to Work
At the end of the day, building a workbench isn’t about creating a showroom piece; it’s about engineering a foundation for your projects. We’ve covered the essentials: selecting heavy-duty materials that won’t wobble under pressure, designing a frame that handles real-world loads, and stripping away the unnecessary fluff that just gets in your way. Remember, the goal is to create a stable, reliable surface that works with you instead of fighting against you. If you’ve followed these steps, you haven’t just built a table; you’ve built a functional system designed to reduce friction in your workshop.
Now, stop overthinking the perfect finish and just get it built. Your workshop will never be truly complete until you have a dedicated space where you can actually get your hands dirty. Don’t wait for the “perfect” moment or the most expensive tools to arrive. The most important part of this entire process is the moment you clear the sawdust, set your project down, and realize that your environment is finally serving your purpose. Go ahead—grab your tools and start building.