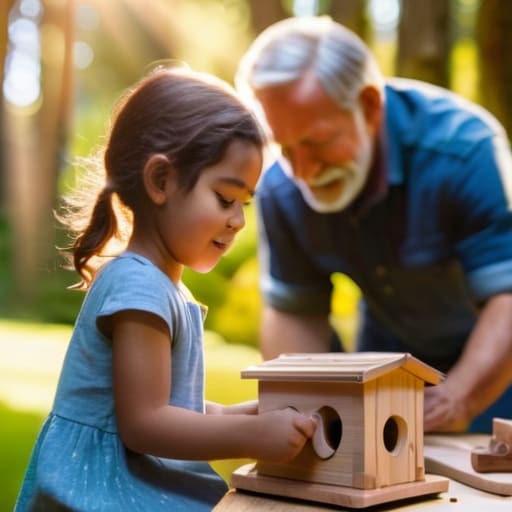

I was standing in my workshop last Saturday, staring at a pile of expensive cedar scraps and a blueprint that looked more like a rocket engine schematic than a simple nesting box. I realized right then that most people make the same mistake: they think learning how to build a birdhouse requires a shop full of specialized power tools and a degree in carpentry. The truth is, if you over-engineer the design, you aren’t just wasting your time; you’re actually making the structure less hospitable for the birds you’re trying to attract.
I’m not here to sell you on a complex weekend project that leaves your garage a mess and your wallet empty. Instead, I’m going to show you a frictionless approach to building a sturdy, functional birdhouse using nothing more than a few basic hand tools and a single piece of wood. We’re going to strip away the fluff and focus on a system that works—one that gets you out of the workshop and back into your garden in under an hour.
Table of Contents
Guide Overview
Tools & Supplies
- Hand saw or miter saw for cutting wood
- Hammer for assembling pieces
- Drill with bits for entrance hole and pilot holes
- Measuring tape for accurate dimensions
- Sandpaper to smooth rough edges
- Untreated cedar or pine board (approx. 1x6x4ft)
- Galvanized nails or exterior screws (small box)
- Wood glue (exterior grade)
- Hanging hardware or mounting bracket
Step-by-Step Instructions
- 1. Start with your materials, and keep it simple. You don’t need exotic hardwoods or expensive veneers; a single piece of untreated cedar or pine is plenty. Avoid pressure-treated lumber at all costs, as the chemicals can be toxic to the birds you’re trying to help. Grab a saw, a hammer, some galvanized nails, and a drill, and then clear your workspace so you aren’t tripping over scraps halfway through.
- 2. Measure and cut your boards into six specific pieces: the base, the front, the back, two sides, and the roof. I find it most efficient to mark everything out on the wood first to minimize waste. Make sure your side pieces are cut at a slight angle at the top so the roof can slope; this ensures rainwater runs off rather than pooling on top and rotting the wood.
- 3. Drill your entrance hole before you start assembling the box. This is where most people mess up—they build the whole thing and then realize they can’t reach the inside to drill. Use a spade bit to create a hole that matches the specific bird species you want to attract. For most backyard birds, a 1.5-inch diameter is the sweet spot that keeps larger predators out.
- 4. Begin the assembly by nailing the sides to the back piece, then attach the floor. I always recommend drilling a few small drainage holes in the bottom piece as well. It’s a small detail, but it prevents the nest from getting soggy if moisture manages to find its way inside.
- 5. Attach the front panel, but here is my little system hack: only nail the top of the front piece or use a single screw at the bottom to create a pivot point. This allows you to swing the front open like a door, making it incredibly easy to clean out the old nesting material once the season is over. A clean birdhouse is a healthy birdhouse.
- 6. Secure the roof last, ensuring it has a slight overhang past the front and sides. This overhang acts as a natural shield against the elements. Don’t worry about making it look like a piece of fine furniture; the goal here is functional durability, not a museum piece.
- 7. Finally, mount your birdhouse in a spot that makes sense for the environment. Look for a location that is roughly five to ten feet off the ground, ideally in a place that offers some natural cover from wind and predators. Once it’s up, step back, put your tools away, and let the system do its work.
Selecting the Best Wood for Birdhouses Without the Fluff
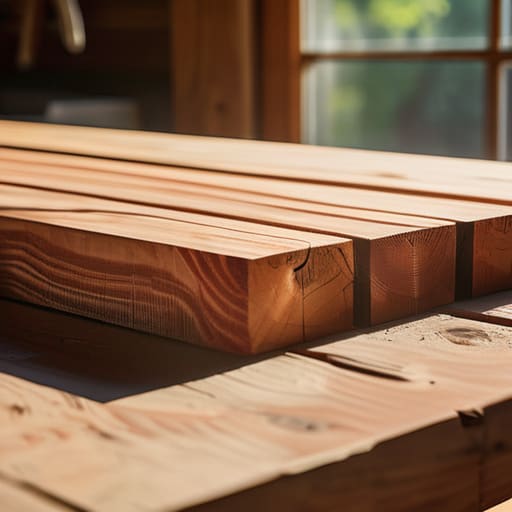
When you head to the lumber yard, ignore the flashy, pre-stained cedar planks that look pretty in the showroom. Most of that is just marketing fluff. If you want something that actually lasts without constant maintenance, you need to focus on natural durability. I always recommend cedar, redwood, or cypress. These woods contain natural oils that resist rot and insects, meaning you won’t be out there every six months reapplying chemicals that could end up harming the very birds you’re trying to host.
Avoid using pressure-treated lumber or plywood at all costs. I’ve seen too many people try to save a few bucks, only to realize they’ve created a toxic environment for the nestlings. You don’t need high-end, exotic hardwoods either; you just need something stable that won’t warp the moment the weather turns. Stick to untreated, solid wood to ensure you’re providing a safe, long-term home that requires minimal intervention from you.
Essential Woodworking Tools for Birdhouses That Actually Work
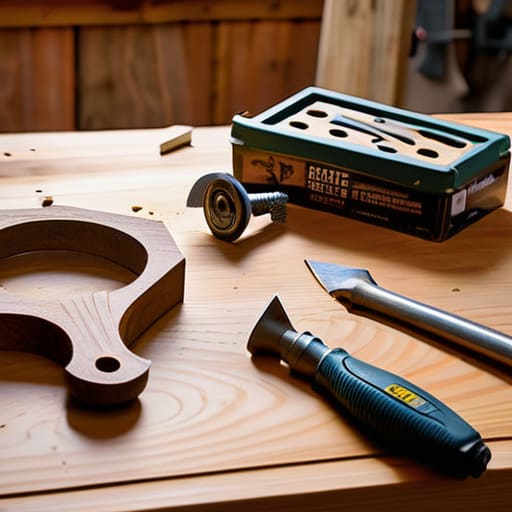
You don’t need a shop full of expensive, specialized machinery to get this done. In fact, most of the high-end gear you see in commercials is just extra friction. For a project like this, I stick to a minimalist kit: a reliable handsaw or a circular saw, a cordless drill with a few bits, and a square to ensure your lines are true. If you’re working with slightly rougher cedar, a basic block plane can help smooth out the edges, but don’t get bogged down in perfectionism. The goal is a sturdy structure, not a museum piece.
When selecting your woodworking tools for birdhouses, prioritize accuracy over complexity. A simple tape measure and a sharp pencil are your best friends here; if your measurements are off by even a fraction, your assembly will fight you every step of the way. I always recommend having a few different drill bit sizes on hand to ensure you can implement safe birdhouse design features, such as properly sized entrance holes and drainage gaps. Keep the setup simple, keep the tools sharp, and you’ll finish the job in half the time.
Three Small Tweaks to Avoid a Total Project Failure
- Forget the perch. I know it looks classic in the movies, but adding a little peg outside the entrance is just an open invitation for predators to hang out and wait for a chance to raid the nest. Keep the entrance clean and simple.
- Don’t aim for perfection; aim for ventilation. If you build a sealed box, you’re basically making an oven. Drill a couple of small holes near the top and ensure the floor has a bit of drainage so your feathered tenants don’t end up sitting in a puddle.
- Skip the paint on the inside. It’s tempting to make it look pretty, but chemical fumes are the last thing a developing bird needs. If you must finish the exterior, use a water-based stain and keep it away from the entry hole.
The Bottom Line
Don’t get paralyzed by perfectionism; a simple, well-built house with the right dimensions is far more valuable to local birds than a complex, over-engineered piece of art.
Focus on durability and function by choosing weather-resistant wood and keeping your toolset lean to ensure the project actually gets finished.
The Philosophy of the Build
A birdhouse shouldn’t be a monument to your complexity; it should be a simple, well-engineered shelter that gets out of your way once it’s hung. Focus on the function, strip away the excess, and let the craftsmanship speak for itself.
Gregory Scott Miller
Final Thoughts on Your Backyard Project
At the end of the day, building a birdhouse isn’t about achieving woodworking perfection or owning every specialized tool in the catalog. It’s about the system: choosing the right cedar, using the tools you already have, and following a straightforward plan that doesn’t leave you staring at a pile of wasted lumber. Once you’ve stripped away the unnecessary complexity, you’re left with a functional structure that serves a real purpose in your local ecosystem. Remember, the goal is a reliable habitat, not a museum piece. Keep your measurements clean, your joints tight, and your process simple.
There is something deeply rewarding about looking out your window and seeing a small piece of your own work integrated into the natural world. It’s a reminder that when we stop overcomplicating things, we actually make room for life to flourish. Don’t wait for the “perfect” moment or a massive workshop upgrade to start. Just grab your notebook, pick up your saw, and get to work. You’ll find that the most meaningful improvements often come from the simplest systems we build with our own two hands.