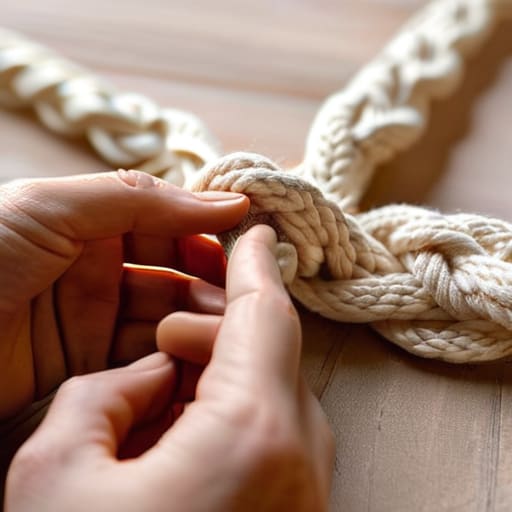

I was sitting at my workbench last Tuesday, staring at a tangled heap of cotton cord and feeling a level of frustration I usually reserve for broken logistics software. I had bought a “starter kit” thinking I’d add some texture to my craftsman home, but instead, I just created a mess of knots that looked nothing like the polished photos online. Most people think you need a mountain of specialized tools or an artistic soul to succeed, but that’s a myth. If you want to master macrame for beginners, you don’t need more gear; you just need to understand the mechanics of the knots.
In this guide, I’m stripping away the fluff and the overcomplicated patterns that clog up your mental space. I’m going to show you the three essential knots that actually matter and how to set up a workspace that minimizes friction. We aren’t going to chase every Pinterest trend; we are going to build a functional system so you can create clean, intentional pieces that actually serve your home.
Table of Contents
Guide Overview
Tools & Supplies
- Scissors for cutting cord
- Measuring tape for length accuracy
- S-hooks or dowel for hanging work
- Cotton macrame cord (3mm or 4mm, 1 roll)
- Wooden dowel or ring (1 piece)
- Masking tape (1 roll for securing work)
Step-by-Step Instructions
- 1. First, let’s clear your workspace. You don’t need a dedicated studio, but you do need a flat surface and a way to hang your project—a simple wooden dowel or even a sturdy coat hanger works fine. Most importantly, grab some single-twist cotton cord; it’s much easier to handle when you’re first learning than the more expensive braided stuff.
- 2. Once you have your cord, it’s time to set up your “anchor.” Cut several lengths of cord, roughly four times the length of the finished piece you want to make, and loop them through your dowel using a lark’s head knot. This is the foundation of almost everything we do in macrame, so don’t rush it—get those loops tight and even so your project doesn’t hang crooked.
- 3. Now, we tackle the most important building block: the square knot. Take four strands of cord; the two in the middle are your “core” and stay stationary, while the two on the outside do the work. Cross the left cord over the core to form a shape like the number four, tuck the right cord under the core and up through that loop, then pull it tight. Repeat this starting from the right side to lock it in.
- 4. If you want to add some texture without adding complexity, try the half hitch knot. This is how you create those diagonal lines or borders you see in professional pieces. You take one cord to act as a “lead” and wrap the other cords around it. It’s all about maintaining consistent tension; if you pull too hard on one and too soft on another, your pattern will look messy.
- 5. As you move through your pattern, keep your notebook nearby to jot down your cord counts. It sounds overkill, but when you’re three rows deep, it’s easy to lose track of which cords are part of the pattern and which are just structural. Systematizing your process now prevents a massive headache ten minutes later.
- 6. When you reach the bottom of your piece, you’ll need to secure the ends. Instead of just cutting them, I recommend tying a simple overhand knot at the end of each individual strand. This prevents the cord from unraveling into a mess and gives the piece a clean, intentional finish that looks much more professional.
- 7. Finally, take a pair of sharp shears and trim the bottom fringe to your desired length. If you want a more organic, bohemian look, you can gently brush out the ends with a wide-tooth comb to create a soft tassel effect. Just remember: it’s much easier to trim more off later than it is to add it back.
The Essential Macrame Supplies You Actually Need
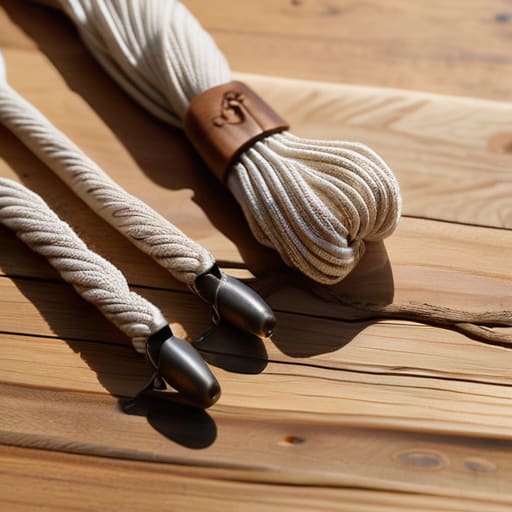
Look, I’ve seen enough people buy a massive, expensive craft kit only to realize half the stuff is junk they’ll never use. My philosophy is simple: don’t clutter your workspace with gear that doesn’t serve a purpose. When it comes to essential macrame supplies, you really only need three things to get moving: a decent pair of sharp shears, a sturdy wooden dowel or a piece of driftwood, and a way to hang your work while you knot.
The real decision, and where most people trip up, is choosing between the various macrame cord types. If you go too thin, you’ll fight the tension for hours; if you go too thick, your knots will look bulky and amateurish. I always recommend starting with a 3mm or 4mm single-strand cotton cord. It’s forgiving, it’s tactile, and it makes practicing your basic knotting techniques much more intuitive. Get the right foundation, and the rest of the process becomes a flow rather than a chore.
Mastering Macrame Cord Types Without the Overwhelm
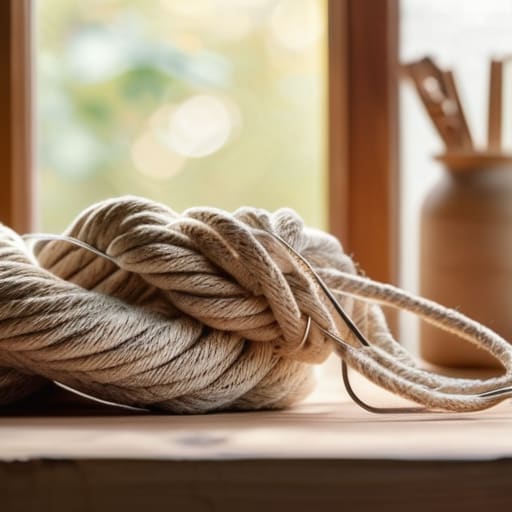
When you walk into a craft store, the sheer variety of rope and twine can feel like a logistical nightmare. Most people make the mistake of buying whatever looks pretty, only to realize halfway through their first project that the material is either too slippery to hold a knot or too stiff to drape naturally. If you’re just starting out, don’t get distracted by the specialty fibers. Stick to the basics: a high-quality cotton cord. It’s the backbone of most essential macrame supplies because it’s forgiving, easy to manipulate, and holds those fundamental shapes without a fight.
I always tell my clients to think about the “end state” of their project before they buy. If you are planning larger macrame wall hanging projects, you’ll want a thicker, single-twist cord to provide structural integrity. However, if you’re working on something delicate, a multi-strand twisted cord offers a softer, more bohemian texture. The goal isn’t to own every cord on the shelf; it’s to select the right tool for the specific friction you’re trying to solve in your design. Keep it simple, keep it consistent, and you won’t end up fighting your materials.
Three Ways to Stop Fighting Your Cord and Start Making Progress
- Don’t aim for perfection on your first pass. I’ve spent years optimizing systems, and the biggest friction point in any new skill is the “perfection trap.” Your first few knots are going to look uneven, and that’s fine. Focus on the tension and the rhythm, not the symmetry. You can tighten things up later, but don’t let a slightly crooked knot stop your momentum.
- Control your workspace to minimize frustration. There is nothing worse than trying to knot a piece while it’s sliding around on a table or tangling in a pile of scraps. Secure your dowel or ring to a heavy stand or even a command hook on a door. If your workspace is stable, your hands can focus on the craft instead of fighting the setup.
- Keep your tension consistent, not necessarily tight. Beginners often make the mistake of pulling every knot with maximum force, which turns a soft wall hanging into a rigid, awkward board. Think of it like tuning a machine: you want steady, repeatable tension. Aim for a middle ground that keeps the pattern defined without sacrificing the natural drape of the cord.
Cutting Through the Noise
Don’t let the sheer variety of cords or complex patterns stall your momentum; pick one reliable material and one basic knot, then just start making things.
Focus on building a repeatable system for your workspace so that when inspiration hits, you aren’t wasting twenty minutes hunting for your shears or a tension bar.
## Focus on the Flow, Not the Complexity
“Don’t get lost in a sea of expensive specialty cords and complex patterns before you’ve even mastered a single knot. Macrame isn’t about the complexity of the design; it’s about understanding the rhythm of the tension and the simplicity of the structure. Master the basics, strip away the fluff, and let the system work for you.”
Gregory Scott Miller
Moving From Setup to Creation
At this point, you have everything you need to move past the research phase and into actual production. We’ve stripped away the fluff, identified the right cord for your specific project, and laid out the fundamental knots that form the backbone of almost every design. Remember, the goal isn’t to buy every color of cotton cord in the shop or to master ten different complex patterns by next week. It’s about building a reliable foundation with the right tools and a few core techniques so that when you sit down to work, you aren’t fighting your equipment. You’re just creating.
Don’t let the fear of a messy knot or a crooked hanging loop stop you from starting. In my experience with systems, the most important step is always the first one, even if it’s imperfect. Macrame is a tactile, grounding process that rewards patience rather than speed. Once you find your rhythm, you’ll realize that these aren’t just decorations; they are functional pieces of art that bring a sense of order and intention to your living space. Now, put down the phone, pick up your cord, and just start tying.