
I was sitting at my workbench last Tuesday, cleaning a rusted hand plane, when I realized my favorite heavy-duty flannel had a fraying hem that I’d been ignoring for months. Most people think that once a seam pops or a thread pulls, the garment is officially dead weight and destined for the donation bin. That is a massive waste of both resources and money. Learning how to mend clothes isn’t about becoming a master seamstress or spending hours on delicate embroidery; it’s about building a functional system to extend the life of the things you actually use.
In this guide, I’m stripping away the complexity and focusing on the high-impact repairs that actually matter. I won’t bore you with fancy sewing terminology or expensive kits you’ll never use. Instead, I’m going to show you a few no-nonsense techniques to fix common tears, secure loose buttons, and reinforce weak spots. My goal is to give you the tools to stop the cycle of constant replacement and start reclaiming your space and your budget.
Table of Contents
- Step-by-Step Instructions
- Mastering the Needle and Thread Basics for Real World Fixes
- Invisible Mending Techniques to Restore Your Favorite Gear
- Three Rules for Keeping Your Repair Kit Functional
- The Bottom Line: Making Repair Part of Your System
- ## A Shift in Perspective
- Building a Sustainable Wardrobe System
Guide Overview
Tools & Supplies
- Hand sewing needles (various sizes)
- Fabric scissors (sharp blades for clean cuts)
- Seam ripper (to remove unwanted old stitching)
- Sewing thread (matching colors for the garment)
- Fabric scraps (for patching holes)
- Embroidery floss (for decorative visible mending)
Step-by-Step Instructions
- 1. First, you need to audit the damage and gather your tools. Don’t just grab whatever random needle is sitting in a junk drawer; that’s how you end up with uneven stitches and frustration. I keep a small, dedicated repair kit in a dedicated bin—standard needles, a few spools of high-quality polyester thread in neutral colors, and a pair of sharp fabric shears. Take a close look at the tear to decide if you’re looking at a simple seam failure or a hole in the actual fabric.
- 2. Clean the area before you start. It sounds trivial, but trying to mend a shirt that’s covered in dust or skin oils is a recipe for a messy finish. Give the garment a quick wash or use a damp cloth to ensure the fibers are clean and flat. If the fabric is bunched up or wrinkled, iron it first. You can’t build a good system on a shaky foundation, and that applies to sewing just as much as it does to logistics.
- 3. For simple seam failures, use a “backstitch” to reinforce the line. Thread your needle and knot the end, then start about a quarter-inch before the actual hole to ensure you’re anchoring into healthy fabric. Push the needle through, bring it up a stitch length away, and then go back into the hole where the previous stitch ended. This creates a continuous, strong line that mimics the original machine stitch and won’t pull apart under pressure.
- 4. If you’re dealing with an actual hole in the material, you’ll need to stabilize it. I usually reach for a small scrap of similar fabric or a lightweight iron-on interfacing. Place the patch on the inside of the garment, directly behind the hole. This acts as a structural substrate, giving your thread something solid to grab onto so you aren’t just sewing air and making the hole even larger.
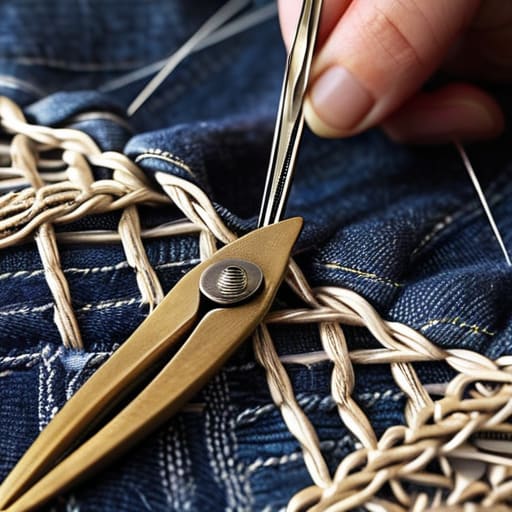
- 5. Once your patch is in place, use a “darning” technique to bridge the gap. Think of this like weaving a tiny, custom rug over the hole. Move your needle in straight lines vertically, then go back the other way horizontally, creating a tight grid of thread. The goal isn’t perfection; it’s structural integrity. You want the repair to be strong enough to withstand daily wear without feeling like a stiff, awkward patch.
- 6. Trim the excess and secure your work. Once the hole is covered and the tension feels right, don’t just yank the needle out. Take a few tiny stitches on the underside to knot the thread, then snip the excess close to the knot. Use your shears to trim any stray threads, but leave a tiny bit of room so the knot doesn’t pop through to the front of the fabric.
- 7. Finally, do a stress test. Put the garment on and move around—sit down, reach up, and bend. If you feel any pulling or see the thread straining, go back and add a few more passes. A repair is only successful if it actually works in the real world, not just while it’s sitting on your workbench.
Mastering the Needle and Thread Basics for Real World Fixes
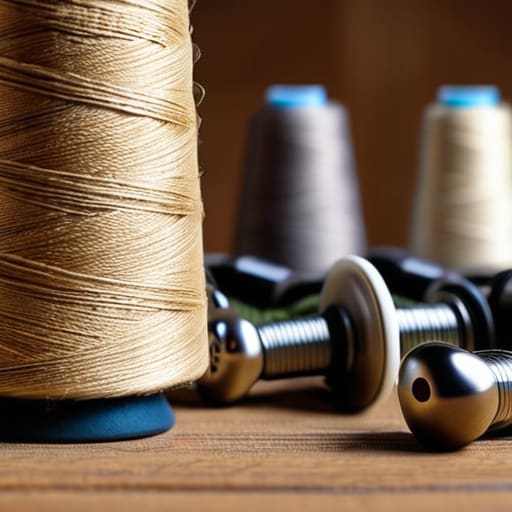
Before you dive into a repair, you need to stop treating your sewing kit like a junk drawer find. If you’re serious about making repairs that actually last, you need a few sewing kit essentials that don’t frustrate you mid-project. I’m talking about high-quality, sharp needles and a variety of thread weights. There is nothing worse than trying to fix a delicate linen shirt with heavy-duty polyester thread; it’s a recipe for puckered fabric and wasted time. Get the right tools, and you’ve already removed half the friction.
Once you have the gear, focus on the approach. For most everyday wear, you don’t need to be a master tailor; you just need to understand the needle and thread basics well enough to match your tension to the fabric. If you’re dealing with a visible tear in a heavy pair of jeans, don’t shy away from it—sometimes a deliberate patch is more functional than a failed attempt at something seamless. The goal isn’t perfection; it’s durability and utility.
Invisible Mending Techniques to Restore Your Favorite Gear
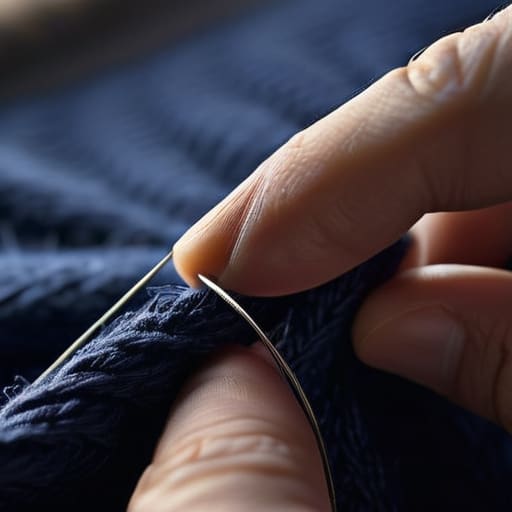
Sometimes, you don’t want a visible patch or a decorative stitch; you just want your favorite navy sweater or that high-end linen shirt to look like the damage never happened. This is where invisible mending techniques come into play. Instead of a heavy patch, I prefer using a technique called “reweaving” or fine darning. You essentially use a single strand of matching thread to mimic the weave of the fabric itself. It takes a bit more patience and a steady hand, but when you get it right, the repair becomes part of the original structure rather than an eyesore sitting on top of it.
If you’re dealing with something more rugged, like a pair of heavy-duty work trousers, you can pivot toward more strategic patching denim holes from the inside out. By applying a small piece of matching fabric to the underside of the tear and securing it with tiny, tight stitches, you reinforce the area without creating a bulky lump on the exterior. It’s all about minimizing the footprint of the repair. The goal isn’t perfection—it’s about restoring the utility of the garment while keeping the aesthetic clean and functional.
Three Rules for Keeping Your Repair Kit Functional
- Don’t overcomplicate your kit. You don’t need a massive sewing box gathering dust; just get one high-quality needle set, a few spools of heavy-duty thread in neutral tones, and a solid pair of small embroidery scissors. If the tools are easy to find, you’ll actually use them.
- Match the thread to the tension, not just the color. If you’re fixing a heavy denim jacket, don’t try to use standard all-purpose thread—it’ll snap the first time you sit down. Use a heavier polyester or nylon thread for structural repairs so the fix lasts longer than the next wash cycle.
- Build the “repair habit” by keeping your kit in a high-traffic spot. I keep a small, dedicated tin in my utility drawer rather than burying it in a craft bin. If it takes more than thirty seconds to get your tools out, you’re going to skip the repair and just toss the garment.
The Bottom Line: Making Repair Part of Your System
Don’t aim for perfection; aim for utility. A functional stitch that holds a seam together is infinitely more valuable than a discarded shirt that could have been saved with five minutes of effort.
Build a dedicated, accessible repair kit. If your needle and thread are buried in a junk drawer, you won’t use them. Keep your tools within reach so that fixing a snag becomes a low-friction habit rather than a chore.
## A Shift in Perspective
“Mending isn’t just about fixing a hole in a shirt; it’s about breaking the cycle of mindless consumption and reclaiming the agency to maintain what we already own.”
Gregory Scott Miller
Building a Sustainable Wardrobe System
At the end of the day, mending isn’t about becoming a master tailor; it’s about implementing a functional system that keeps your gear in rotation. We’ve covered everything from the basic mechanics of the needle and thread to those more advanced, invisible techniques that make a repair look like it never happened. By keeping a small, dedicated repair kit handy—just a few needles, some quality thread, and a sharp pair of scissors—you remove the friction that usually leads to a garment ending up in the trash. It’s about making the fix easier than the replacement.
I want you to look at your wardrobe differently now. Instead of seeing a hole or a loose seam as a reason to move on, see it as a simple maintenance task, much like oiling a tool or pruning a garden. When we stop treating clothes as disposable, we reclaim our time, our money, and a sense of intentionality. Stop letting small tears dictate your consumption habits. Build the habit, master the basic repairs, and let your environment serve you through longevity rather than constant turnover.