
I was standing in my backyard last Saturday, staring at a pile of expensive, mass-produced ceramic pots I’d bought on a whim, realizing they were nothing more than clutter disguised as decor. They didn’t fit my space, they were heavy, and they certainly weren’t serving the garden. That’s when it hit me: most people approach diy planters by trying to mimic high-end retail looks, when they should actually be focusing on functional systems. You don’t need a showroom aesthetic; you need containers that manage drainage, respect your spatial constraints, and actually last.
In this guide, I’m stripping away the fluff and the Pinterest-perfect illusions to show you how to build planters that actually work. We aren’t going to waste time on overly complex builds or fragile designs that fall apart after one season. Instead, I’ll walk you through a few no-nonsense methods to create durable, efficient diy planters using simple materials. My goal is to help you build a setup that integrates seamlessly into your life so you can spend less time managing your gear and more time enjoying your growth.
Table of Contents
Guide Overview
Tools & Supplies
- Drill with bit for drainage holes
- Measuring tape for sizing materials
- Scissors or utility knife for cutting
- Recycled containers (tin cans, plastic bottles, or wooden crates)
- Potting soil (1 bag)
- Small stones or gravel (1 handful for drainage)
- Paint or decorative adhesive (optional)
Step-by-Step Instructions
- 1. First, I want you to look at your space and decide where these planters are actually going to live. Don’t just pick a spot because it looks “pretty” in a magazine; look for functional surfaces like a windowsill, a porch railing, or a specific corner of your patio. Once you have the location, measure the footprint. There is nothing more frustrating than finishing a project only to realize your new planter obstructs a walkway or crowds a doorway.
- 2. Next, gather your materials, but keep it lean. I’m a big believer in using what you already have or what is easily accessible. You’ll need your primary container—this could be anything from reclaimed cedar scraps to even an old wooden crate—a drill with a bit appropriate for your material, some high-quality potting soil, and your chosen plants. If you’re using wood, make sure it’s either naturally rot-resistant like cedar or treated with a simple, non-toxic sealant.
- 3. Now, we address the most critical part of the system: drainage. Most people skip this and wonder why their plants die within a month. Use your drill to create a series of holes in the bottom of your container. I usually space them about two inches apart to ensure water can escape freely. If you’re using a container that doesn’t have a bottom, like a wooden crate, you might want to line it with a layer of landscape fabric first to keep the soil from washing out.
- 4. Once your drainage is sorted, it’s time to prep the medium. Don’t just grab the cheapest bag of dirt at the big-box store; it’s usually too dense and will suffocate your roots. Mix your soil with a bit of perlite or coarse sand to improve aeration. You want a substrate that feels light and crumbly, not like heavy, wet clay. This is the foundation of your plant’s life support system.
- 5. Now, let’s get the plants in. Dig a small hole in your soil mix, place your plant inside, and gently firm the soil around the base. Don’t pack it down too hard—you want to eliminate large air pockets without compressing the life right out of the roots. If you’re using multiple plants in one larger planter, space them out so they have room to grow into their own territory without competing for resources.
- 6. The final step is the most important for long-term success: the initial watering. Give your new planters a thorough soak until you see water trickling out of those drainage holes we worked so hard on. This settles the soil and ensures the root ball is fully hydrated. From here on out, your job is simple: observe and adjust. If the soil feels dry an inch down, water it; if it’s still damp, leave it alone. Keep the system simple, and it will work for you.
Mastering Upcycled Container Gardening Without the Complexity
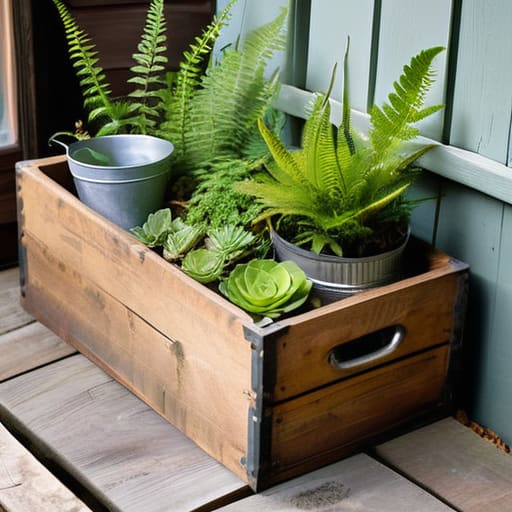
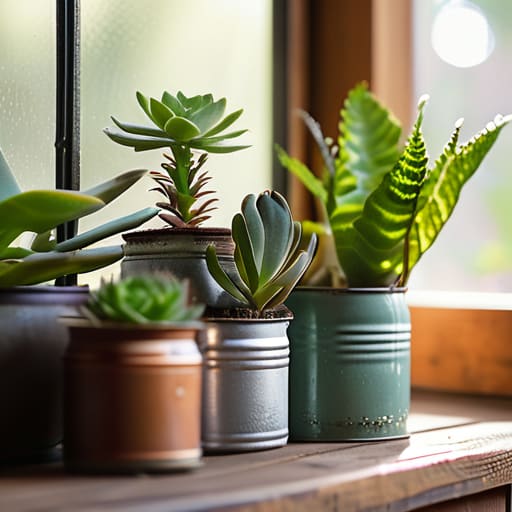
Most people get caught up in the idea that you need a specialized kit or a trip to a big-box nursery to start growing. You don’t. I’ve found that the most effective way to scale your greenery without draining your bank account is through upcycled container gardening. Look around your garage or kitchen. An old wooden crate, a sturdy metal tin, or even some well-placed recycled plastic bottle planters can serve the same purpose as a designer pot. The goal isn’t to make it look like a museum piece; it’s to create a functional vessel that holds soil and lets your plants thrive.
The trick to making this work long-term is focusing on drainage and scale. If you’re repurposing something that wasn’t meant for soil, you have to be intentional about drilling holes. Don’t just throw dirt into a random bucket and hope for the best—that’s how you end up with root rot and wasted effort. I prefer to keep things modular. If you’re working with limited floor space, a simple hanging garden diy setup can turn a blank wall into a productive system. Just keep the containers lightweight and the maintenance low.
Simple Wooden Planter Box Tutorials for Real World Living
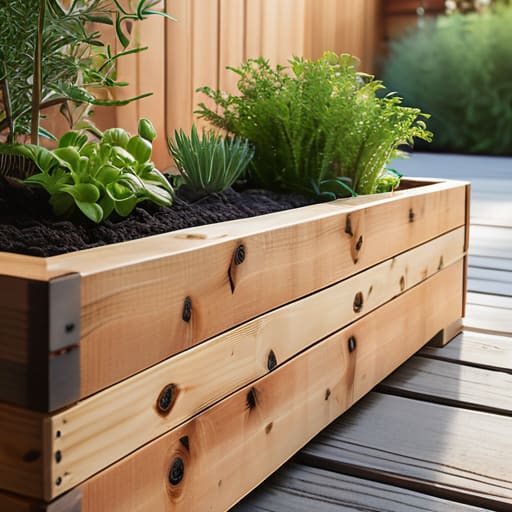
If you’re looking to move beyond upcycled containers and want something with a bit more permanence, a basic wooden planter box tutorial is the way to go. I don’t recommend anything fancy or overly engineered; I’m talking about cedar or redwood planks cut to size, joined simply, and left to weather naturally. The goal here isn’t to create a museum piece, but to build a functional vessel that holds soil and survives a season of rain. Use exterior-grade screws to prevent rust, and don’t skimp on the drainage holes. If the water can’t move, your roots will rot, and the whole system fails.
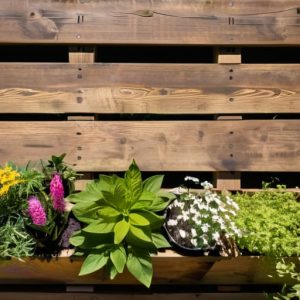
For those of you working with limited square footage, don’t overlook the utility of a hanging garden diy. You can easily adapt a simple wooden frame to mount against a fence or a balcony wall. This keeps your floor space clear and moves your greenery into the sunlight where it belongs. Whether you’re building large troughs for herbs or small, modular boxes for a vertical setup, keep the design minimalist and repeatable. When you build with a system in mind, you spend less time tinkering and more time actually enjoying the garden.
Three Rules to Keep Your Planters from Becoming Clutter
- Prioritize drainage over aesthetics. I’ve seen too many people build beautiful wooden boxes only to realize they’ve created a stagnant pool for root rot; always drill enough holes to ensure water moves through the system, not just sits in it.
- Match the container to the plant’s lifecycle, not your current mood. Don’t commit to a heavy, permanent cedar planter for a seasonal herb you might not even use in three months—start with something modular that you can move or swap without a heavy lifting session.
- Choose materials that actually age well in your specific environment. If you’re building something for a high-moisture area, don’t skimp on the finish or use cheap pine that’s going to warp and fall apart by next spring; invest in the right hardware and weather-resistant wood once, so you aren’t rebuilding the same system every year.
The Bottom Line
Don’t let the pursuit of the “perfect” aesthetic stall your progress; choose containers that are functional, easy to maintain, and actually fit the footprint of your space.
Focus on the system, not just the object—ensure your planters have proper drainage and accessibility so that tending to your plants becomes a seamless part of your routine rather than a chore.
The Philosophy of Function
“A planter shouldn’t be a decorative burden that requires constant maintenance; it should be a seamless part of your home’s system—something that holds life, manages drainage, and stays out of your way so you can actually enjoy the greenery.”
Gregory Scott Miller
Stop Planning and Start Building
At the end of the day, whether you’re repurposing an old cedar crate or building custom wooden boxes from scratch, the goal remains the same: creating a system that works for you. We’ve covered how to upcycle containers without the headache and how to construct simple, functional planters that won’t clutter your mental space. You don’t need a massive workshop or a degree in horticulture to get this right. Just pick a method that fits your current setup, grab your tools, and focus on eliminating the friction between you and your green space.
Don’t get caught in the trap of “perfect” planning. I spent years in logistics overthinking every variable, only to realize that the most effective systems are often the simplest ones. Your garden shouldn’t be another project on your to-do list that causes stress; it should be a place where you can actually breathe and reset. So, stop scrolling through endless DIY galleries and just build something. Once that first plant is in the ground, you’ll realize that the best system is the one you actually use.