
I was standing in my kitchen last Tuesday, staring at a shelf full of brightly colored plastic bottles filled with half-truths and synthetic fragrances, when it hit me: I was paying a premium to bring unnecessary chemicals into my own home. Most people think that learning how to make soap requires a laboratory-grade setup or a degree in chemistry, but that’s just noise. You don’t need a mountain of specialized equipment or a hundred different essential oils to get started; you just need a reliable process that eliminates the guesswork.
In this guide, I’m stripping away the fluff to show you a streamlined, high-efficiency method for crafting your own bars. I’ll walk you through the exact tools and basic ingredients required to master how to make soap without turning your kitchen into a chaotic mess. My goal isn’t to turn you into a professional artisan, but to help you build a simple, repeatable system that provides a better product than anything you’ll find at the grocery store.
Table of Contents
- Step-by-Step Instructions
- Mastering the Lye and Oil Saponification Process Without the Chaos
- Choosing Natural Ingredients for Handmade Soap That Actually Work
- Three Ways to Keep Your Soap Station From Turning Into a Disaster Zone
- The Bottom Line
- ## The Philosophy of the Process
- Cutting Through the Soap-Making Noise
Guide Overview
Tools & Supplies
- Digital scale for precise measurements
- Stick blender for emulsification
- Heat-resistant glass beaker or pot
- Silicone molds for shaping
- Coconut oil (approx. 500g)
- Sodium hydroxide/Lye (approx. 70g)
- Distilled water (approx. 150g)
- Essential oils (approx. 30ml)
Step-by-Step Instructions
- 1. First, clear your workspace. I’m not talking about just wiping a counter; I mean clearing a dedicated zone in your kitchen that is free from food prep and clutter. You’ll need a high-quality digital scale, stainless steel bowls, a stick blender, and most importantly, safety gear. Don’t skip the goggles and gloves—lye is no joke, and I want you to approach this with the same respect you’d give a power tool.
- 2. Measure your ingredients with precision. Forget measuring cups; in systems engineering, we rely on mass, not volume. Use your digital scale to weigh out your oils (like olive or coconut) and your distilled water separately. Then, weigh your lye. Even a tiny margin of error can ruin the batch or, worse, leave you with a caustic mess that won’t lather properly.
- 3. Prepare your lye solution. This is the part where most people get nervous, so just follow the protocol. Slowly pour your weighed lye into the distilled water—never pour the water into the lye, or you risk a chemical reaction that can spray back at you. Stir it gently with a stainless steel spoon until it’s clear, then set it aside in a safe spot to cool down. It’s going to get hot, so let it sit until it reaches a comfortable temperature.
- 4. Combine the liquids. Once your oils are melted and your lye solution has cooled to a similar temperature, slowly pour the lye mixture into your bowl of oils. This is where the magic happens. Grab your stick blender and start pulsing it. You aren’t trying to whip it like cream; you’re looking for “trace,” which is that specific moment when the mixture reaches the consistency of thin pudding.
- 5. Add your extras (if you must). If you want to add essential oils for scent or clays for color, do it right now, once you’ve hit trace. I prefer to keep things simple with just a few drops of cedarwood or lavender, but the goal is to add them without disrupting the emulsion you just worked so hard to create.
- 6. Pour and set. Once the mixture is consistent, pour it into your mold. Tap the mold firmly on the counter a few times to shake out any trapped air bubbles—think of it as optimizing the density of your soap. Cover the mold with a piece of cardboard and a towel to insulate it, then leave it alone.
- 7. The waiting game. This is the hardest part for people who like instant results, but you need to let the soap cure for at least four to six weeks. This period allows the water to evaporate and the pH to stabilize, resulting in a bar that is hard, long-lasting, and gentle on your skin. Patience is just another part of a functional system.
Mastering the Lye and Oil Saponification Process Without the Chaos
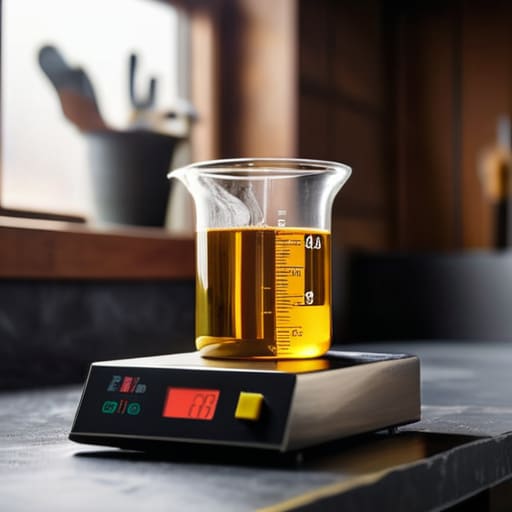
When you’re diving into the lye and oil saponification process, the biggest mistake I see is trying to rush the chemistry. It’s tempting to crank up the heat to speed things up, but that’s a recipe for a messy, uneven batch. I’ve learned that patience is your best tool here. Treat the mixing stage like a precision engineering task: keep your temperatures steady and your measurements exact. If you want to minimize the chaos, invest in decent soap making safety equipment—goggles and gloves aren’t optional, they’re the baseline. Once you have the safety protocols dialed in, the science starts to feel a lot more like a predictable system and less like a high-stakes experiment.
Another thing to keep in mind is the “trace” stage. You want to hit that perfect consistency where the oils and lye have bonded, but before everything sets too hard to work with. This is also the best time to introduce your essential oils for natural soap. I prefer adding them right at the end of the mixing phase to ensure the scent remains potent and doesn’t get cooked off by the heat. It’s all about managing the timing to ensure the final product is as functional and clean as the environment you’re trying to build.
Choosing Natural Ingredients for Handmade Soap That Actually Work
When you’re selecting your base, don’t get distracted by the flashy, expensive additives you see in boutique shops. From a systems perspective, you want oils that offer a stable, predictable result. I usually stick to a foundation of olive oil for conditioning and coconut oil for a decent lather. If you want to elevate the quality without adding unnecessary complexity, look for high-quality natural ingredients for handmade soap like shea butter or cocoa butter. These aren’t just luxuries; they provide the structural integrity and skin-feel that make the final product actually worth using.
Once your base is set, the scent and skin benefits come down to your choice of additives. I’ve found that skipping the synthetic fragrances in favor of pure essential oils for natural soap makes a massive difference in both the experience and the chemical stability of the bar. Just remember to keep it simple. You aren’t trying to build a perfume factory; you’re trying to create a functional tool for hygiene. Stick to a few reliable oils, keep your ratios precise, and you’ll avoid the common headache of a bar that’s either too soft or too harsh.
Three Ways to Keep Your Soap Station From Turning Into a Disaster Zone
- Control your workspace before you even touch the lye. I’ve learned the hard way that trying to clean up a spill while managing a chemical reaction is a recipe for stress. Clear your counters, lay down some silicone mats, and make sure you have a dedicated “wet zone” and a “dry zone.” If you keep the chaos contained to one small area, the cleanup becomes a five-minute task instead of a weekend project.
- Invest in a high-quality digital scale, not a set of measuring cups. In systems engineering, precision is everything, and soap making is no different. If your oil-to-lye ratio is off by even a few grams, you’re looking at a batch that’s either too greasy to use or too harsh for skin. Forget “eyeballing it”—measure everything by weight to ensure your results are consistent every single time.
- Don’t overcomplicate your scent profiles. It’s tempting to throw five different essential oils into the pot to see what happens, but that usually just results in a muddy, confusing smell. Stick to one or two high-quality oils that complement each other. It keeps your ingredient list short, your costs down, and your final product smelling intentional rather than accidental.
The Bottom Line
Focus on the system, not the spectacle. You don’t need a laboratory-grade setup to make great soap; you just need a clean workspace, a repeatable process, and high-quality, predictable ingredients.
Minimize your friction by prepping ahead. The chaos in soap making usually comes from trying to figure things out on the fly—measure your oils and prep your lye solution before you even start the timer to keep the process steady and safe.
## The Philosophy of the Process
“Making your own soap isn’t about chasing complex recipes or expensive additives; it’s about reclaiming control over what touches your skin by mastering a simple, repeatable system.”
Gregory Scott Miller
Cutting Through the Soap-Making Noise
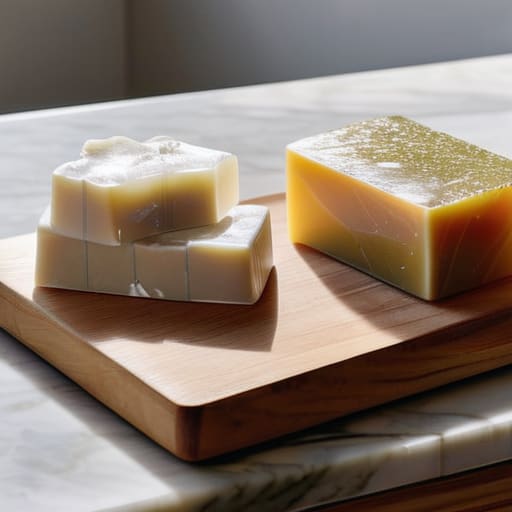
At the end of the day, making your own soap isn’t about chasing some complex, artisanal trend or buying every expensive additive on the market. It comes down to three simple pillars: selecting high-quality oils, managing your lye with precision, and respecting the curing process. When you strip away the unnecessary fluff, you’re left with a reliable, repeatable system that yields a superior product every single time. You don’t need a laboratory; you just need a clean workspace, the right basic ingredients, and the discipline to follow the process without taking shortcuts.
I know it can feel like a lot to manage at first, but remember that mastery comes from consistent execution. Once you get your first batch right, you’ll realize that you aren’t just making soap; you are reclaiming control over what goes into your home and onto your skin. Stop overthinking the variables and just start the process. Once you see that first solid, beautiful bar come out of the mold, you’ll realize that simplifying your life is often the most productive thing you can do.