
I was staring at my old particle-board workstation last Tuesday, watching my coffee mug leave a permanent ring on a surface that wobbled every time I reached for my notebook, and I realized something: most people think you need a master carpenter’s degree or a shop full of industrial machinery to solve this. They believe that learning how to build a desk requires a massive investment in complex tools and expensive hardwoods that most of us just don’t have the time or space for. But the truth is much simpler. A desk shouldn’t be a trophy piece; it should be a functional tool designed to eliminate the friction in your workday.
In this guide, I’m stripping away the fluff and the over-complicated woodworking jargon to show you a streamlined, systems-based approach to building your own workspace. I’ll walk you through selecting materials that actually last, choosing a design that fits your specific workflow, and the exact assembly steps to get it done without the headache. We aren’t chasing perfection here; we are building a reliable system that supports your focus and stays out of your way.
Table of Contents
Guide Overview
Tools & Supplies
- Power Drill and bits for driving screws
- Measuring Tape for accurate cuts
- Sandpaper for smoothing edges
- Level to ensure a flat surface
- Wood Desktop (1 piece)
- Wood Legs or Sawhorses (4 units)
- Wood Screws (1 box)
- Wood Glue (1 bottle)
Step-by-Step Instructions
- 1. Before you touch a single piece of wood, you need to map out your workflow. Don’t just guess at the dimensions. Grab that notebook I always carry and measure your gear—laptop, monitors, even your keyboard. A desk that’s too shallow will leave you staring at a screen too close to your eyes, creating unnecessary physical friction throughout your workday. Decide on your depth and width first; once you have those numbers, the rest of the build becomes a simple math problem.
- 2. Source your materials with a focus on durational value rather than just the lowest price. For a project like this, I recommend a solid butcher block or a high-quality birch plywood. Avoid the particle board stuff you find in flat-pack furniture; it’s designed to fail. When you head to the lumber yard, look for pieces that are straight and true. If the wood is bowed or warped, you’ll spend more time fighting the material than actually building the desk.
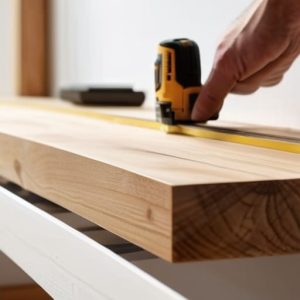
- 3. Get your cutting precise. If you don’t have a table saw, don’t sweat it—most hardware stores will make the primary cuts for you, but you’ll want to do the final trimming yourself to ensure a perfect fit. Use a high-tooth-count circular saw blade to prevent splintering. My rule of thumb is to always measure twice and cut once; it sounds like a cliché, but in systems engineering, we call it error reduction, and it saves you a massive headache later.
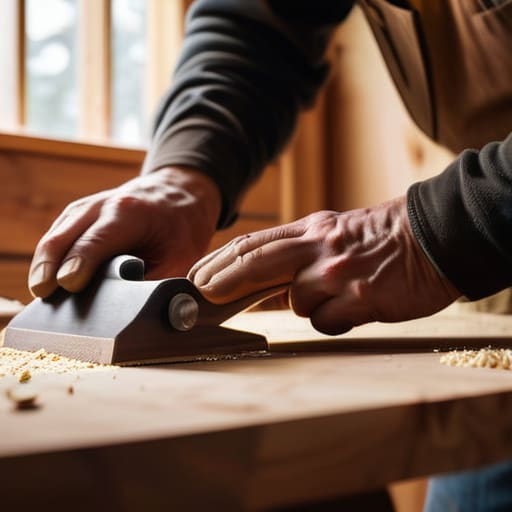
- 4. Sanding is where most people lose their patience, but it’s the most critical step for a professional finish. Start with a coarse grit like 80 to level out the surface, then move to 120, and finish with 220. I like to work with the grain, never against it, to avoid those annoying scratches that show up once you apply a finish. If the surface doesn’t feel smooth as silk under your hand, you aren’t done sanding yet.
- 5. Assemble your base using a “minimalist-first” approach. Whether you’re using heavy-duty steel legs or building a simple wooden trestle, ensure the connection points are rock solid. I prefer using heavy-duty lag bolts or specialized wood screws rather than cheap nails. A wobbly desk is a system failure; it creates a constant, subtle distraction that breaks your focus. Make sure your mounting hardware is perfectly perpendicular to the desktop.
- 6. Apply a finish that actually protects the wood without making it look like it’s coated in plastic. I’m a big fan of hardwax oils—they’re easy to apply, they look natural, and they’re incredibly easy to spot-repair if you ever get a scratch. Apply a thin, even coat, let it soak in, and buff away the excess. You want a finish that feels like real wood, not a layer of synthetic film.
- 7. Finally, integrate your cable management. A beautiful desk is ruined by a “rat’s nest” of wires hanging underneath it. Drill a few clean holes using a hole saw bit, or mount a simple metal tray to the underside of the frame. The goal is to hide the chaos so your visual field remains clear. When your tools and tech are tucked away, you’ve successfully optimized your environment to serve your work, not your clutter.
Choosing the Best Wood for Office Furniture Without the Fluff
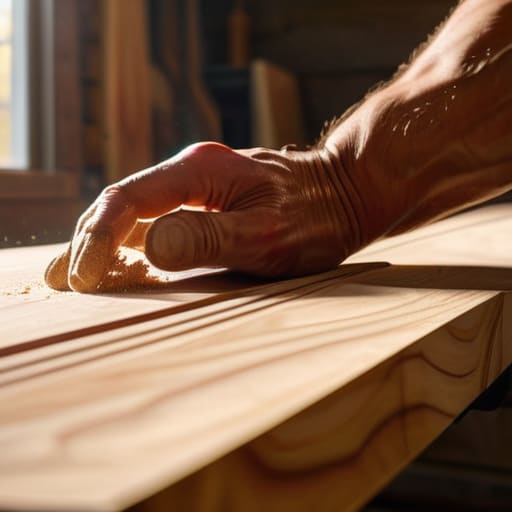
When you’re looking at a lumber yard or a big-box store, it’s easy to get overwhelmed by the sheer volume of options. My advice? Don’t chase the most expensive exotic hardwoods just because they look good in a catalog. For a functional workspace, you want stability and ease of use. If you are just starting out, I recommend sticking to hardwoods like maple or walnut if your budget allows, or even high-quality birch plywood for a more streamlined look. These materials offer the structural integrity needed to support your gear without the warping issues you’ll find in cheaper softwoods.
The goal here is to create a surface that feels solid under your hands and survives the daily grind. If you’re leaning toward minimalist desk design ideas, a clean-grain wood will do most of the heavy lifting for you, meaning you won’t need to spend hours on complex stains or finishes. Just focus on selecting a species that matches your intended custom desk dimensions and your specific workspace needs. Keep it simple, keep it sturdy, and let the natural grain provide the character.
Mastering Custom Desk Dimensions to Strip Away the Friction
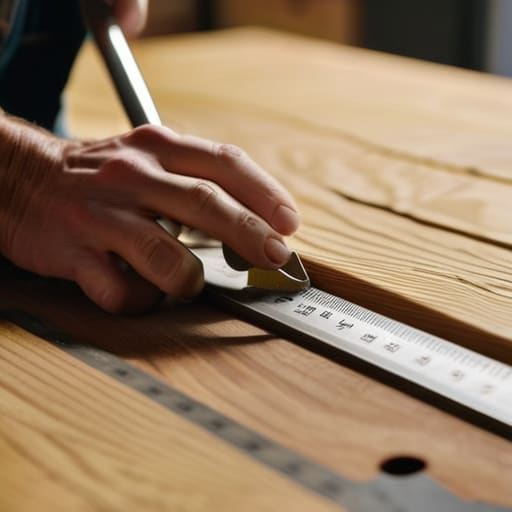
Most people make the mistake of treating a desk like a piece of standard furniture you just pick up from a big-box store. But if you want to truly optimize your workflow, you have to stop thinking in “standard sizes” and start thinking about your specific ergonomics. When I’m calculating custom desk dimensions, I don’t just look at the length of the tabletop; I look at the reach of my arms and the height of my chair. If the surface is too deep, you’re constantly leaning forward, creating unnecessary tension in your lower back. If it’s too shallow, your monitors are too close to your eyes.
Before you start checking off your DIY desk materials list, grab that notebook of yours and measure your actual physical footprint. I recommend a height that allows your elbows to rest at a 90-degree angle without your shoulders hunching up toward your ears. Measure twice, cut once is a cliché for a reason, but in systems engineering—and woodworking—it’s the difference between a workspace that supports you and one that becomes a source of daily physical friction.
Three Ways to Stop Your Desk from Becoming a Mess
- Prioritize cable management before you even drive your first screw; build a dedicated channel or route for your power strips so you aren’t fighting a “spaghetti nest” of wires every time you move your laptop.
- Think about your “reach zone” during the design phase, ensuring that frequently used items like your notebook or lamp are within easy access without you having to lean or strain, keeping your workflow fluid.
- Invest in heavy-duty, adjustable leveling feet for your frame to ensure the surface is dead-flat, because nothing ruins a productive session faster than a wobbling desk that makes your coffee slide.
The Bottom Line
Don’t chase perfection or expensive exotic hardwoods; focus on selecting a stable, functional material that fits your actual workflow and budget.
Measure twice and prioritize ergonomics over aesthetics, because a desk that looks good but causes back pain is just another piece of friction in your life.
The Philosophy of the Workspace
A desk isn’t just a flat surface to hold a computer; it’s the foundation of your focus. If you’re fighting your furniture every time you sit down to work, you’ve already lost the battle for your productivity. Build for utility, build for your specific workflow, and build it once so you can stop thinking about the desk and start thinking about the work.
Gregory Scott Miller
The Finished Product
At the end of the day, building this desk isn’t about achieving woodworking perfection or owning a museum piece. It’s about the logistics of your daily life. We’ve covered how to select a wood that won’t fail you, how to nail those custom dimensions so your body isn’t fighting your furniture, and how to execute the build without unnecessary complexity. When you stop settling for off-the-shelf solutions that force you to adapt to their design, you start reclaiming your own space. You’ve moved from a generic setup to a purpose-built system that supports your work rather than hindering it.
Now, take a second to look at what you’ve actually created. It’s more than just a surface to hold a laptop; it is a tool designed to strip away the friction from your most productive hours. Don’t let the momentum stop here. Use this win to look around your home and identify the next bottleneck in your environment. My advice? Keep it simple, keep it functional, and always prioritize intentional design over mindless consumption. You’ve got this.