
I was staring at a pile of mismatched boxes in my hallway last Tuesday, feeling that familiar itch of mental clutter, when I realized my walls were doing absolutely nothing to help me stay organized. Most people think floating shelves diy projects are just about picking a pretty piece of wood and nailing it to a stud, but the truth is, if you don’t get the physics right, you’re just creating a future headache of sagging timber and crooked decor. I’ve spent enough time restoring old tools to know that precision matters more than aesthetics when you’re trying to build something that actually lasts.
In this guide, I’m stripping away the fluff and the overly complicated “Pinterest-perfect” nonsense to show you how to build sturdy, functional shelving. I’ll walk you through the exact hardware you need, how to find your studs without losing your mind, and the simple system I use to ensure everything stays level. We aren’t just decorating here; we are optimizing your space so it finally works the way it should.
Table of Contents
Guide Overview
Tools & Supplies
- Drill/Driver for mounting brackets
- Level to ensure even placement
- Stud finder to locate wall supports
- Saw for cutting wood to length
- Measuring tape for precision
- Wood planks (2-3 pieces)
- Floating shelf brackets (1 set)
- Wood screws (1 pack)
- Wall anchors (if no studs available)
- Sandpaper (medium and fine grit)
Step-by-Step Instructions
- 1. Before you even touch a saw, you need to identify your studs. Floating shelves are only as good as what they’re anchored to, and if you try to hang these on just drywall, they will eventually sag or pull right out of the wall. Use a reliable stud finder to mark your points, and if your layout doesn’t align with the studs, make sure you have high-quality heavy-duty anchors ready to go.
- 2. Next, let’s talk about the skeleton. I prefer using a solid wood bracket or a custom-built cleat system. If you’re building your own, cut a piece of timber that will act as your mounting base. This is the part that does the heavy lifting, so ensure your measurements are precise and your cuts are square. A fraction of an inch off here can cause the whole shelf to look crooked once it’s up.
- 3. Now, it’s time to level the playing field—literally. Hold your mounting bracket against the wall at your desired height and use a proper spirit level to ensure it is perfectly horizontal. Once you’ve confirmed it’s level, trace the screw holes with a pencil. I always double-check this step; there’s nothing more frustrating than realizing a shelf is tilted after you’ve already drilled the holes.
- 4. Drill your pilot holes. If you’re hitting studs, drill straight into the wood; if you’re using anchors, use a bit that matches the anchor size exactly. I like to use a drill guide if I’m working alone to keep things from wandering. Once the holes are set, screw your mounting bracket firmly into the wall. Give it a firm tug to make sure it isn’t budging.
- 5. Prepare your shelf boards. If you’re using thick wood like pine or oak, you’ll need to hollow out the back of the board so it can slide over your mounting bracket. This is where a bit of patience and steady hands come in handy. You want the cavity to be deep enough so the shelf sits flush against the wall, but not so deep that the front edge feels flimsy.
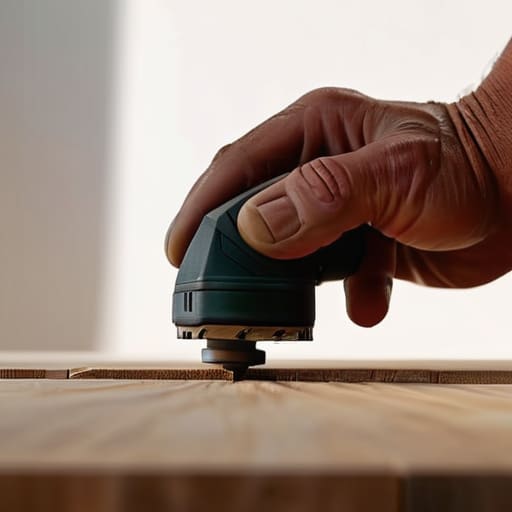
- 6. Sanding is the step most people rush, but it’s the one that separates a DIY project from a professional-looking piece of furniture. Sand through the grits—starting with something coarse and moving to a fine finish—until the wood feels silky smooth to the touch. This is also the best time to apply your oil or stain; I personally prefer a simple matte finish that lets the natural grain do the talking.
- 7. Finally, slide the shelf onto the bracket. Align it carefully, press it home, and check it one last time with your level. If it’s seated correctly, you’re done. Now, go ahead and add your items, but remember my rule: don’t overstuff them. Use the shelves to display what matters, not to create a new kind of clutter.
Mastering Modern Rustic Shelf Design Without the Clutter
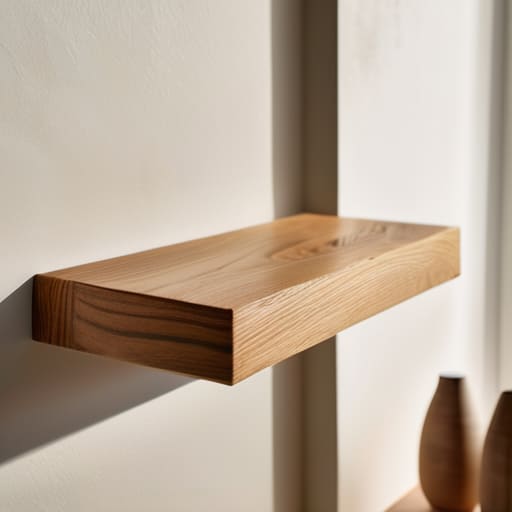
When you’re aiming for a modern rustic shelf design, the biggest trap is overcomplicating the look. I’ve seen too many people try to force a “distressed” look that just ends up looking messy and distracting. Instead, focus on the quality of the wood and the clean lines of the installation. To keep that minimalist edge, I highly recommend using hidden shelf brackets. They allow the wood to appear as if it’s simply hovering against the wall, which removes the visual noise of bulky L-brackets and keeps your focus on the texture of the grain rather than the hardware holding it up.
Once you have the aesthetic dialed in, you have to respect the physics of the project. If you’re mounting floating shelves on drywall, don’t just rely on the plaster; you need to find those studs or use heavy-duty anchors. I always keep a few shelf weight capacity tips in my notebook: always calculate the weight of your books or decor before you commit to a specific bracket. It’s better to over-engineer the support now than to have a beautiful piece of reclaimed oak come crashing down on your morning coffee later.
Smart Diy Wood Shelf Installation for Maximum Utility
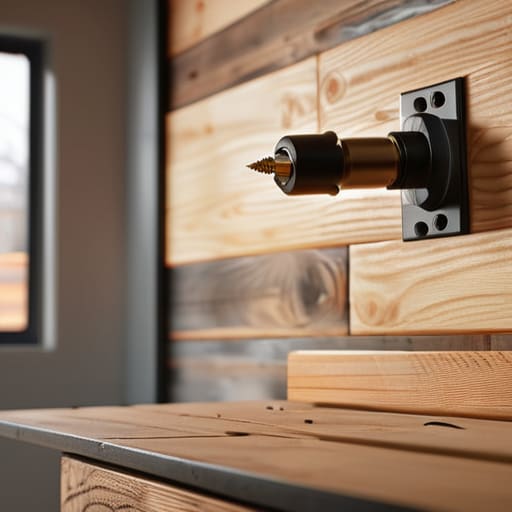
When you’re moving from the aesthetic side of things to the actual physics of the project, you have to stop thinking like a decorator and start thinking like an engineer. The biggest mistake I see people make is treating a shelf like a piece of art rather than a structural component. If you’re mounting floating shelves on drywall, you cannot rely on those flimsy plastic anchors that come in the box. You need to find the studs every single time. If your layout doesn’t align with your wall studs, invest in heavy-duty toggle bolts; otherwise, you’re just building a future headache.
I also can’t stress enough that your shelf weight capacity tips should always favor the conservative side. If you plan on displaying heavy ceramic pieces or thick hardcover books, your hardware needs to reflect that. I always recommend using high-quality hidden shelf brackets that extend deep into the wood, rather than shallow ones that just sit on the surface. It’s about creating a system that stays rock-solid so you don’t have to keep adjusting it every time you add a new item. Build it once, build it right, and let it do its job.
Three Ways to Make Sure Your Shelves Don't Fail You
- Don’t trust the drywall. If you aren’t hitting a stud, you aren’t building a shelf; you’re building a future headache. Use a high-quality stud finder to locate your structural support, and if the layout doesn’t line up, invest in heavy-duty toggle bolts. I’ve seen too many people try to “wing it” with cheap anchors, only to watch their curated collection end up in a pile on the floor.
- Plan for the weight before you pick the wood. A shelf isn’t just a visual element; it’s a structural component. If you’re planning to stack heavy cookbooks or stoneware, skip the lightweight pine and go with something denser like oak or maple. A system only works if it can actually handle the load you put on it.
- Keep the depth practical. It’s easy to get carried away and build deep, chunky shelves, but if they protrude too far into your walking path or make it hard to reach the back, they become friction points rather than tools. Measure your most common items—books, plants, or decor—and build the shelf to accommodate them without creating unnecessary bulk in the room.
The Bottom Line on Functional Shelving
Don’t just build for looks; build for utility. If a shelf doesn’t solve a storage problem or clear a surface, it’s just more visual noise you don’t need.
Precision in the prep work saves you from frustration later. Take the extra ten minutes to find your studs and level your marks—it’s much easier to fix a measurement on paper than it is to patch a hole in your drywall.
The Philosophy of Open Storage
“A floating shelf isn’t just a piece of wood on a wall; it’s a way to reclaim your vertical real estate and clear the visual noise that keeps your brain from settling down.”
Gregory Scott Miller
Final Thoughts on Your New Setup
At the end of the day, installing floating shelves isn’t just about adding some extra storage to a blank wall. It’s about the deliberate process of selecting the right materials, finding those studs, and ensuring the weight distribution is solid enough to handle your real-world use. Whether you went with a modern rustic look or a clean, minimalist finish, the goal was to reduce the friction in your daily life. By following these steps, you’ve moved away from haphazard clutter and toward a systematized space that actually supports your lifestyle instead of complicating it.
Don’t let the project end once the last screw is tightened. Use these shelves as a tool to keep your environment dialed in and intentional. A well-organized home isn’t a luxury; it’s a way to reclaim the mental bandwidth you need for the things that truly matter. Now that you’ve mastered this small piece of your home’s infrastructure, I encourage you to look around and find the next area that needs a bit of functional refinement. Get to work and make your space serve you.