
I spent three hours last Saturday staring at a streak of uneven eggshell white on my living room wall, wondering why my “quick weekend project” had turned into a total logistical nightmare. Most people think that learning how to paint a room is all about picking a trendy color and grabbing a roller, but that’s a lie that leads to wasted money and sore muscles. The truth is, the actual painting part is the easy bit; the real work—and where most people fail—is in the system of preparation you build before the first drop of pigment ever touches the drywall.
I’m not here to sell you on expensive, high-tech gadgets or complex multi-step routines that eat up your entire Sunday. Instead, I’m going to show you a streamlined, functional approach to how to paint a room that focuses on minimizing friction and maximizing efficiency. We’re going to strip away the fluff and focus on the essential tools and the specific sequence of steps that will help you get a professional finish without the unnecessary headache.
Table of Contents
Guide Overview
Tools & Supplies
- Paint roller and tray for large surface areas
- Angled sash brush for cutting in edges
- Painter's tape for protecting trim and ceilings
- Drop cloths to protect flooring
- Interior paint (1-2 gallons depending on room size)
- Painter's tape (1-2 rolls)
- Sandpaper (medium grit for smoothing walls)
- Spackle (small container for patching holes)
Step-by-Step Instructions
- 1. First, clear the deck. You can’t optimize a system if there’s constant physical friction in the way. Move the furniture to the center of the room and cover it with heavy-duty drop cloths—not those thin plastic sheets that tear if you look at them wrong. I always say, treat your floor like a sacred space; if you spend forty minutes cleaning up paint drips later, you’ve already lost the battle against wasted time.
- 2. Prep the surfaces because this is where most people fail. If your walls have scuffs or holes, sand them down until they’re flush. Wipe everything down with a damp microfiber cloth to remove dust. If you try to paint over a layer of grit, you’re just building a system on a shaky foundation, and the finish will look amateur no matter how much you spent on the paint.
- 3. Seal the edges with painter’s tape, but do it with intention. Don’t just slap it on; press the edges down firmly with a putty knife to ensure there’s no bleeding. I prefer to tape off the baseboards and the ceiling line first. It’s about creating clear boundaries so that when you start moving the brush, you aren’t constantly second-guessing your lines.
- 4. Prime the walls if you’re making a big change, like going from a dark navy to a light cream. A good primer acts as the bridge between the old surface and the new color. It’s the essential middle step that prevents you from having to do four coats of expensive paint just to get even coverage.
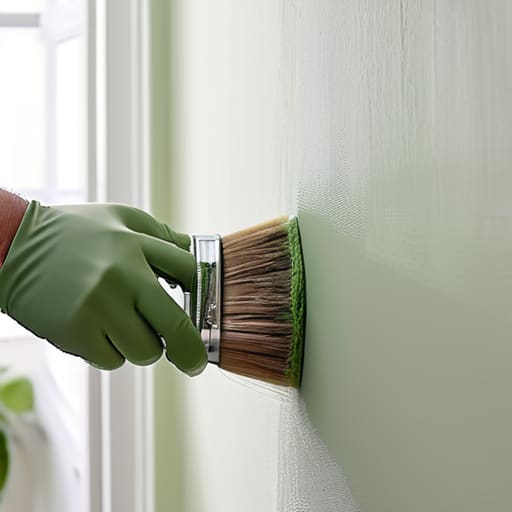
- 5. Start with the “cut-in” work. This means using a high-quality angled brush to paint the edges, corners, and around trim where a roller can’t reach. Don’t try to do the whole room at once; work in manageable sections so the “wet edge” stays wet. If you let the edges dry before you hit them with the roller, you’ll end up with visible seams that drive you crazy.
- 6. Roll the main sections using a “W” or “M” pattern. This isn’t just a way to move the paint; it’s a way to distribute it evenly across the surface. Work from the top down and avoid the temptation to keep rolling over the same spot once it starts to get tacky. You want a consistent, smooth application that relies on the tool’s physics rather than brute force.
- 7. Once the first coat is dry—and I mean completely dry—assess the coverage. Most professional-grade paints only need a second coat, but don’t rush it. Patience is a functional tool. Apply the final coat using the same systematic approach, and once you’re finished, peel the tape away while the paint is still slightly tacky to ensure the cleanest possible lines.
The Essential Painting Supplies Checklist to Strip Away Complexity
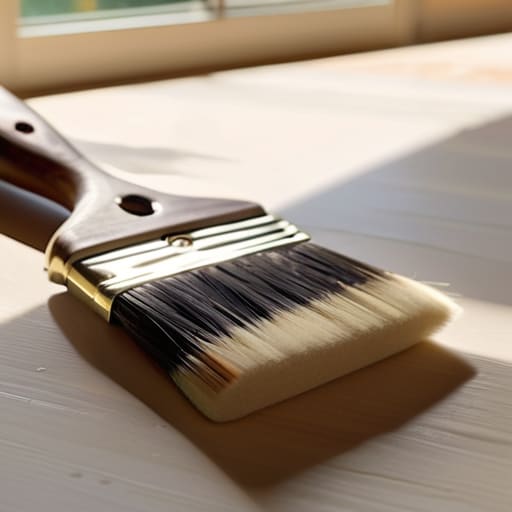
Look, the biggest mistake I see people make is treating the hardware store run like a casual stroll. They grab a cheap brush and a generic roller, and then they spend three hours wondering why the finish looks like orange peel. If you want to avoid that frustration, you need a solid essential painting supplies checklist before you even crack a single can of paint. Don’t skimp on the tools; a high-quality synthetic brush and a microfiber roller cover are the difference between a professional finish and a weekend spent scrubbing drips off your baseboards.
Beyond the brushes, focus on the setup. I’ve learned the hard way that protecting furniture while painting isn’t just about throwing a thin sheet over the sofa; it’s about using heavy-duty drop cloths that actually stay in place. If you’re still deciding on colors, remember that the best paint for interior walls is usually a washable matte or eggshell finish—it hides imperfections while being easy to clean. Get the right gear upfront so the actual application feels like a flow state, not a battle against your own equipment.
Mastering How to Prep Walls for Painting Without the Chaos
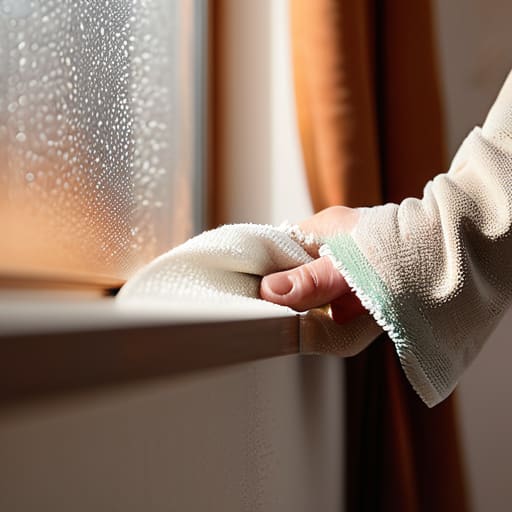
Most people think the “work” of painting starts when the brush hits the wall, but that’s where they go wrong. If you want to avoid a weekend of frustration, you have to treat the prep work like a systems engineer treats a workflow: identify the friction points before they happen. When learning how to prep walls for painting, your biggest enemy isn’t the paint itself; it’s the dust and the uneven texture. Take twenty minutes to wipe down the surfaces with a damp microfiber cloth. If you skip this, you’re essentially just sealing dirt under a fresh layer of color, and it will eventually bubble or peel.
Once the surfaces are clean, focus on the perimeter. I’ve learned the hard way that protecting furniture while painting isn’t just about throwing a sheet over the sofa; it’s about creating a physical barrier that allows you to move freely without constant anxiety. Use heavy-duty drop cloths rather than thin plastic—plastic shifts and bunches, which creates more chaos. Once your space is shielded and your walls are smooth, you’ve done the heavy lifting. Now, you can actually enjoy the process instead of just managing a mess.
Three Ways to Stop Painting Like an Amateur
- Stop buying cheap brushes to save a few bucks. A $15 synthetic brush that holds paint evenly will save you two hours of frustration and half a gallon of wasted product compared against a $2 piece of junk.
- Don’t aim for perfection on the first pass. I’ve learned the hard way that trying to make the first coat look “finished” is a recipe for uneven texture; focus on getting even coverage, then let the second coat do the heavy lifting.
- Control your environment before you open the can. If you’re painting in a drafty room or a space with high humidity, your drying times will be a moving target—set the temperature and keep the airflow steady so the system actually works as intended.
The Bottom Line for a Frictionless Finish
Don’t let a lack of preparation turn a simple weekend project into a week-long headache; the more time you spend on the prep, the less time you spend fixing mistakes.
Focus on a streamlined setup with high-quality basics rather than buying every gadget in the aisle—the best system is the one that stays out of your way while you work.
## The Philosophy of the Finish
Painting isn’t about the color you pick; it’s about the systems you put in place before the brush ever touches the wall. If you haven’t mastered the prep and the setup, you aren’t painting—you’re just managing a mess.
Gregory Scott Miller
The Final Layer
At the end of the day, a successful paint job isn’t about having the most expensive equipment or a professional crew; it’s about the systems you put in place before the first drop of color hits the wall. By prioritizing a clean workspace, investing in the right tools, and—most importantly—refusing to skip the prep work, you’ve already won half the battle. You’ve stripped away the chaos that usually turns a simple weekend project into a multi-day headache. Now, all that’s left is to apply the finish, clean your brushes, and step back to see the results of your discipline.
Remember, the goal here wasn’t just to change the color of your walls, but to master your environment. Every time you tackle a project with this level of intentionality, you’re reclaiming a bit of your time and mental clarity. Don’t let the perfectionist in your head slow you down; a slightly imperfect edge is a small price to pay for the satisfaction of a job done right. Go ahead, enjoy the new space you’ve built.