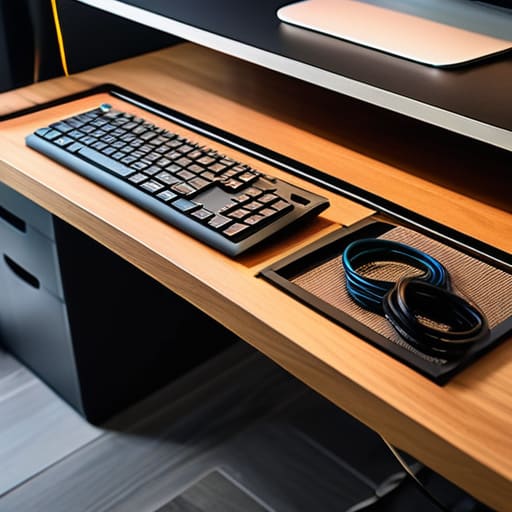

I was sitting at my desk last Tuesday, trying to focus on a complex logistics audit, when I caught sight of the “nest” behind my monitor. It was a chaotic tangle of black cords, power bricks, and dust bunnies that seemed to grow every time I turned my back. I realized right then that I wasn’t just fighting a mess; I was fighting a constant source of mental friction that was draining my focus before I even started my work. Most people think you need expensive, proprietary hardware to fix this, but that’s a myth. Real cable management diy isn’t about buying a dozen plastic trays; it’s about designing a system that actually holds up to the way you live and work.
In this guide, I’m going to show you how to strip away that visual noise using simple, functional methods. We aren’t going to chase perfection or buy every gadget on the market; instead, I’ll walk you through my personal process for grouping, routing, and securing your wires using tools you likely already have in your workshop or junk drawer. By the time we’re done, you’ll have a workspace that serves your productivity rather than distracting from it.
Table of Contents
Guide Overview
Tools & Supplies
- Scissors or wire cutters for trimming ties
- Label maker or masking tape for identification
- Velcro cable ties (1 pack)
- Cable management sleeves or raceways (1-2 units)
- Adhesive cable clips (1 pack)
- Power strip/surge protector (1 unit)
Step-by-Step Instructions
- 1. First, you need to perform a complete system audit. Unplug everything. I know it feels counterintuitive, but you can’t organize a mess if you don’t know exactly what you’re dealing with. Lay every cable out on the floor or a large table. Label both ends of every cord with a piece of masking tape—write what it belongs to (e.g., “Monitor 1,” “Lamp,” “Router”). This prevents the inevitable frustration of tracing a wire through a dark corner later on.
- 2. Next, clear the deck and gather your hardware. I’m not talking about fancy, expensive kits; I’m talking about the functional essentials. You’ll want some heavy-duty Velcro ties (skip the plastic zip ties; they’re a nightmare if you ever need to add a new device), a few adhesive cable clips, and perhaps a basic power strip with a mounting bracket. Having the right tools on hand turns a chore into a controlled process.
- 3. Now, let’s tackle the power source. Most people let their power strip sit in a tangled heap on the floor, which is a recipe for dust buildup and tripping hazards. Mount your power strip to the underside of your desk or secure it to a desk leg using industrial-strength adhesive strips. By elevating the hub, you immediately remove the primary source of floor clutter.
- 4. Group your cables into “arteries.” Instead of having twenty individual wires running from your desk to the wall, use your Velcro ties to bundle them together into larger, manageable tracks. Think of it like a highway system; you want the high-traffic cables (like your main power and ethernet) to travel together in a single, organized line. This makes the entire setup look cleaner and much easier to maintain.
- 5. Use cable clips to manage the “drop.” For the wires that need to travel from your desk surface down to the floor, use adhesive clips to guide them along the back edge of your desk leg. This keeps the wires from dangling loosely in mid-air, which is usually what creates that visual “noise” that kills your focus.
- 6. Finally, implement a “buffer zone” for future growth. Don’t tie every single inch of slack so tightly that there’s no room for movement. Leave a small, neat loop of extra cord near your devices. This allows you to reposition a monitor or move a laptop without having to tear your entire system apart, ensuring your setup remains flexible as your needs change.
Effective Under Desk Cable Management Solutions That Actually Work
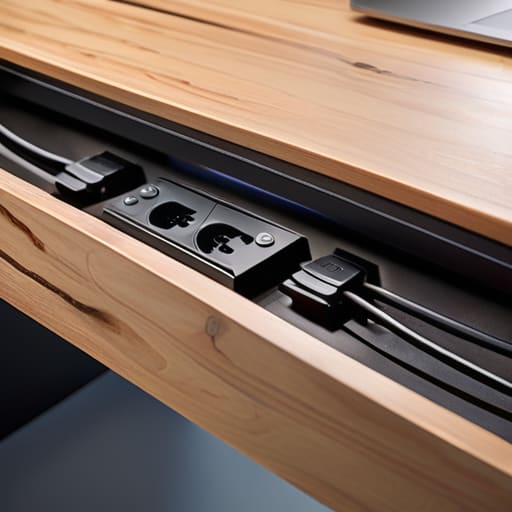
When it comes to the underside of your desk, most people make the mistake of trying to hide everything at once. I’ve learned through years of optimizing workspaces that the secret isn’t just about hiding the mess; it’s about accessibility. If you’re looking for real under desk cable management solutions, skip the permanent glue and go for a modular approach. I highly recommend mounting a sturdy metal cable tray or a mesh hammock to the underside of your desktop. This creates a “catch-all” zone that keeps the heavy power bricks and excess cord lengths off the floor, preventing that dreaded “spaghetti pile” from forming under your feet.
For the finer details, stop using those cheap plastic zip ties that you have to cut off every time you add a new piece of gear. Instead, get into the habit of using velcro straps for cables. They are far more forgiving and allow you to adjust your system as your tech evolves. If you have a particularly messy run of wires traveling down a desk leg, a simple cable raceway installation can clean up the visual noise instantly. The goal here is to create a system that is functional enough to maintain without needing a degree in engineering every time you plug in a new monitor.
Hiding Computer Wires With Simple Diy Cable Organizer Hacks
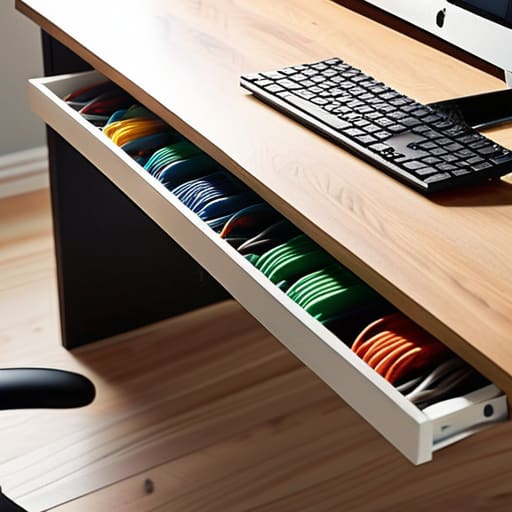
If you aren’t looking to drill holes into your furniture, you can still achieve a clean look by focusing on hiding computer wires behind the physical barriers already in your room. I’ve found that the simplest approach is often the most effective: use a piece of adhesive-backed cable raceway along the back edge of your desk or even tucked behind a bookshelf. It’s a low-effort way to turn a chaotic bundle of cords into a single, straight line that follows the architecture of the room rather than fighting against it.
When you’re dealing with the mess right at the source, skip the plastic zip ties—they’re a nightmare if you ever need to rearrange your setup. Instead, I always keep a roll of hook-and-loop fasteners nearby; using velcro straps for cables allows you to bundle wires together without the permanent commitment. It gives you the flexibility to add a new peripheral or move a monitor without having to cut through anything. It’s about creating a system that is adaptable to change, because we all know your desk layout won’t stay the same forever.
Three Rules of Thumb to Keep the Chaos at Bay
- Label both ends of every cord. I learned this the hard way during a home office overhaul; there is nothing more frustrating than unplugging the wrong device and spending twenty minutes playing detective with a flashlight. Use a simple piece of masking tape or a dedicated cable labeler—just make sure you know exactly which plug goes to which machine before you tuck them away.
- Group by function, not just by length. Instead of trying to manage every single wire as an individual entity, bundle them into “logical groups.” Your monitor setup, your peripheral hub, and your power supply should be treated as distinct systems. Use Velcro ties—never plastic zip ties—to group these clusters together. Velcro gives you the flexibility to add or remove a cord later without having to cut through a permanent plastic strap.
- Leave a little bit of slack. One of the biggest mistakes I see in DIY setups is tension. If a cable is pulled tight like a guitar string, you’re asking for a connection failure or a broken port. Always build in a small “service loop”—a bit of extra slack near the device—so that if you need to move your monitor or reposition a laptop, you aren’t fighting the physics of a taut wire.
The Bottom Line
Don’t aim for perfection or a “showroom” look; aim for a system that stops the tangle from growing so you can actually sit down and focus.
Start with the biggest friction point first—usually the cluster under your desk—and build your organization outward from there.
The Philosophy of the Wire
“A tangle of cables isn’t just a mess; it’s a constant, silent tax on your focus. When you clear that visual noise, you aren’t just tidying a desk—you’re reclaiming the mental bandwidth you need to actually do the work.”
Gregory Scott Miller
The Final Step to a Clear Workspace
At the end of the day, managing your cables isn’t about achieving some impossible level of aesthetic perfection; it’s about reducing friction. We’ve looked at everything from mounting trays under your desk to using simple DIY hacks to tuck those messy power strips out of sight. Whether you chose a heavy-duty solution or just a handful of velcro ties, the goal remains the same: to stop the visual noise from distracting you. By implementing these small, functional systems, you’ve successfully reclaimed a piece of your environment that was previously just a source of low-grade frustration.
Don’t let this be a one-time project that gets undone by next week’s new gadget. Treat your workspace like a living system that needs occasional maintenance, just like the tools in my workshop. When you strip away the clutter, you aren’t just tidying a desk; you are clearing mental space to actually do the work you care about. Stop fighting your setup and start letting it work for you. Now, grab that notebook, write down your next priority, and get to it.